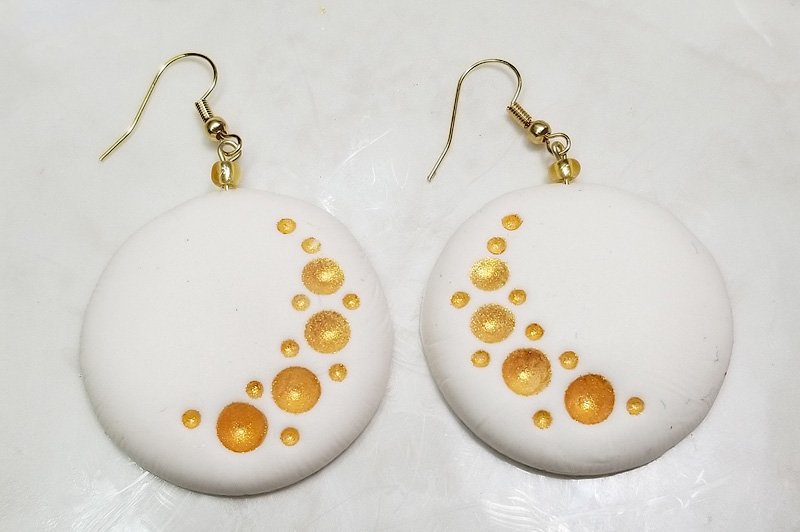
Ultra Light Simply Elegant Earrings
Ultra Light Simply Elegant Earrings
Read More
I call these earrings Simply Elegant because they are both simple and elegant! You can change the color of Pearl Ex powder you just to match most of your wardrobe as well!
Design by syndee holt
Read Less
ADDITIONAL SUPPLIES
deli sheets; mica powder in color of your choice (I used PearlEx Aztec Gold); two short gold eyepins, 2 gold beads and ear wires; jewelry pliers; instant glue; small hand drill

Project Instructions
- Getting Started:
Start with clean hands, unwrap and knead clay until soft and smooth, or condition by running clay though a Pasta Machine. We recommend using a designated machine for clay purposes only. When working with multiple colors, clean hands with soap and water or baby wipes (we have found that baby wipes work best) before switching colors. Shape clay, pressing pieces firmly together. Wash hands after use.
- Baking:
Pull off or cut off a small amount of the Ultra Light, about the size of a golf ball. Use the acrylic roller to gently roll it down to about 3/8 inch thickness. Lay the sheet of deli paper over the sheet and firmly press the second to largest (1.75 inches) down through the paper and the clay. I like to twist the cutter back and forth a little to make sure that the cut is complete. Repeat for the other earring.

Remove the deli paper. There will probably be some wrinkling in the clay around the edges. You can either keep it (I personally like it!) or use your finger to gently smooth the edges.

Dip the medium size Style n’ Detail tool into the Pearl Ex powder to cover just the very top of the ball. Tap the tool against the side of the jar to remove excess powder. Gently press into the clay and remove. NOTE: the firmer you press, the larger the feature, the lighter you press the smaller the feature.

Repeat Step 4 with the smaller Style n’ Detail tool to fill in around the larger balls.

Now for the other earring – you will need to reverse the pattern, so repeat steps 4 and 5 but on the opposite side of the earring.

Baking according to the directions in Step 1 above. After the pieces have baked and cooled, use a very sharp needle or hand drill to make a small, shallow hole at the top of each earring. Thread a bead on the eye pin and trim to length for the hole. Add a drop of instant glue and push into the hole. NOTE – the flat part of the eye pin should be showing, not the edge of the eye pin. Add your ear wire and you are done!


