

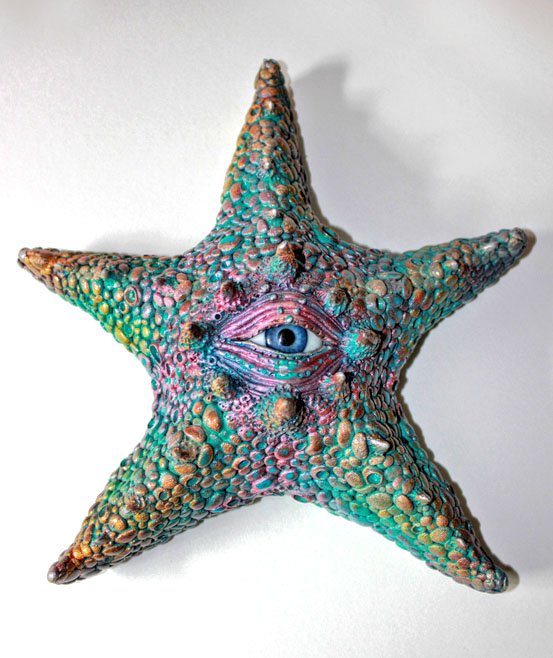
Super Sculpey Firm Mystical Starfish
Super Sculpey Firm Mystical Starfish
Read More
When design and detail meet the eye.
Design by Pierre Santos
Read Less
ADDITIONAL SUPPLIES
Dayler rowney- metallic red, rich gold, phthalo turquoise; Set of paintbrushes; Pebeo 4 artist marker (silver) oil based pen can buy these from hobby craft; A scraper tool, a dental tool needle (can get these off ebay); A glass eye 24mm (can order this off of eBay); A amethyst stone (or stone of your choice); A piece of sponge; A can of glossy spray varnish (I use Hycote clear lacquer double acrylic concentrated paint but PYM II can be substituted in US or use a brush and a Gloss glaze like the Sculpey Gloss Glaze); Masking tape; A pen without ink
Project Instructions
- Getting Started:
Start with clean hands, unwrap and knead clay until soft and smooth, or condition by running clay though a Pasta Machine. We recommend using a designated machine for clay purposes only. When working with multiple colors, clean hands with soap and water or baby wipes (we have found that baby wipes work best) before switching colors. Shape clay, pressing pieces firmly together. Wash hands after use.
- Baking:
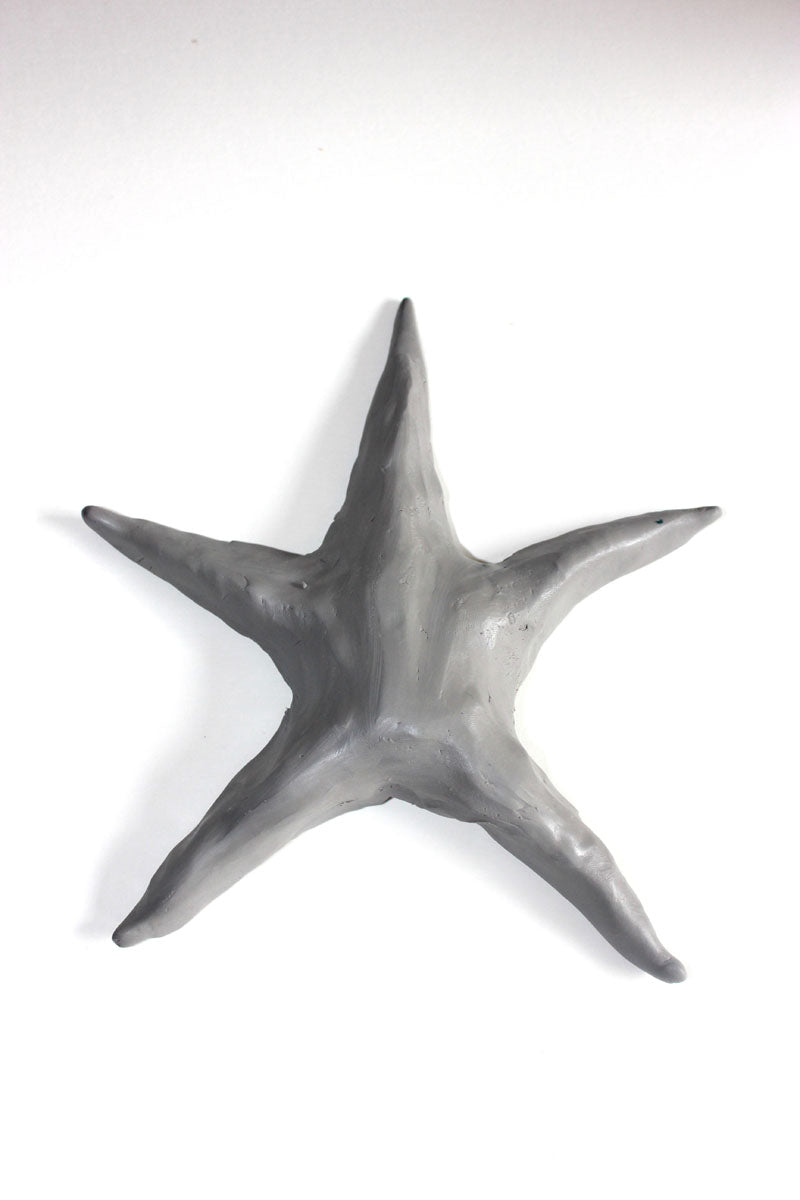
Fashion 5 sausages to create your basic starfish shape

Once you have your basic starfish shape apply small bits of sculpey to areas to give the overall look a more fuller shape, blend pieces together using your finger or the end of a paintbrush

Once you are happy with the basic shape of your starfish, using your scraper gouge out a hole in the middle of your starfish to place your glass eye

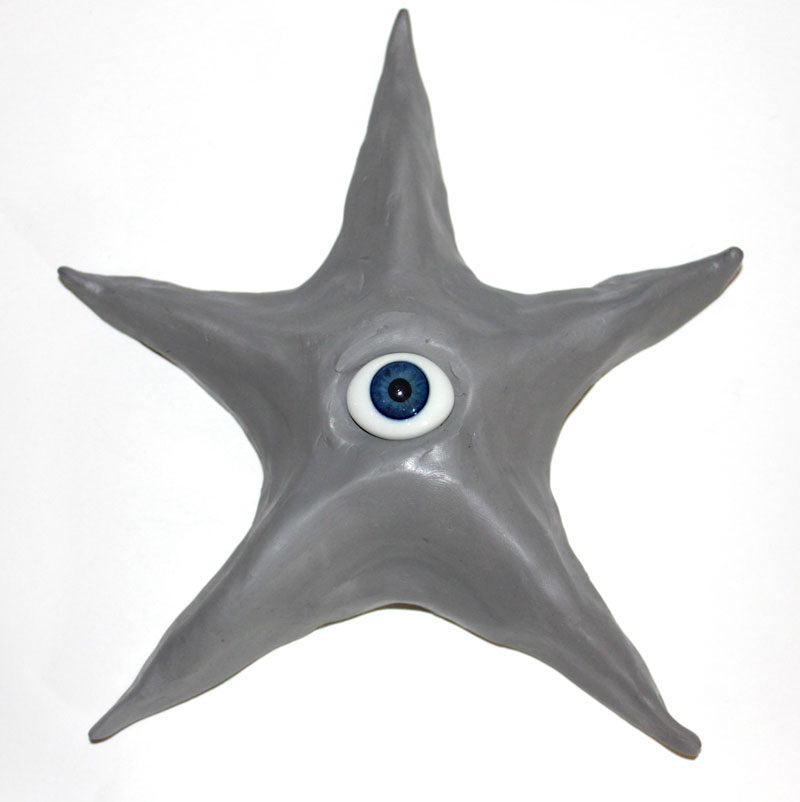
Flip starfish over and do another gouge with your scraper big enough to place your healing stone (we will come back to the back of the star fish later on in the tutorial)

Flip your starfish back over and roll out some skinny worm like shorter pieces we will use these to start sculpting the eye (have varying thicknesses)
- Choosing a selection results in a full page refresh.
- Opens in a new window.