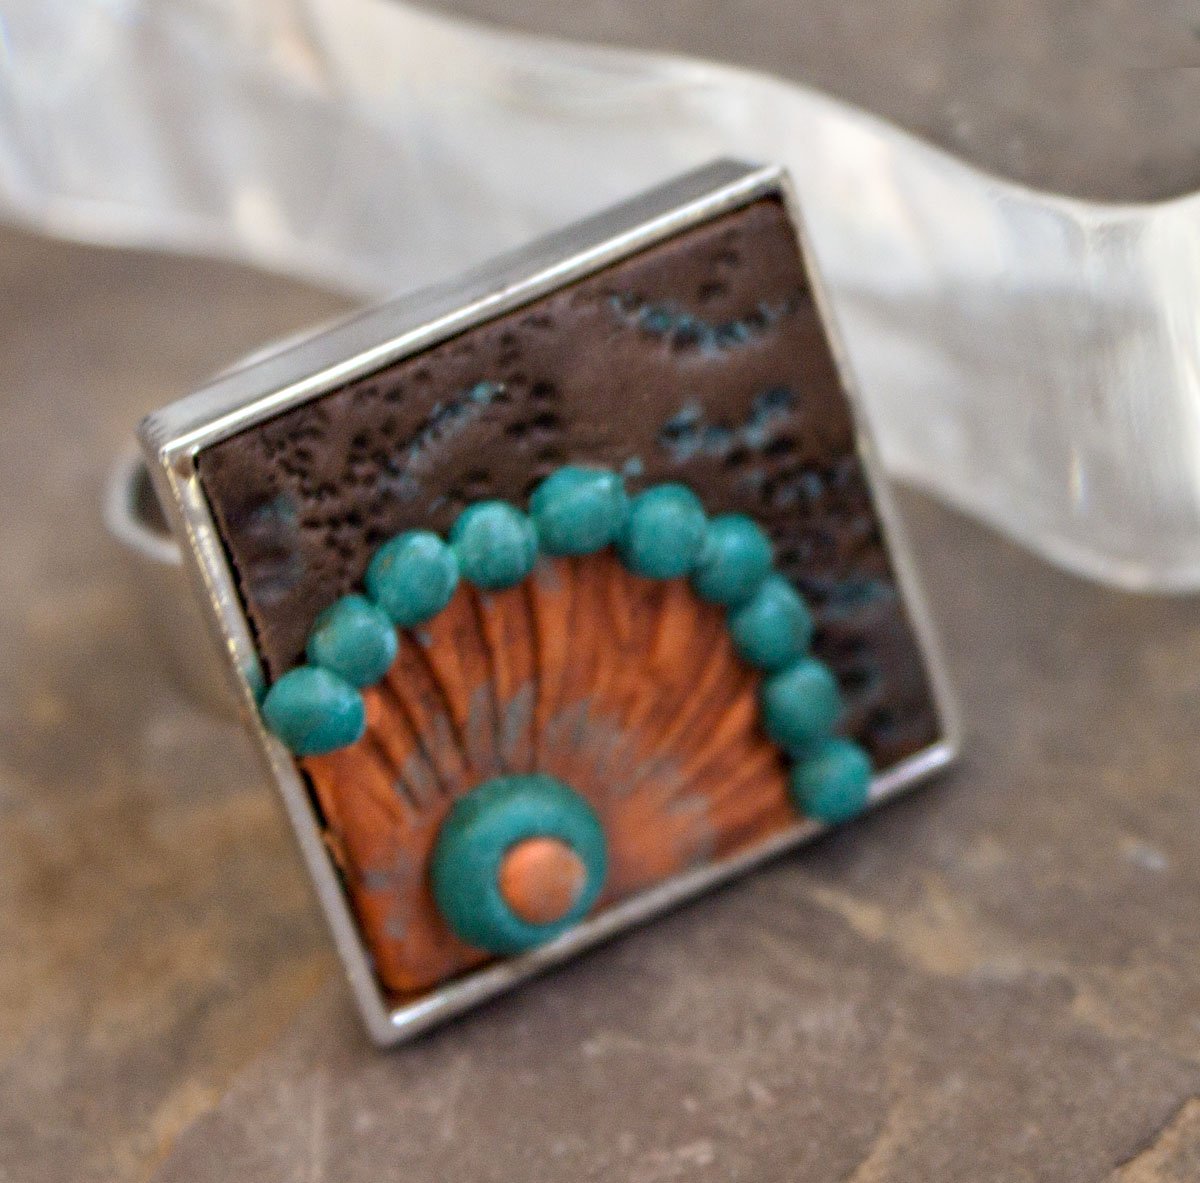
Sculpey Soufflé Southwest Poppy Ring
Sculpey Soufflé Southwest Poppy Ring
Read More
This cool and unique ring is easy to do with Souffle clay and a couple of Sculpey tools! The colors can be changed to so many different color combinations – make one for each outfit!
Read Less
ADDITIONAL SUPPLIES
Texture stamp or rough sandpaper
Light green or turquoise acrylic craft paint and small brush
Dark brown acrylic craft paint
Small spray bottle of water|Texture stamp or rough sandpaper
Light green or turquoise acrylic craft paint and small brush
Dark brown acrylic craft paint
Small spray bottle of water

Project Instructions
Getting Started:Polymer clay may stain. CLAY MAY DAMAGE UNPROTECTED FURNITURE OR FINISHED SURFACES. DO NOT USE polymer clay on unprotected surfaces. We recommend working on the Sculpey® Work ‘n Bake Clay Mat, wax paper, metal baking sheet, or disposable foil. Start with clean hands and work surface area. Knead clay until soft and smooth. For best results, clean your hands in between colors. Shape clay, pressing pieces together firmly. Bake on oven-proof glass or metal surface at 275°F (130 °C) for 30 minutes per ¼" (6 mm) thickness. For best baking results, use an oven thermometer. DO NOT USE MICROWAVE OVEN. DO NOT EXCEED THE ABOVE TEMPERATURE OR RECOMMENDED BAKING TIME. Wash hands after use. Baking should be completed by an adult. Begin by preheating oven to 275 °F (130 °C). Test temperature with oven thermometer for perfectly cured clay. For best results, condition all clay by running it through the Clay Conditioning Machine for several passes on the widest setting. Fold the clay in half after each pass and insert the fold side into the rollers first.
Roll a small piece of conditioned Souffle Cowboy clay out on the #1 (widest) setting on the Sculpey Clay Conditioning Machine. Texture the sheet of clay and then lightly press the ring finding face down onto the clay. Remove the ring and use the marks to trim the clay to size the ring.

Roll a small piece of conditioned Souffle Pumpkin clay out on the #1 setting on the Sculpey Clay Conditioning Machine. Texture this piece of clay with the starburst texture from the Landscape Texture sheet. Lightly spray the texture sheet with water and press into the clay. Note that I’ve cut my texture sheet apart and I’m using the corner texture.

Use smallest of the Sculpey Nested Circle cutters to cut out this texture as shown. Use the same cutter to cut out a bottom corner on the Cowboy piece of clay that is sized for the ring. Lightly push the Pumpkin circle of color into this area.

Trim the Pumpkin to the square of the ring and drop the clay into the ring, trimming any edges.

Roll out a small portion of conditioned Souffle Sea Glass clay on the #1 setting on the Sculpey Clay Conditioning Machine. Place this sheet of clay on the smooth ceramic tile and use the small Etch ‘n Pearl to punch out at least 10 small pearls. (NOTE: dip the end of the Etch ‘n Pearl in water about every 3 pearls).

Punch out one large pearl from the Pumpkin clay. Make a small dent in the center of this pearl with the medium Ball tool. Center a Sea Glass small pearl in this dent and add the assemblage to the bottom corner of the Pumpkin clay in the ring.

Bake the ring according to the directions above. If desired, pop the baked and cool clay out of the finding, add some glue and replace the clay.
Using a small paint brush, brush a little dark brown paint into the grooves of the starburst. Add some “verdigris” highlights over the entire ring with the light green paint. Allow the paint to dry and wear the new ring!


