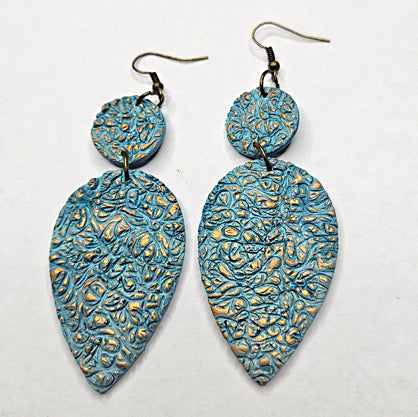
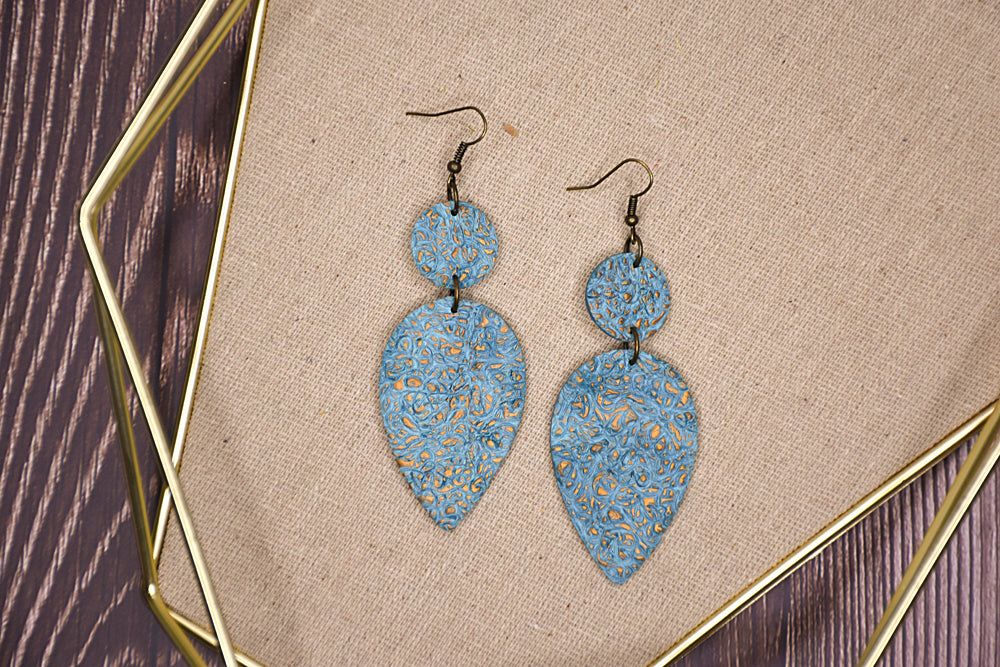
Sculpey Soufflé™ Textured Verdigris-Look Earrings
Sculpey Soufflé™ Textured Verdigris-Look Earrings
Read More
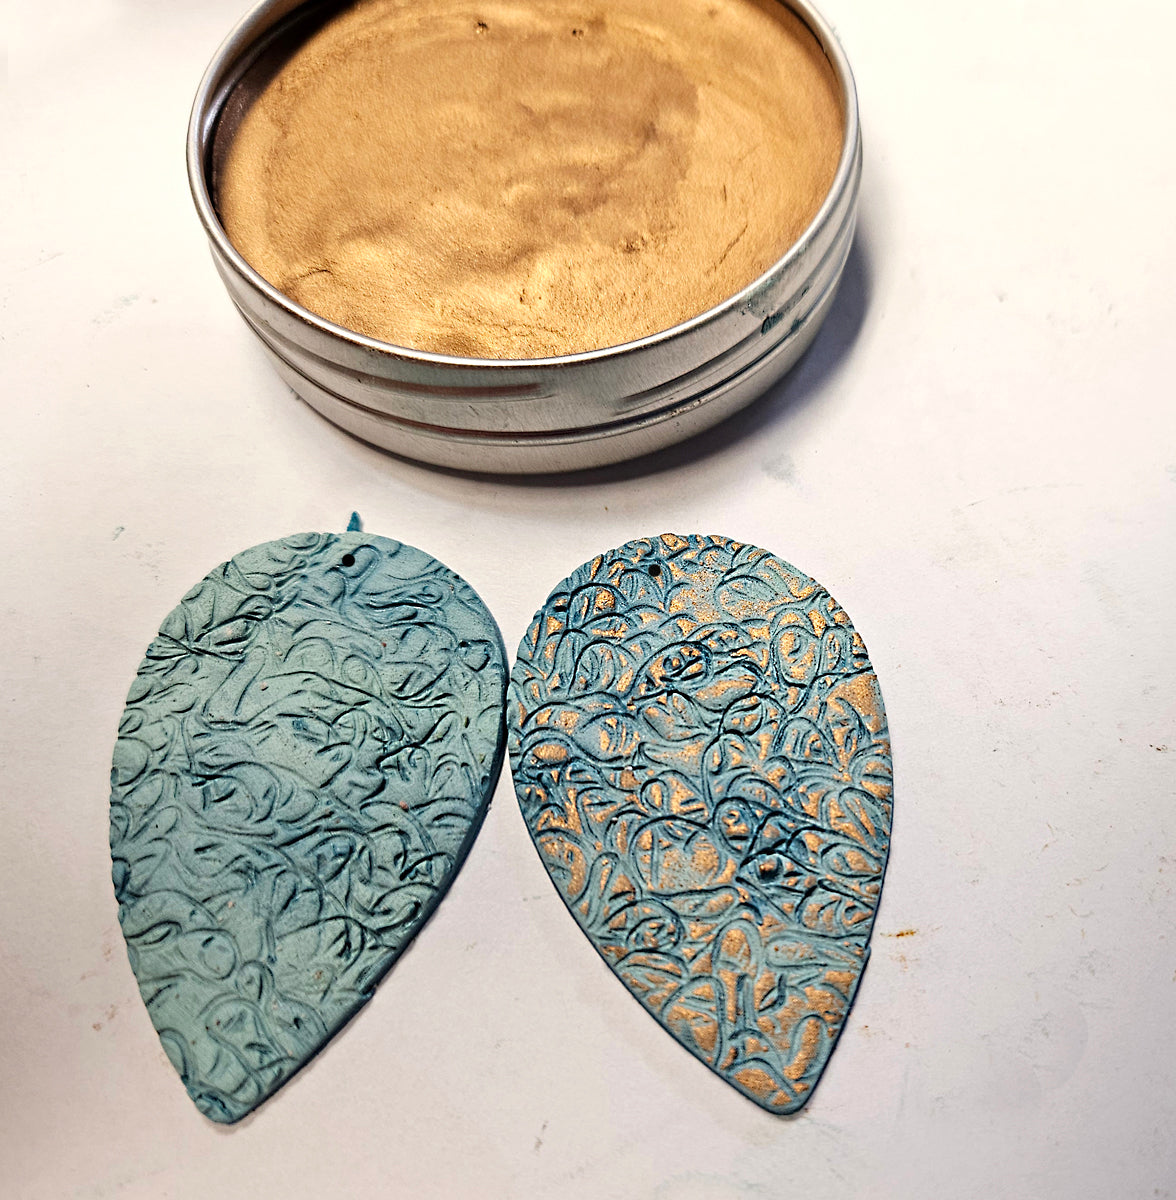
Adding a team of my favorite surface treatments to one of my favorite Sculpey Soufflé™ colors was so fun and exciting I scared my dog by squealing when I added those highlight colors to the textured clay! This is a quick and easy project that just LOOKS complicated!
TIME TO COMPLETION: 30 minutes to make, 30 minutes to bake/cure
Read Less
ADDITIONAL SUPPLIES
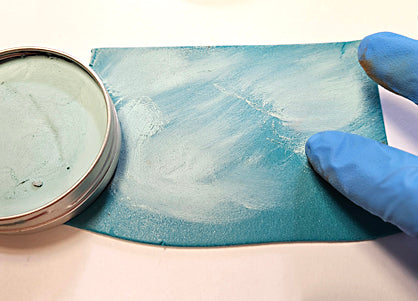
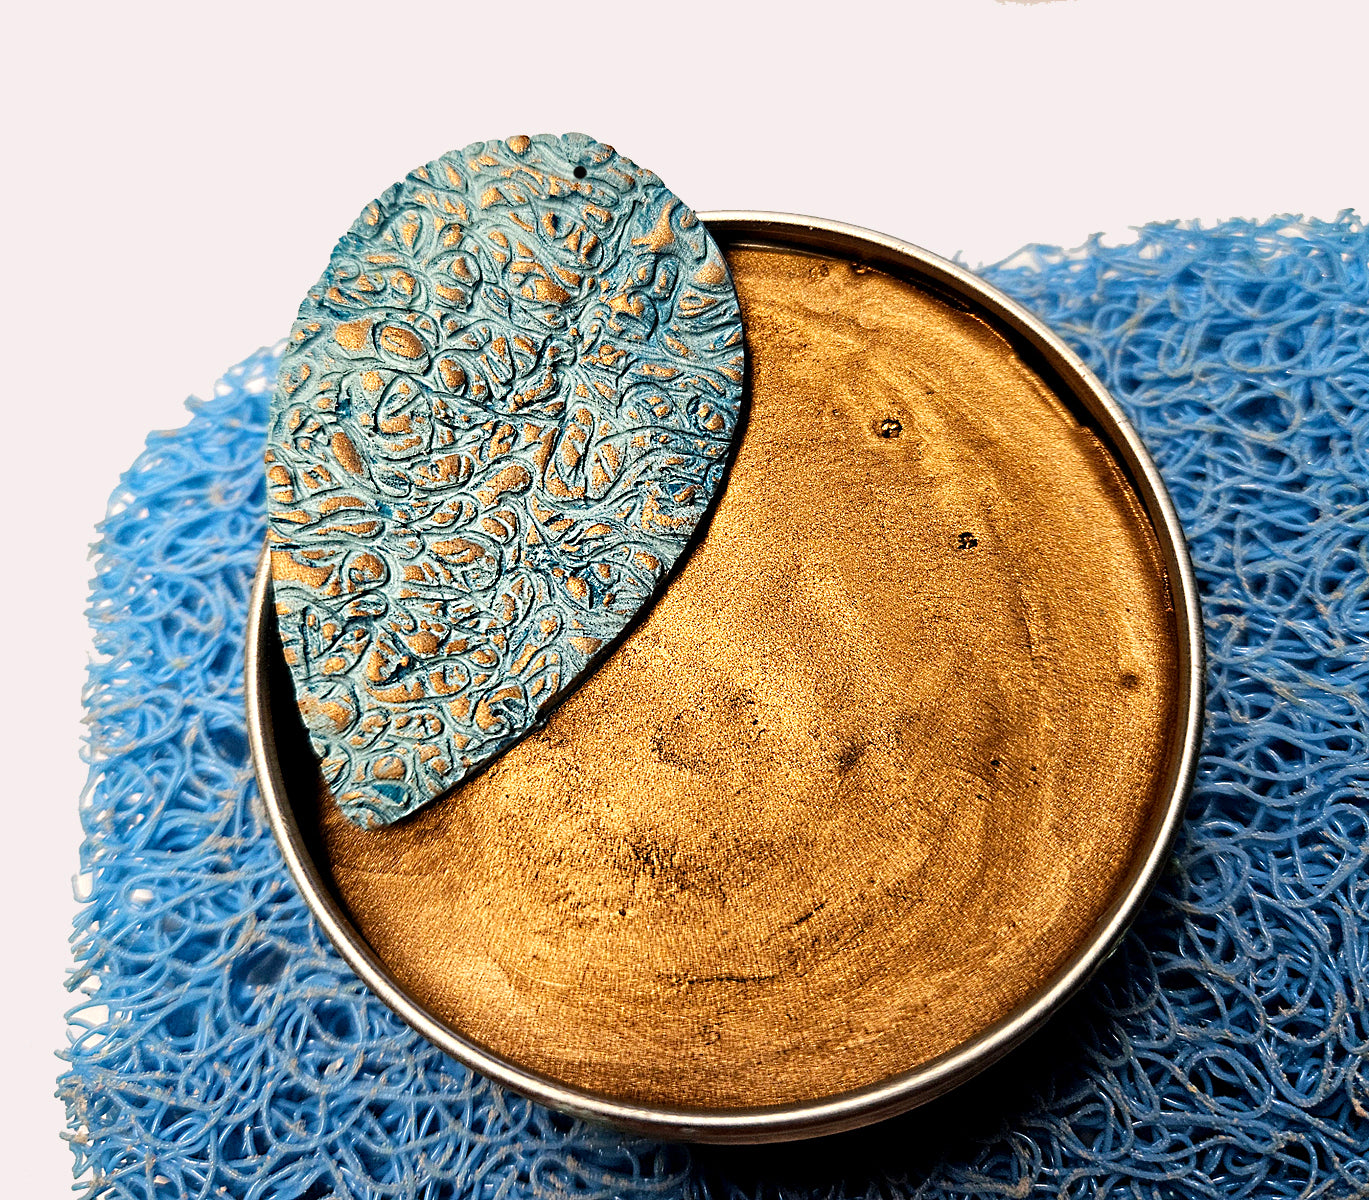
- Gilders Paste in your favorite colors – I used Patina and Celtic Bronze
- Gloves to keep your hands clean
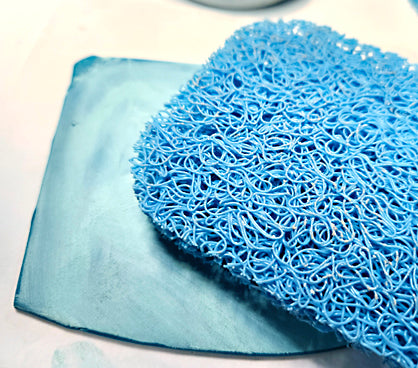
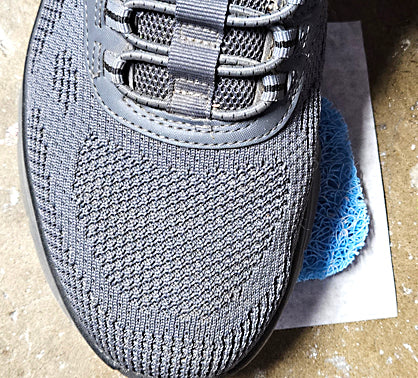
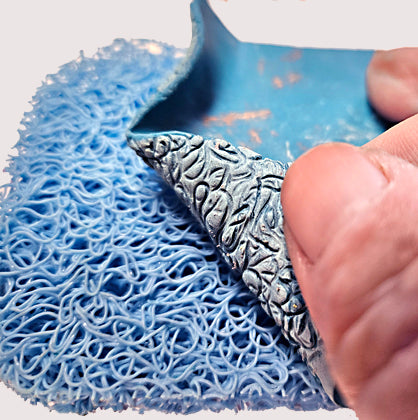
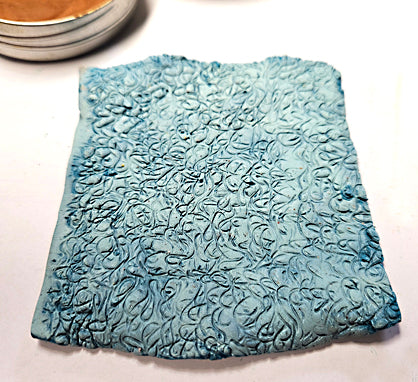
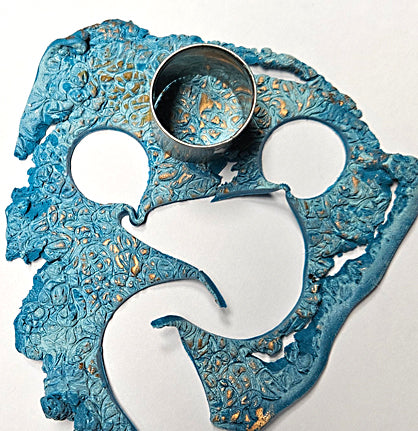
- Your selected texture – I’ve used a Soap Saver (available near the bath soaps)
- Couple sheets of clean white computer paper
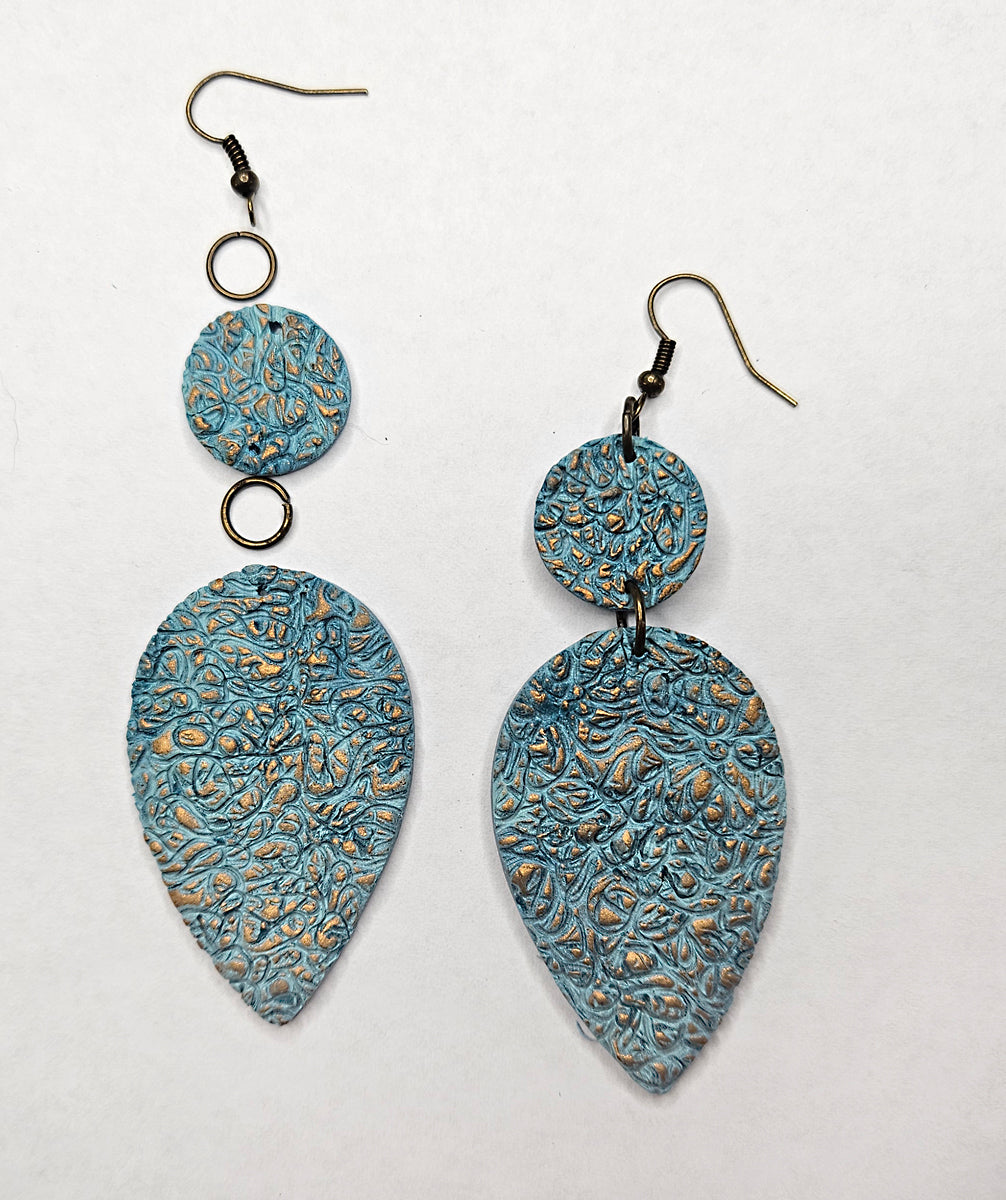
- I also used a smaller round cutter to punch out the top of the earrings from my leftover sheet of clay.
- Findings – 2 ear wires and 2-4 jump rings
- NOTE: An acrylic roller can be substituted for the Clay Conditioning Machine for this project
Project Instructions
Step 1
Step 2
Step 3
Step 4
Step 5
Step 6
Step 7
Step 8
Step 9
Step 10