

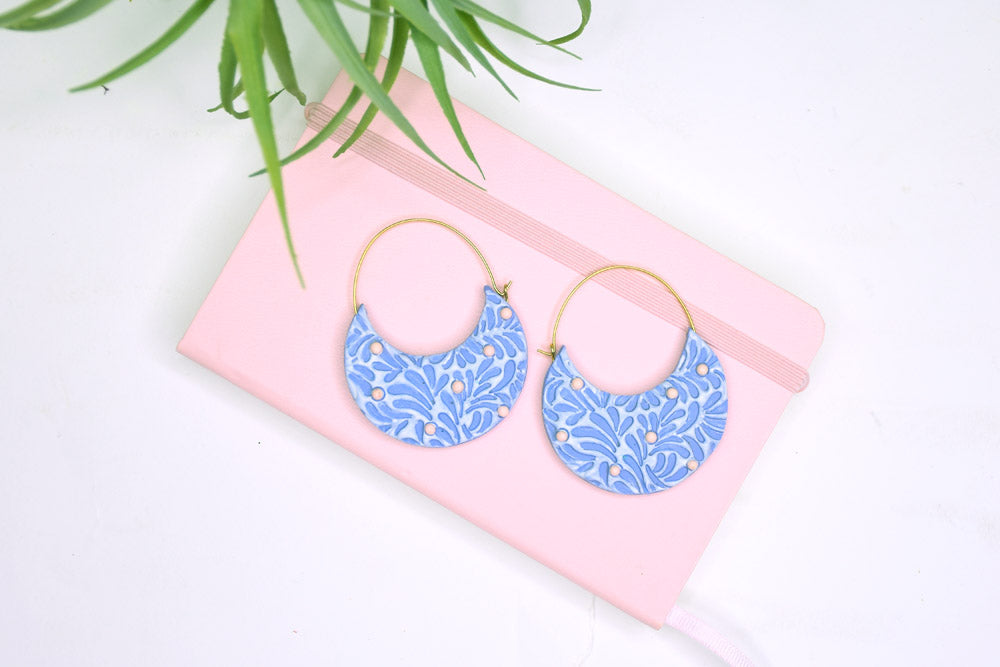
Sculpey Soufflé™ Faux Enamel Earring
Sculpey Soufflé™ Faux Enamel Earring
Read More
Sculpey Soufflé™ Thistle is the perfect non-neutral/neutral background for gorgeous texture highlighted with Liquid Sculpey®.
COMPLETION TIME:
60 Minutes to make, bake, and assemble
Read Less
ADDITIONAL SUPPLIES
- Tiny applicator brushes/swabs
- 2” Gold tone round loop ear wires (2)
- Flat nose pliers
Project Instructions
Step 1
Step 2

Step 3

Step 4

Step 5

Step 6

Step 7

Step 8

Step 9

Step 10

Step 11
