Skip to product information
1 of 1

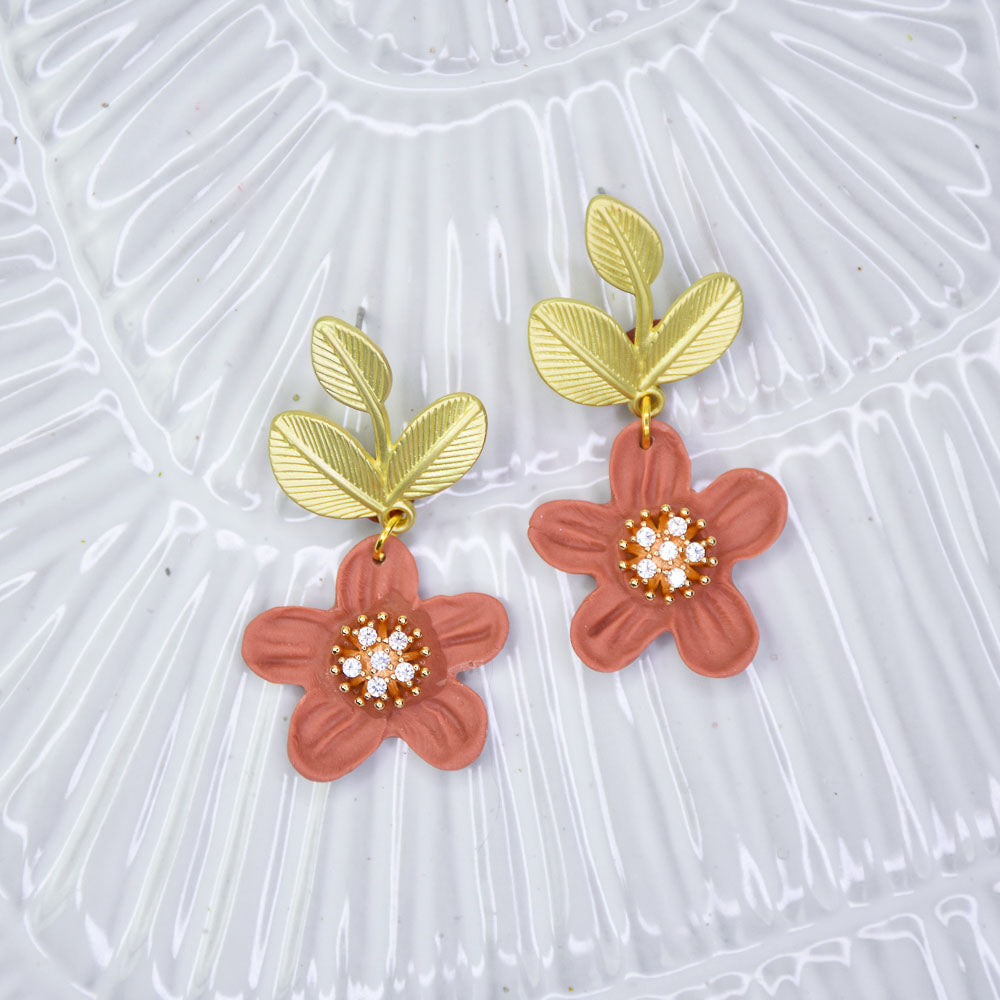
Sculpey Soufflé™ Daisy Earrings

Sculpey Soufflé™ Daisy Earrings

Designed by Precious Nunez
Read More
Ready to add a little floral charm to your accessory collection? These daisy earrings are super cute, beginner-friendly, and perfect for spring or summer vibes. TIME TO COMPLETION: About 1 hour
Read Less
ADDITIONAL SUPPLIES
  • Jewelry pliers
  • 5mm jump rings
  • Center Stamen
  • Earring toppers and backings
View full details

CREATE, SHARE, AND FEARLESSLY ENJOY

GET INSPIRED
Project Instructions

Step 1

Getting Started:

Please make sure your work area is covered and you are not working on an unprotected surface. We recommend working on the Sculpey® Oven Safe Work Mat, wax paper, metal baking sheet, or disposable foil. Uncured clay may damage unprotected furniture or finished surfaces. Be sure to cover your crafting area appropriately.

Start with clean hands, unwrap and knead clay until soft and smooth, or condition by running clay though a Pasta Machine. We recommend using a designated machine for clay purposes only. When working with multiple colors, clean hands with soap and
water or baby wipes (we have found that baby wipes work best) before switching
colors. Shape clay, pressing pieces firmly together.  Wash hands after use.

Baking (also called Curing):

Begin by preheating oven to 275 °F (130 °C). After you are done creating; for best results bake clay on an oven-proof surface such as metal, aluminum foil, an index card
or the Sculpey® Oven Safe Work Mat at 275°F (130 °C) for 30 minutes per ¼"
(6 mm) of thickness according to package directions. Oven safe glass or ceramic
surfaces are also acceptable for baking; however please note that the baking
times may take longer as the glass or ceramic surfaces take longer to heat
up. For best baking results, use an oven thermometer. DO NOT USE MICROWAVE
OVEN. DO NOT EXCEED THE ABOVE TEMPERATURE OR RECOMMENDED BAKING TIME.

Step 2

Cut a ¼ of a half oz Sedona clay and roll it into two balls.


Step 2

Step 3

Press one ball firmly into the daisy mold, ensuring the clay fills every crevice. Use a blade tool to carefully trim away any excess clay.

EDITOR NOTE: It may be helpful to trim from the center out to each side to prevent distortion.


Step 3

Step 4

Smooth the back surface of the flower while it’s still in the mold.

Gently remove the flower from the mold, being careful not to damage the design. Repeat for both clay balls.


Step 4
Step 4

Step 5

Use a knife tool to carefully flatten the center of each flower.

Use the flat side of a tool or your fingertip to smooth out the center. Repeat for both flowers.


Step 5
Step 5

Step 6

Firmly press the centers into place on each flower.

Use a needle tool to make a small hole near the top of each flower, this will be used
for earring assembly.

Bake the clay according to the directions in Step 1 above and allow the clay to cool.

Step 6

Step 7

For extra security, remove the center stamen, apply a small drop of superglue, and reattach it.

Use pliers to open a jump ring and loop it through the hole at the top of the flower.

Add the earring finding to the jump ring, then close it securely with pliers.


Step 7