Skip to product information
1 of 1

Sculpey Soufflé™ Cobalt Jeweled Earrings

Sculpey Soufflé™ Cobalt Jeweled Earrings

Designed by Abigail Shaeffer
Read More
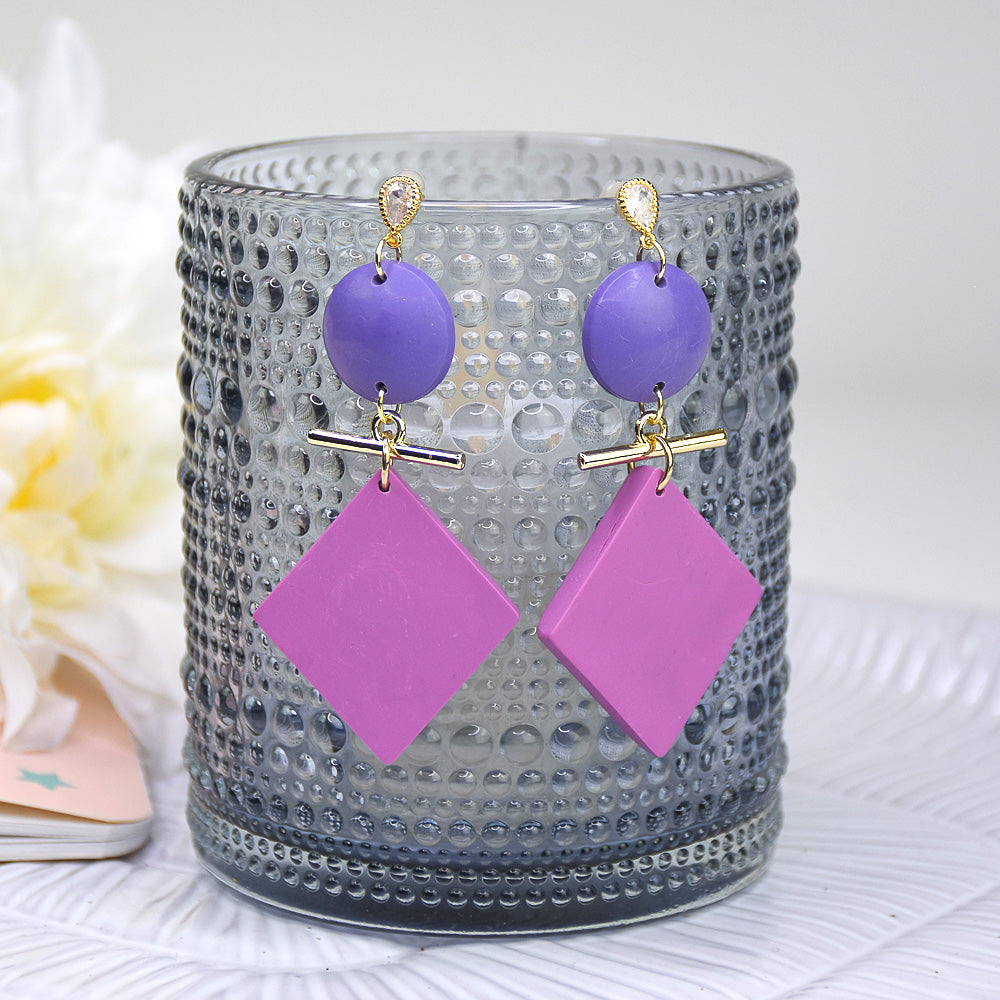
This project is easy to customize and a great way to explore color coordination with minimal mixing-although Cobalt is an EXCELLENT mixer color! The Sculpey silicone mold gives crisp dimensional finish to the shapes.
Read Less
ADDITIONAL SUPPLIES
  • 2” Silver tone head pins (2)
  • Silver tone ear wires (2)
  • 1” Silver tone head pins (12)
  • Clear seed beads (50)
  • Flat nose pliers
  • Round nose pliers
  • Wire cutter
View full details
Project Instructions

Step 1

Getting Started:

Please make sure your work area is covered and you are not working on an unprotected surface. We recommend working on the Sculpey® Oven Safe Work Mat, wax paper, metal baking sheet, or disposable foil. Uncured clay may damage unprotected furniture or finished surfaces. Be sure to cover your crafting area appropriately.

Start with clean hands, unwrap and knead clay until soft and smooth, or condition by running clay though a Pasta Machine. We recommend using a designated machine for clay purposes only. When working with multiple colors, clean hands with soap and
water or baby wipes (we have found that baby wipes work best) before switching
colors. Shape clay, pressing pieces firmly together.  Wash hands after use.

Baking (also called Curing):

Begin by preheating oven to 275 °F (130 °C). After you are done creating; for best results bake clay on an oven-proof surface such as metal, aluminum foil, an index card
or the Sculpey® Oven Safe Work Mat at 275°F (130 °C) for 30 minutes per ¼"
(6 mm) of thickness according to package directions. Oven safe glass or ceramic
surfaces are also acceptable for baking; however please note that the baking
times may take longer as the glass or ceramic surfaces take longer to heat
up. For best baking results, use an oven thermometer. DO NOT USE MICROWAVE
OVEN. DO NOT EXCEED THE ABOVE TEMPERATURE OR RECOMMENDED BAKING TIME.

Step 2

Mix 1:1 a ratio of cobalt and mauve clay (about ⅙ of a bar each).


Step 3

Press the mixed clay into the smallest circle of the Sculpey cabochon mold, smooth with a ball tool, and trim excess with a tissue blade.


Step 4

Press the remaining mauve clay into the diamond shape of the Sculpey geometric mold,
smooth with a ball tool, and trim excess with a tissue blade.

Bake in the mold according to Step 1.

Step 5

Repeat steps 3 and 4 to make the second earring pieces using the mixed clay in the smallest circle of the Sculpey cabochon mold.

Bake according to the directions in Step 1 above.


Step 6

Remove the cooled clay from the molds and drill holes in the top and bottom of the circles and in the top of the diamond shape.


Step 7

Use pliers to open a 6 mm jump ring and loop the crystal earring topper and the mixed color circle through. Close the jump ring and repeat with other piece.


Step 8

Use pliers to open a 6 mm jump ring and loop the mixed color piece and the toggle clasp through. Close the jump ring and repeat with other piece.


Step 9

Use pliers to open an 8 mm jump ring and loop the mauve color piece and the toggle clasp through. Close the jump ring and repeat with other earring.

Step 10

Here is a look at the completed earrings.