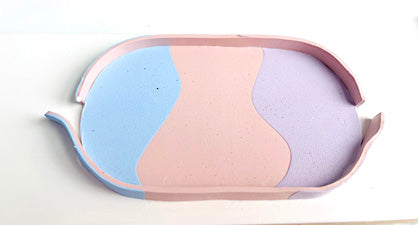

Sculpey Soufflé Ballet Color Blocked Pill Tray
Sculpey Soufflé Ballet Color Blocked Pill Tray
Read More
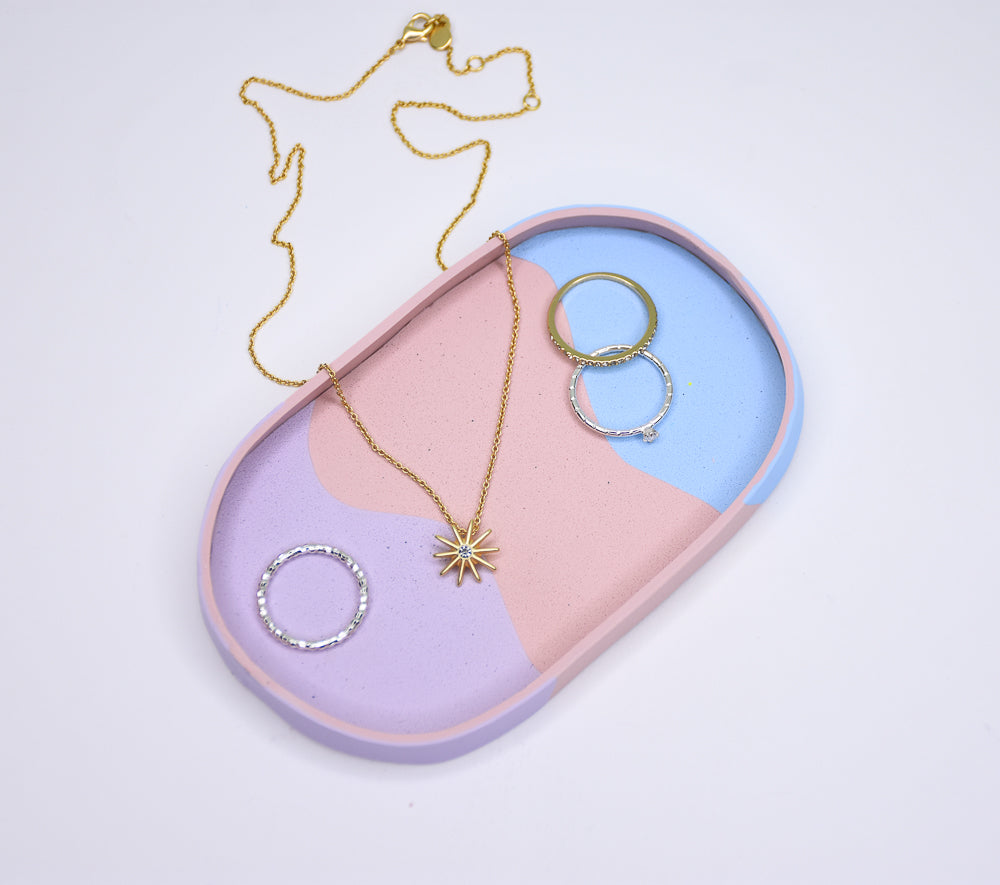
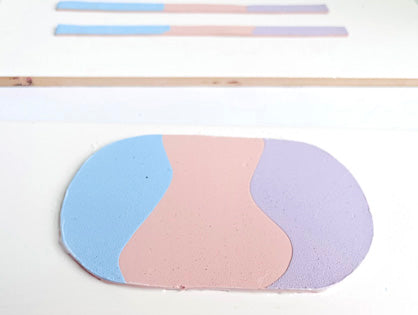
Sculpey Soufflé™ Ballet teams up with Sculpey Premo™ pastels to create this lovely pill shaped dish for your bathroom or anywhere you wish to hold your little items.
TIME TO COMPLETION: 30 minutes to make, 30 minutes to bake
Designed by Hollee Gaytan
Read Less
ADDITIONAL SUPPLIES
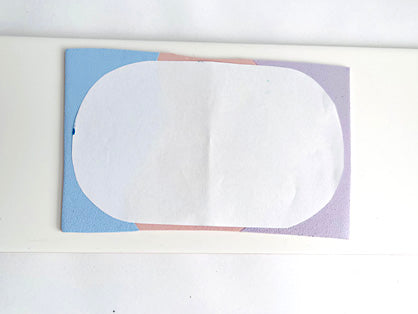
- Oval template for tray size
- Course Sandpaper
- Ruler or guides to trim strips
- Exacto knife

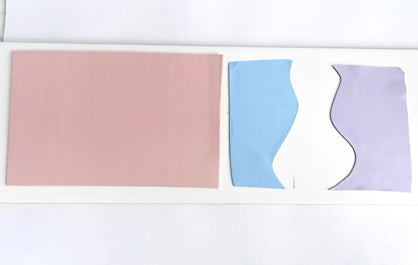
Project Instructions
Step 1
Step 2
Step 3
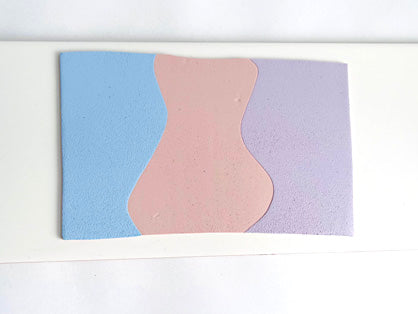
Step 4
Step 5
Step 6