Skip to product information
1 of 1

Sculpey Premo™ Washi Tape Pendant

Sculpey Premo™ Washi Tape Pendant

Designed by Erica Gamboa
Read More
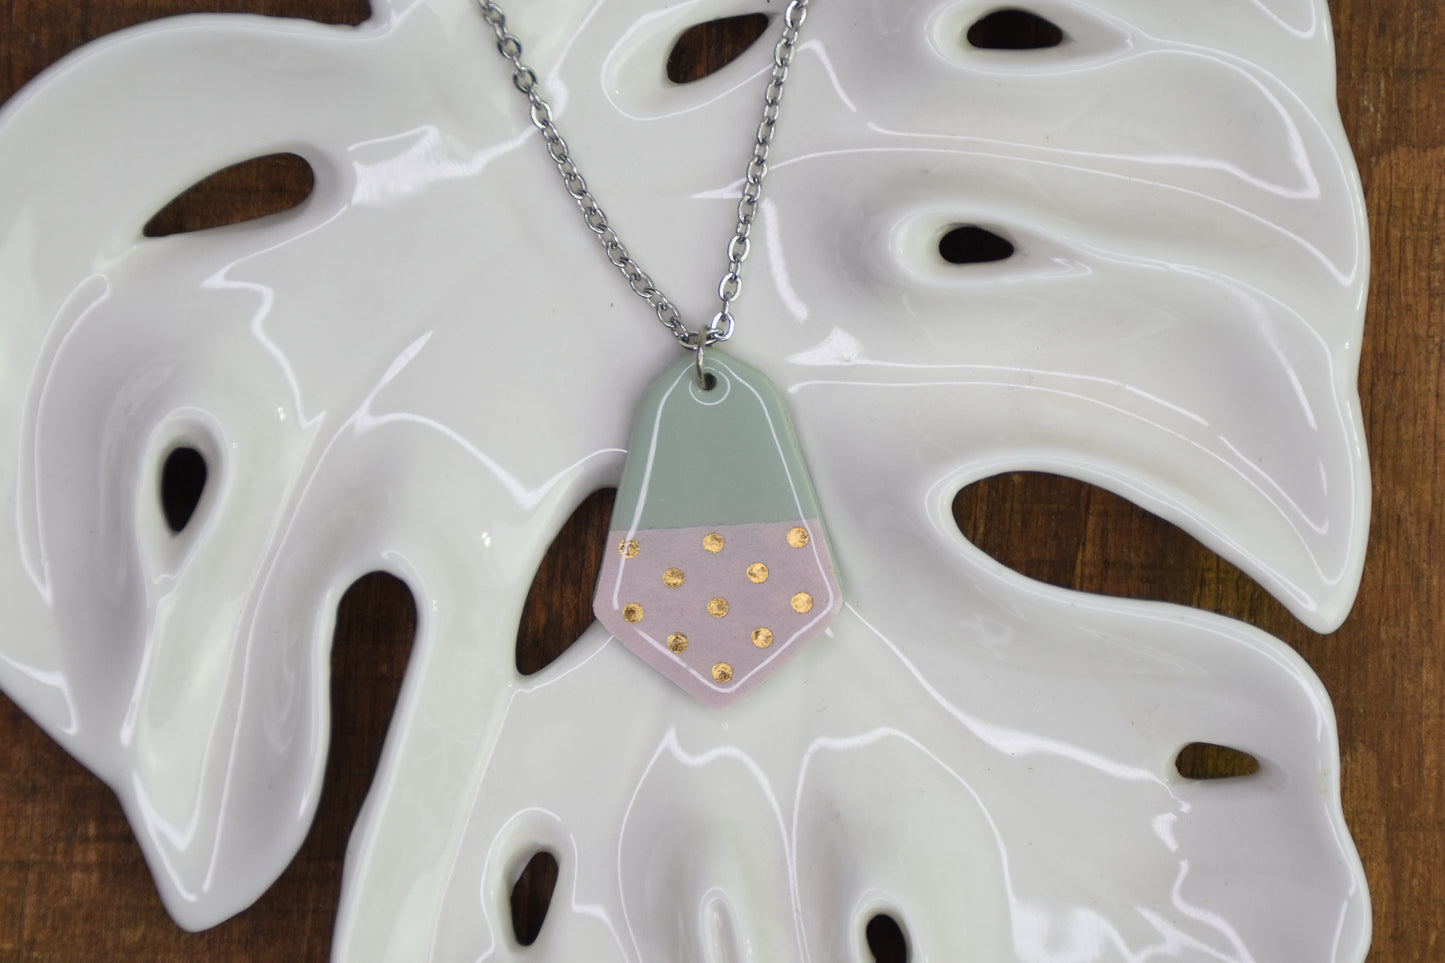
Team up Sculpey Premo™ with the very on-trend combo of Washi tape and resin finishes to create this elegant pendant. Make sure to make a few as gifts because your friend and co-workers will all be asking for one! Time to completion: 30 minutes to make and 30 minutes to bake
Read Less
ADDITIONAL SUPPLIES
  • WASHI TAPE
  • ANY PENDANT SHAPE CUTTER
  • RESIN & UV LIGHT
  • JUMP RINGS
  • NECKLACE CHAIN
View full details
Project Instructions

Step 1

Getting Started

Please make sure your work area is covered and you are not working on an unprotected work surface. We recommend working on the Sculpey Oven Safe Work Mat, wax paper, metal baking sheet or disposable foil. Uncured clay may damage unprotected furniture or finished spaces. Be sure to cover your area accordingly.

Always start with clean hands and wear lint free clothing to avoid pieces of lint falling into your clay. Unwrap and knead the clay until soft and smooth or you can condition your clay by running through a pasta machine. We recommend using a machine that is designated specifically for clay use only. When working with multiple colors,
be sure to clear your hands with soap and water or use baby wipes before switching colors.

When baking (also called curing):

Begin by preheating your oven to 275*F (130*C). After you are done creating, for best results bake/cure clay on an oven-safe surface such as metal, aluminum foil, tile, an index card or the Sculpey Clay Mat at 30 minutes per ¼” (6mm) thickness (according to package directions). For best baking results, use an over thermometer.

DO NOT USE A MICROWAVE OVEN. DO NOT EXCEED THE ABOVE TEMPERATURES OR RECOMMENDED BAKING TIME.

Step 2

Begin to condition your Premo Sage clay pieces through your machine on the thickest setting. Fold in half and continue to run through the machine on its highest setting to ensure the clay is conditions and ready to work with. Roll out 1/4 bar of Premo Sage on the thickest setting.

Step 3

Using your preferred cutter shape, press into the clay and cut your shape.

Step 4

Create a small hole at the top of the shape using a small ball point tool.

Use your tissue blade to slowly and carefully run it along under the clay piece to pull it away from your surface.

Transfer to your baking surface and place in the pre-heated oven and bake as directed. *Remember to let your piece cool completely before removing from the form.*


Step 5

Add your washi tape to the bottom half of the pendant once your piece has cooled. Using scissors or blade to trim edges.

Step 6

Add a layer of resin on the top to seal the washi tape. You can use a toothpick to help spread the resin. Be sure to use the UV light and cure according to the package directions.

Step 7

Add your jump ring and chain.

Step 8

Enjoy your new necklace!