

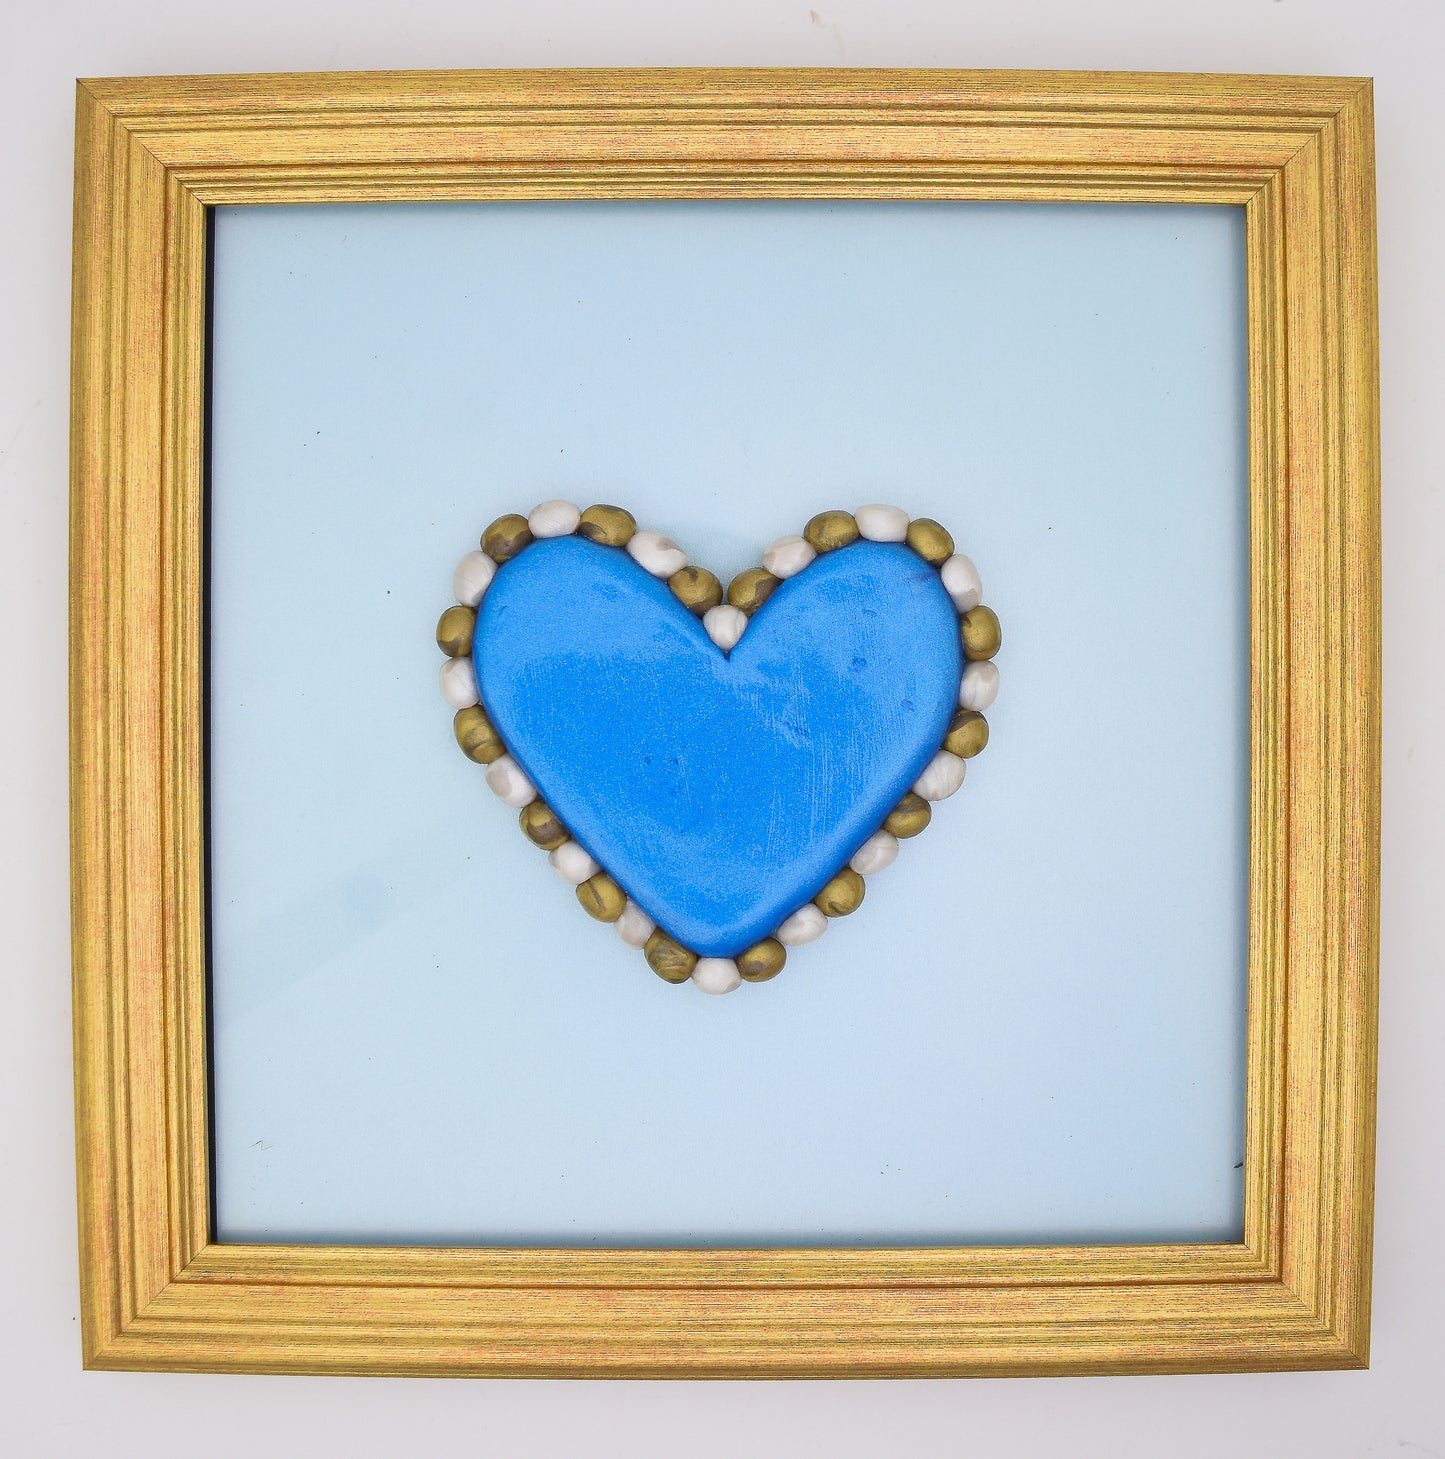
Sculpey Premo™ Voltage Blue Metallic Heart Shadowbox
Sculpey Premo™ Voltage Blue Metallic Heart Shadowbox
Read More
Add a personal touch to your home with this sweet way to display a handmade creation. It’s a simple project that gives a polished, professional look without requiring advanced
techniques. Makes a great gift too!
TIME TO COMPLETION: About 1 hour (but allow generous drying time for the glue)
Read Less
ADDITIONAL SUPPLIES
• Scissors
• Super glue
• Paint brush
• 8x8 Picture frame
• Blue shimmer cardstock
Project Instructions
Step 1
Step 2

Step 3

Step 4

Step 5

Step 6

Step 7

Step 8
