

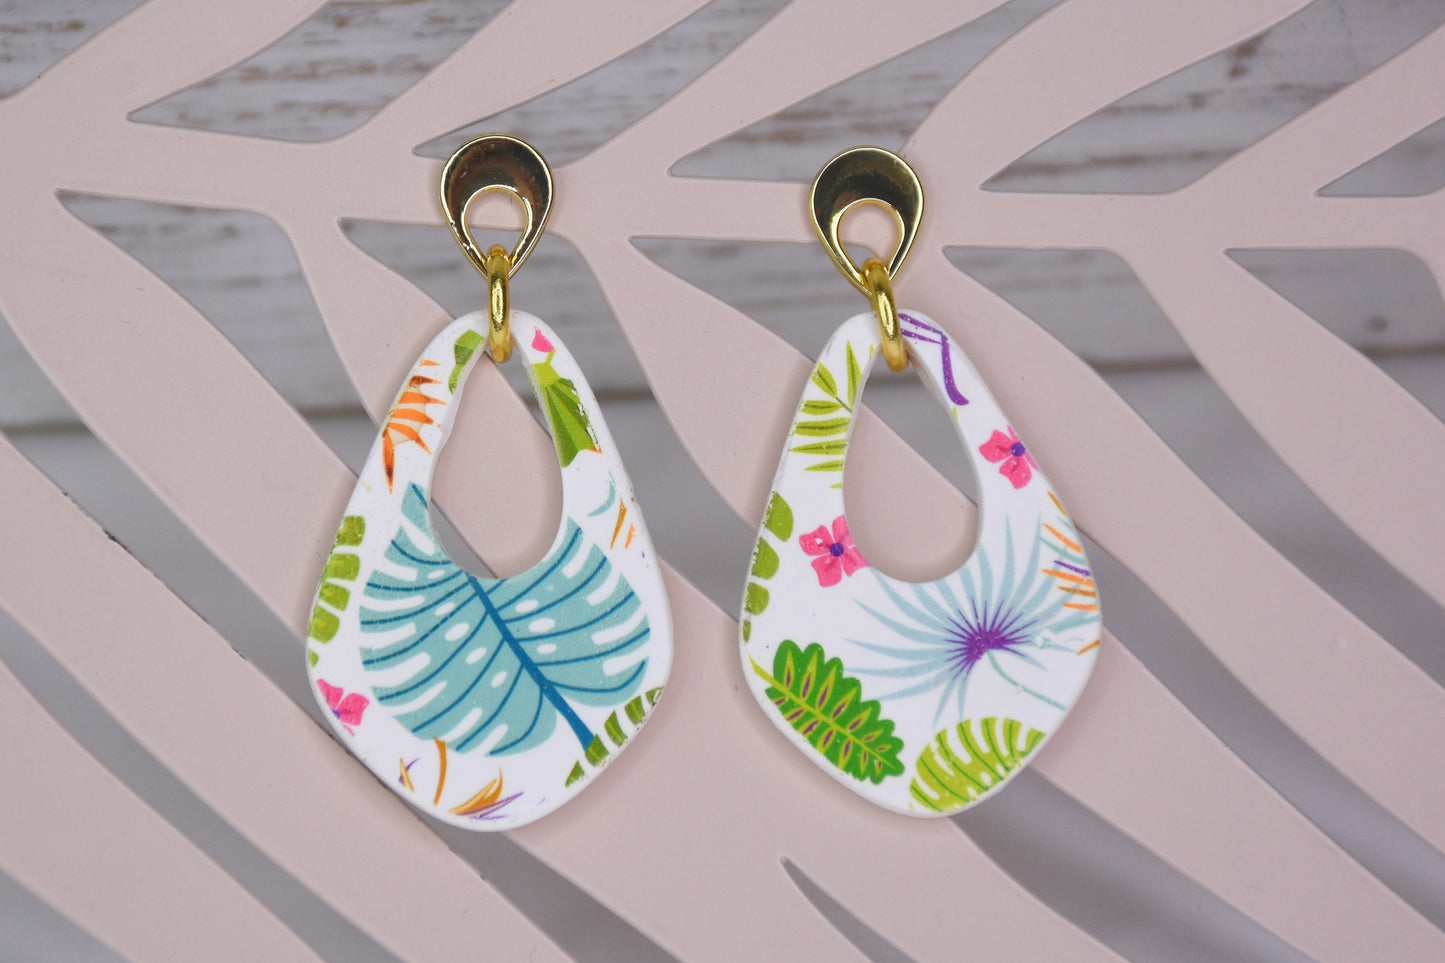
Sculpey Premo™ Transfer and Cutout Earrings
Sculpey Premo™ Transfer and Cutout Earrings
Read More
Dazzle your friends and family with these charming colorful earrings you can create and wear in less than an hour!
COMPLETION TIME:
45 Minutes to make, bake, and assemble
Read Less
ADDITIONAL SUPPLIES
- Water basin
- Sponge
- Paper towel
- Pencil
- Scissors
- "Fat" Teardrop shaped cutter
- 8mm Gold tone jump rings (2)
- Gold tone teardrop cut out findings (2)
- Flat nose pliers
Project Instructions
Step 1
Step 2

Step 3

Step 4

Step 5

Step 6

Step 7

Step 8

Step 9
