

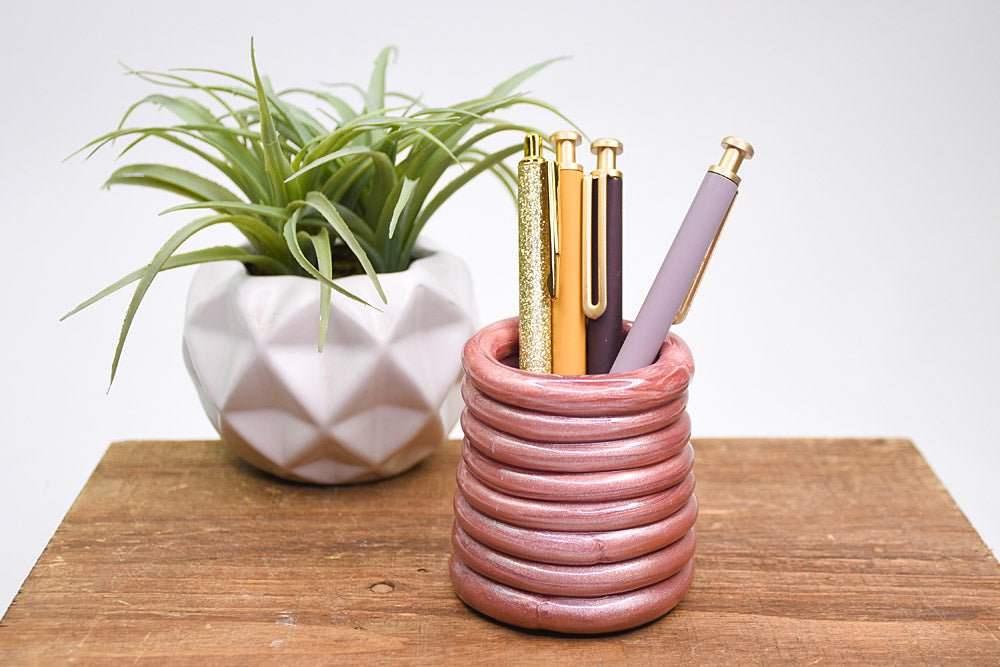
Sculpey Premo™ Rose Gold Metallic Pencil Cup
Sculpey Premo™ Rose Gold Metallic Pencil Cup
Read More
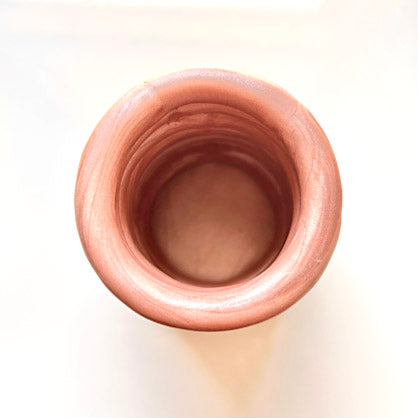
Organize your desk in style with this elegant (and easy to make!) pencil/pen cup. (Note: it would make a perfect small plant holder as well- you can even alter the height to suit your plant)
Time to Complete – Sculpting time approximately 30 minutes. Baking/curing time 30 minutes
Read Less
ADDITIONAL SUPPLIES
- Ruler
- Paintbrush
- X-Acto knife
- Medium metal ball tool
- OPTIONAL: UV Resin/Lamp or Sculpey Gloss Glaze
NOTE: YOU WILL NEED 3 BARS OF THE ROSE GOLD METALLIC CLAY FOR THIS PROJECT
Project Instructions
Step 1
Step 2
Step 3
Step 4
Step 5

Step 6
