


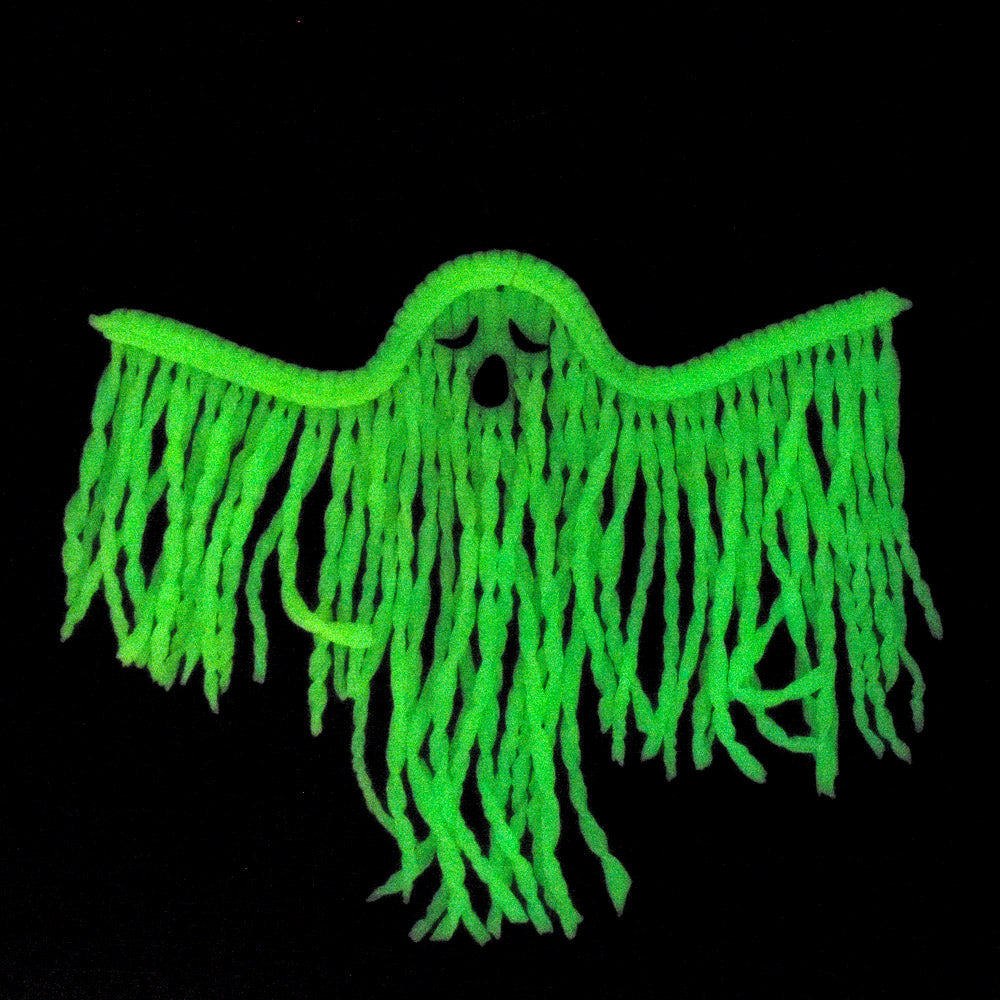
Sculpey Premo™ Fringe Ghost Wall Hanging
Sculpey Premo™ Fringe Ghost Wall Hanging
Read More
What a Show Stopper for your wall for the Spooky Season! This clever Glow-in-the-Dark Ghost will be a highlight whether it is night or day.
COMPLETION TIME:
90 Minutes to make and bake.
Read Less
ADDITIONAL SUPPLIES
- 12” - 12 Gauge aluminum craft wire - silver tone
- 3” diameter round bottle
- Wire cutters
- Fishing line
- Scissors

Project Instructions
Step 1
Step 2

Step 3

Step 4

Step 5

Step 6

Step 7

Step 8

Step 9

Step 10

Step 11

Step 12

Step 13

Step 14

Step 15

Step 16

Step 17

Step 18
Step 19

Step 20
