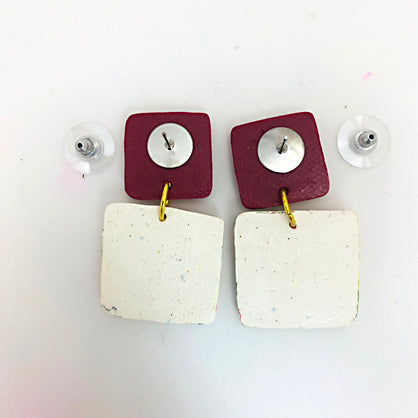
Sculpey Premo™ Bold Blooms Earrings
Sculpey Premo™ Bold Blooms Earrings
Read More
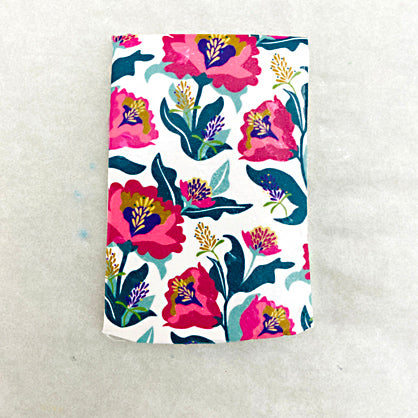
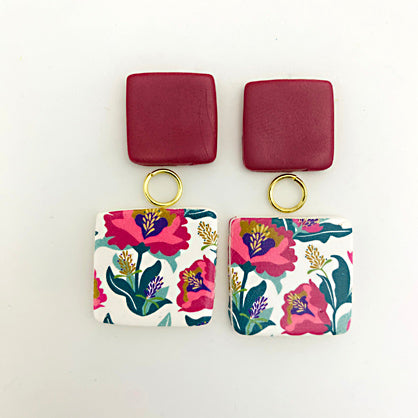
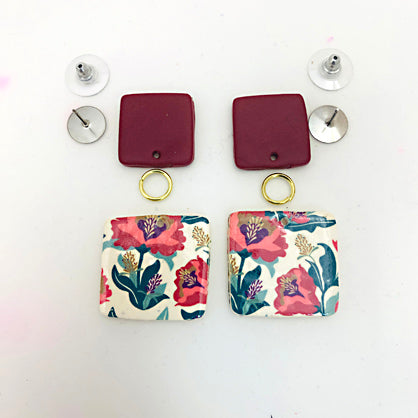
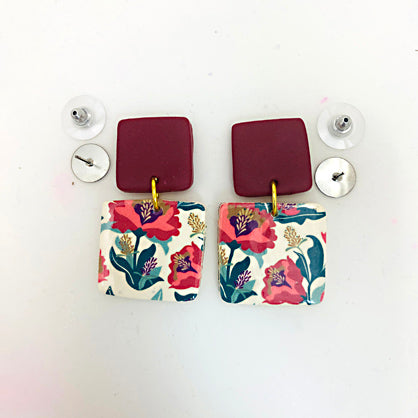
Wow! Create a bold and beautiful pair of earrings in about an hour with this winning team of Sculpey clays and Transfer Sheet.
COMPLETION TIME:
60 Minutes to make, bake, and assemble. Some time required for glue to dry.
Read Less
ADDITIONAL SUPPLIES
- Water basin
- Sponge
- Scissors
- 8 mm Gold toned jump rings (2)
- Ear posts and backs (2 set)
- Silicone glue or instant drying glue

Project Instructions
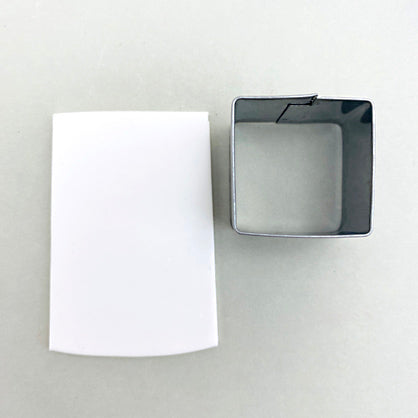
Step 1
Step 2
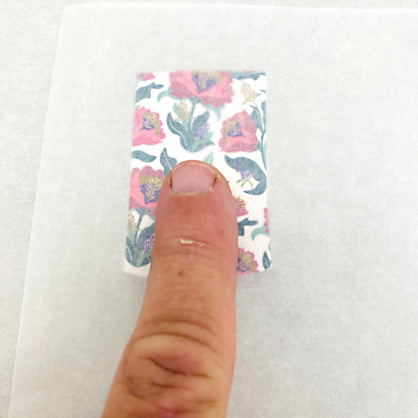
Step 3

Step 4
Step 5
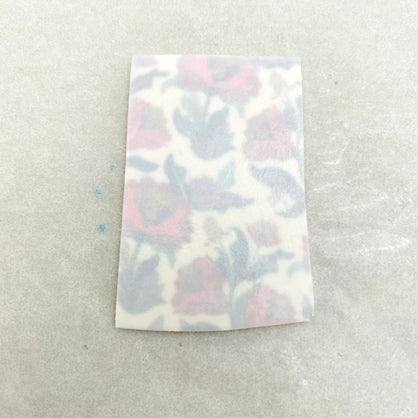
Step 6
Step 7
Step 8
Step 9
Step 10
Step 11
Step 12
Step 13