

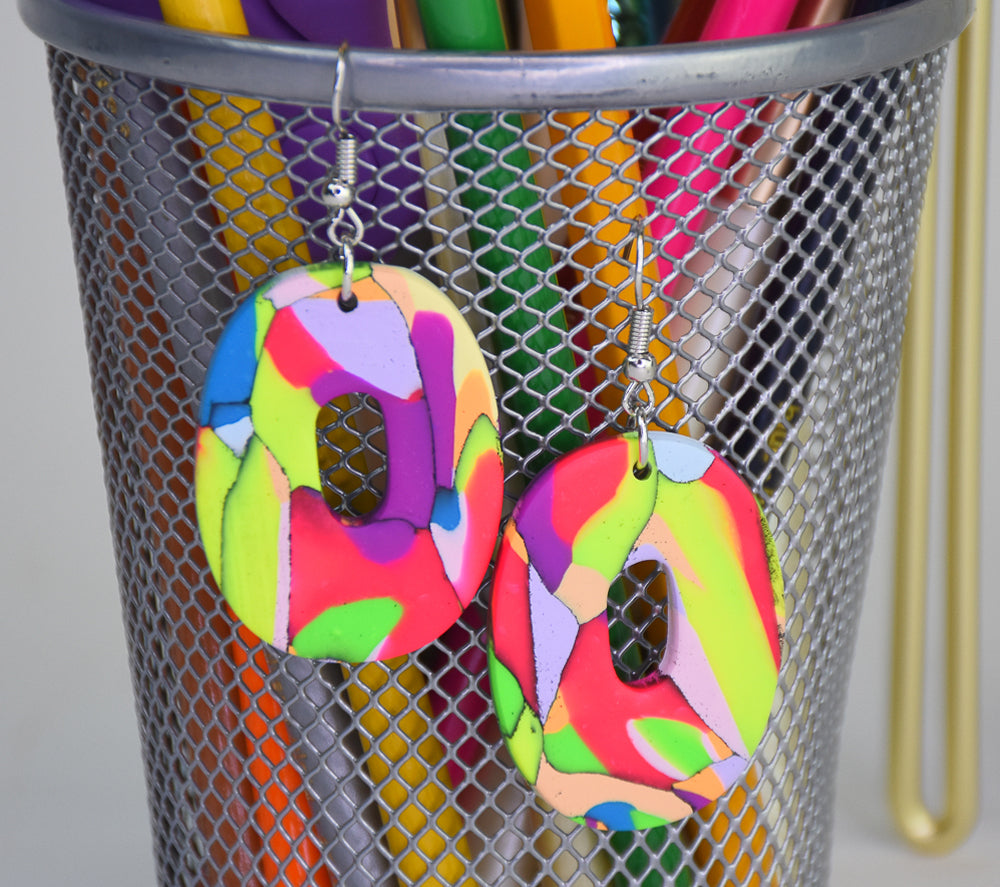
Sculpey Premo™ and Sculpey Soufflé™ Neon Marbled Earrings
Sculpey Premo™ and Sculpey Soufflé™ Neon Marbled Earrings
Read More
Tropical vibes abound when Sculpey Premo and Souffle team up with these wonderful bright colors to create these fantastic earrings.
TIME TO COMPLETION: about 1 hour
Read Less
ADDITIONAL SUPPLIES
- Black acrylic paint
- Earring cutters
- Needle tool
- Two 6mm jump rings
- Two fish hook earring posts
Project Instructions
Step 1
Step 2

Step 3

Step 4

Step 5

Step 6

Step 7

Step 8

Step 9

Step 10

Step 11

Step 12

Step 13

Step 14
