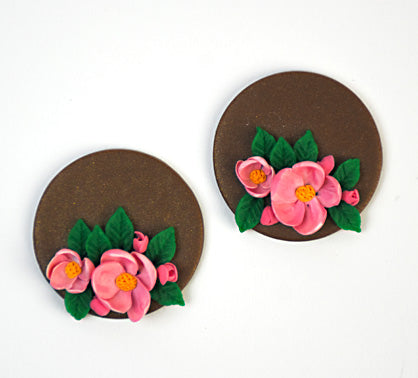
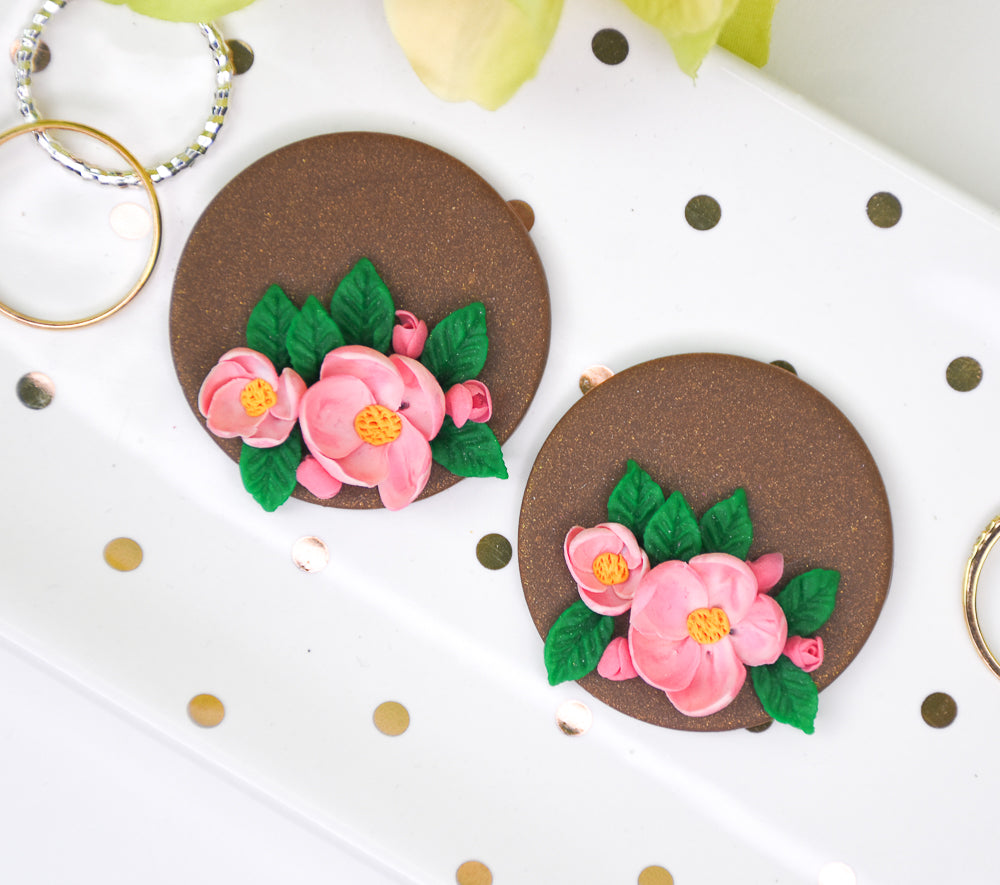
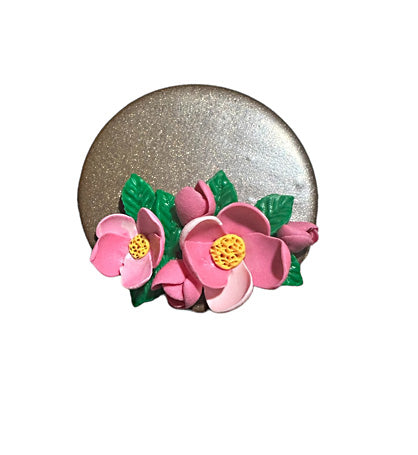
Sculpey Premo™ and Sculpey Soufflé™ Large Blossom Stud Earrings
Sculpey Premo™ and Sculpey Soufflé™ Large Blossom Stud Earrings
Read More
Sculpey Premo™ and Sculpey Soufflé™ team up to create these lovely stud earrings with delicate pink blossoms.
Time to Create: 45min
Time to Bake: 45 min
Designed by Mrs Victoria
Read Less
ADDITIONAL SUPPLIES
- Exacto knife
- Needle tool
- UV resin
- 1 1/2 in circle cutter
- Sand paper
- 2 gold earring posts
- Super glue
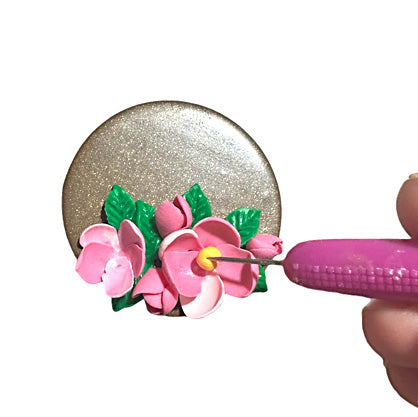
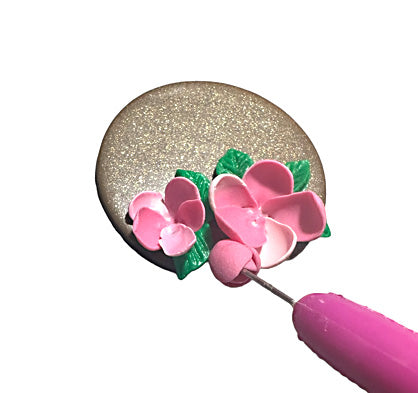
Project Instructions
Step 1
Step 2
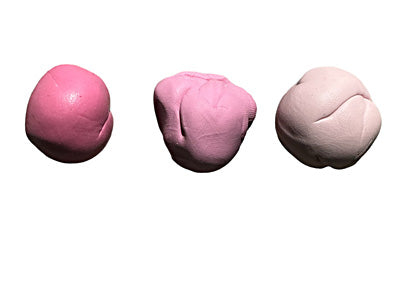
Step 3

Step 4

Step 5
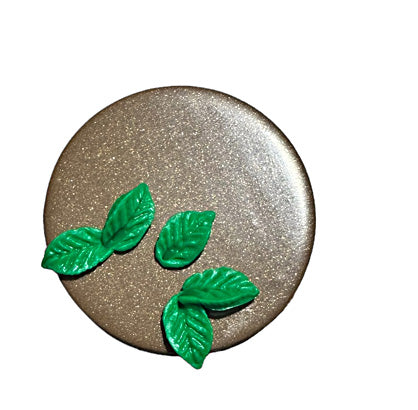
Step 6

Step 7
Step 8
Step 9
Step 10