

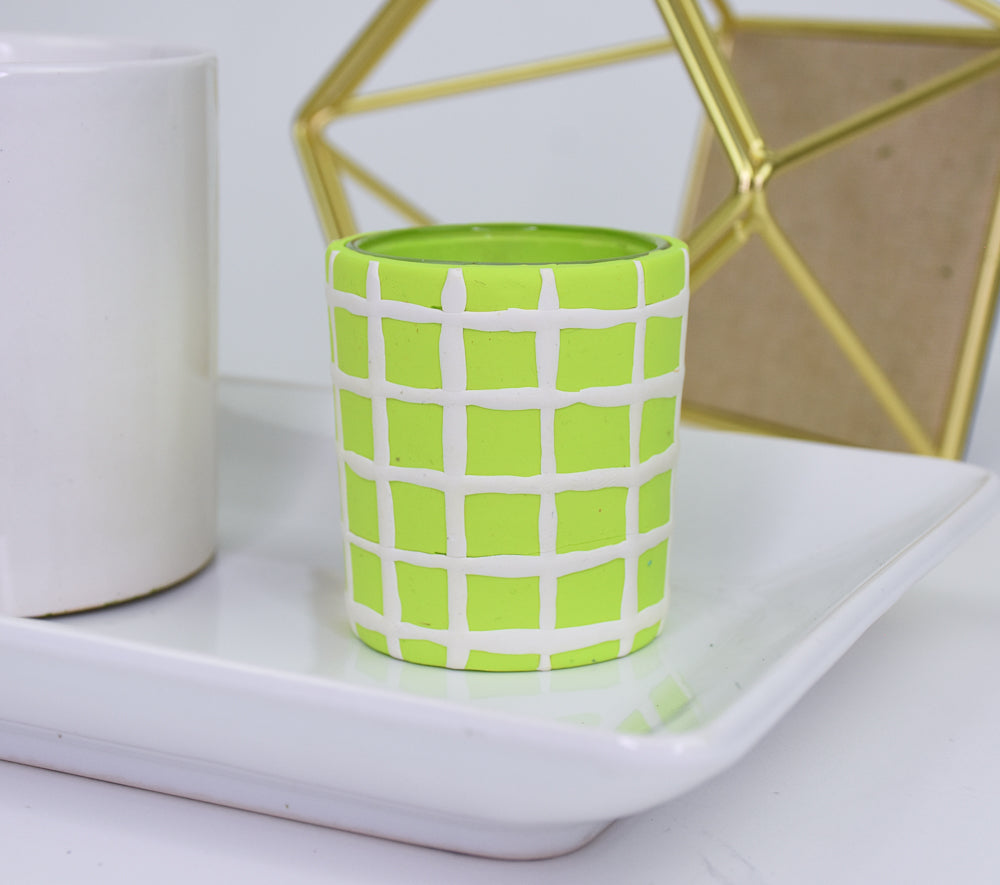
Sculpey III® Windowpane Votive
Sculpey III® Windowpane Votive
Designed by Amy Koranek
Read More
Everyone loves a touch of Spring in their décor! Whether you make this for yourself or a friend, it will be sure to delight!
COMPLETION TIME:
45 Minutes to make and bake
Read Less
ADDITIONAL SUPPLIES
- Small glass votive
- Ruler
Project Instructions
- Getting Started:
Start with clean hands, unwrap and knead clay until soft and smooth, or condition by running clay though a Pasta Machine. We recommend using a designated machine for clay purposes only. When working with multiple colors, clean hands with soap and water or baby wipes (we have found that baby wipes work best) before switching colors. Shape clay, pressing pieces firmly together. Wash hands after use.
- Baking (also called Curing):
Sheet one bar of Spring Green to 1/8” thick in a rectangular shape.

Check to see if the sheet will fully wrap your votive. If you have a lot of extra you can trim it away and save it.

Lay the trimmed sheet flat on the work surface.
Measure and score a 1/2” grid in the clay. Use the Clay Blade to make very light score lines.
Measure and score a 1/2” grid in the clay. Use the Clay Blade to make very light score lines.

Roll White into very thin ropes. Press pieces of the rope on top of the grid to make thin vertical stripes.

Repeat to make thin horizontal stripes.
Roll over the sheet with the Clay Roller to flatten the lines.
Roll over the sheet with the Clay Roller to flatten the lines.

Cut a straight edge in one of the short ends of the clay sheet.
Line up the straight edge on the side of the votive.
Line up the straight edge on the side of the votive.

Completely wrap the votive with the clay. Where clay meets clay, cut a straight edge and butt the two straight ends together - do not overlap the seam.
Carefully smooth the seam with your fingertips.
Carefully smooth the seam with your fingertips.

Trim the excess clay along the top and bottom edges.
Smooth the edges with your fingertips.
Bake the votive following the baking instructions for Sculpey SIII®.
Allow to cool completely before handling.
Smooth the edges with your fingertips.
Bake the votive following the baking instructions for Sculpey SIII®.
Allow to cool completely before handling.

- Choosing a selection results in a full page refresh.
- Opens in a new window.