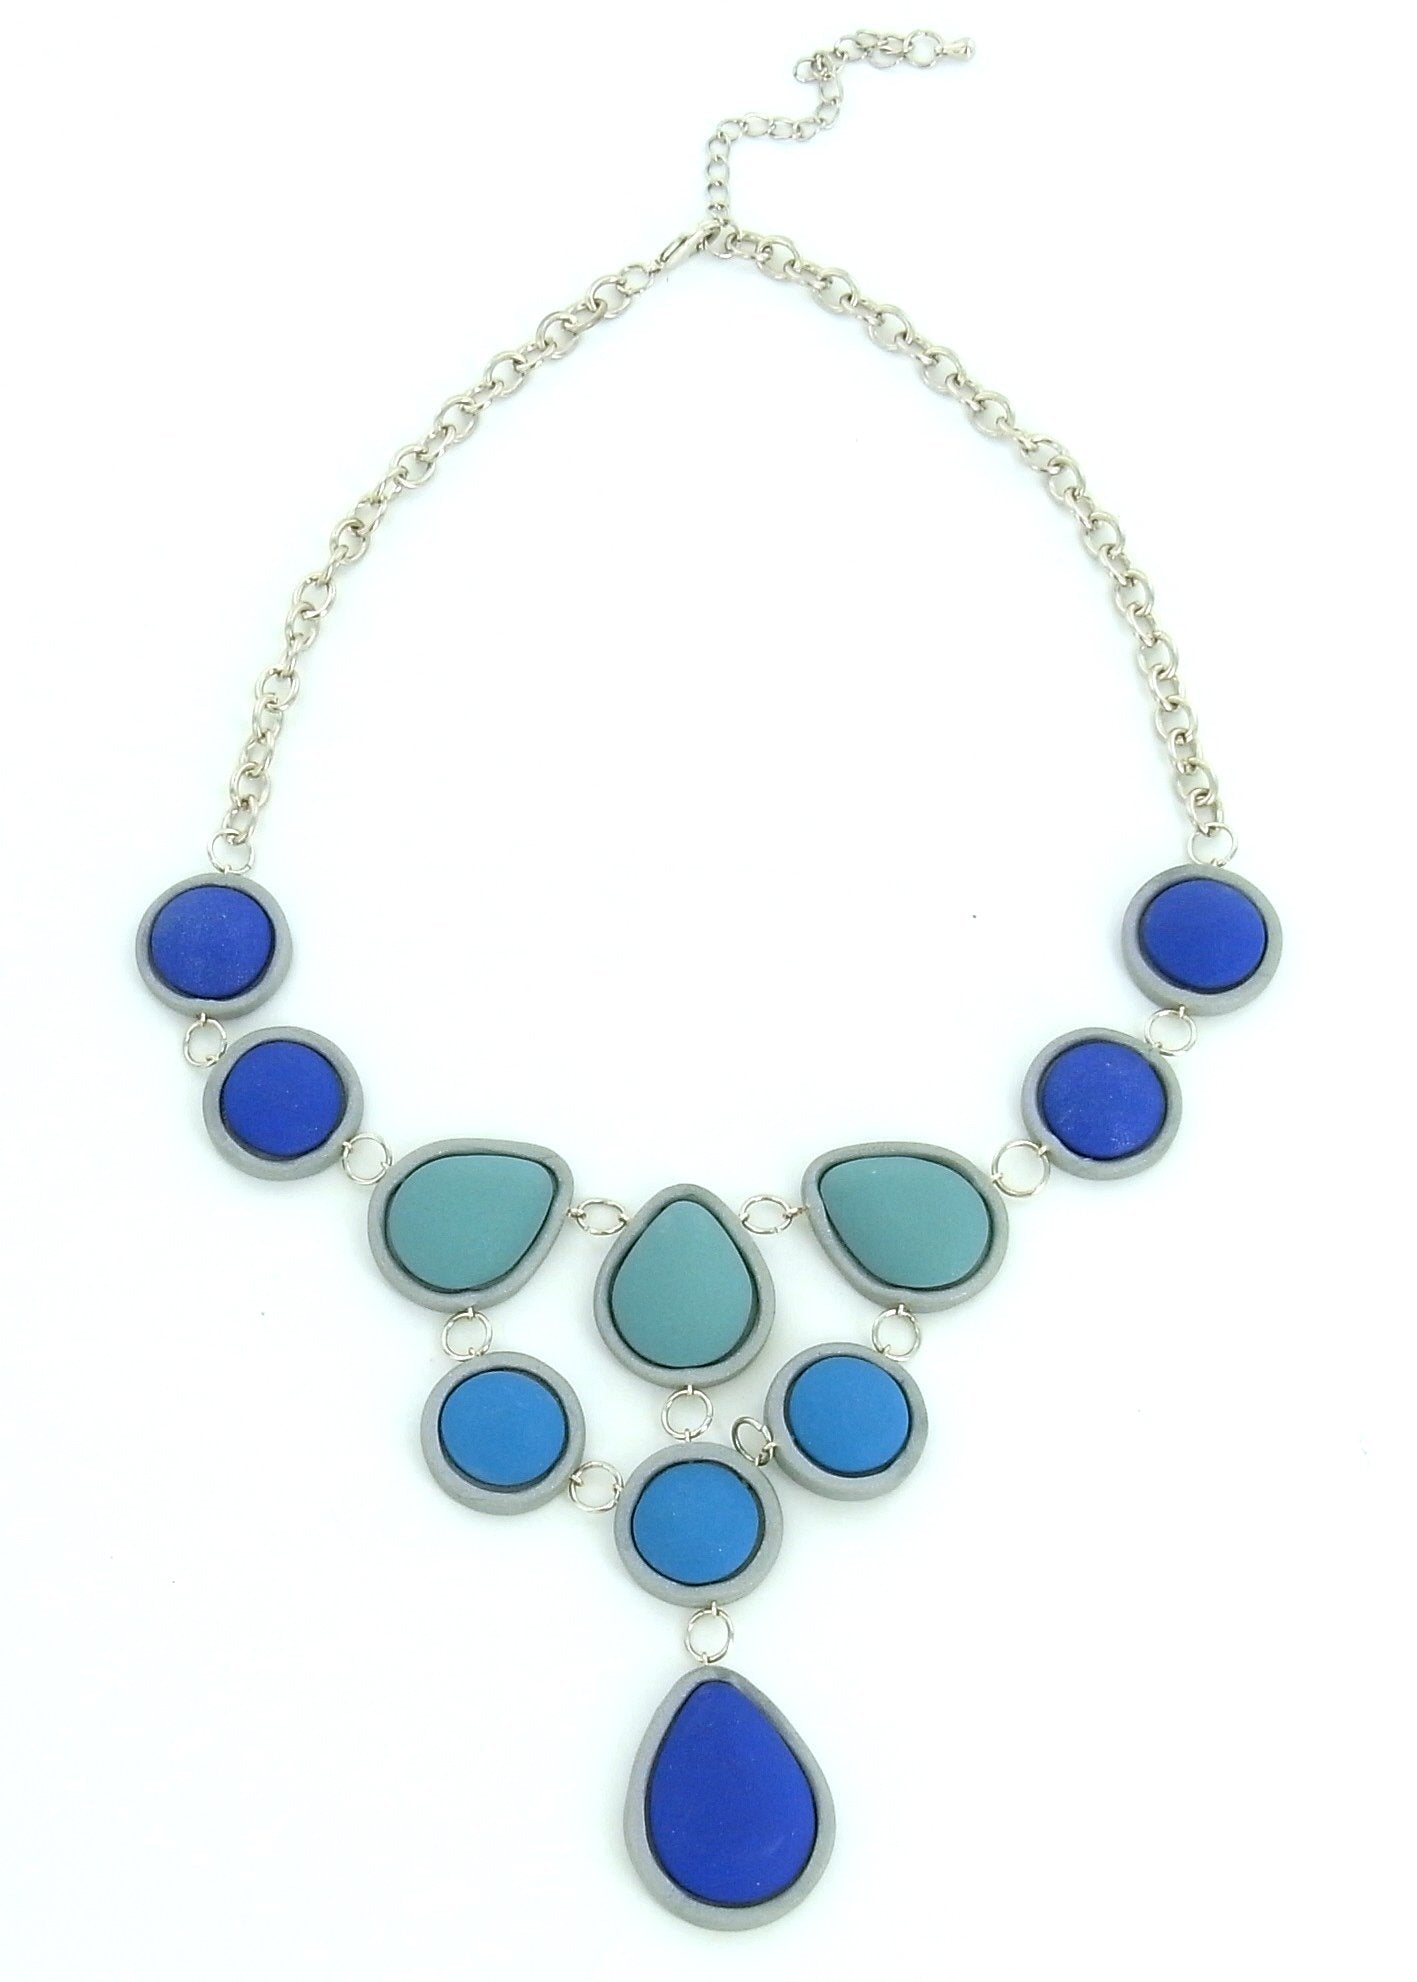
Sculpey® III Waterfall Necklace
Sculpey® III Waterfall Necklace
Read More
This statement necklace will make any outfit pop!
Read Less
ADDITIONAL SUPPLIES
• 1" silver eye pin (26)
• 8mm silver jump rings (14)
• Silver necklace chain with clasp and tail chain
• Pliers|• 1" silver eye pin (26)
• 8mm silver jump rings (14)
• Silver necklace chain with clasp and tail chain
• Pliers

Project Instructions
Do not use unbaked clay on unprotected furniture or finished surfaces. Start with clean hands and work surface area. Good work surfaces include wax paper, metal baking sheet, or disposable foil. Knead clay until soft and smooth. For best results, clean your hands in between colors. Shape clay, pressing pieces together firmly. Bake on oven-proof glass or metal surface at 275°F (130°C) for 30 minutes per ¼" (6 mm) thickness. For best baking results, use an oven thermometer. DO NOT USE MICROWAVE OVEN. DO NOT EXCEED THE ABOVE TEMPERATURE OR RECOMMENDED BAKING TIME. Wash hands after use. Baking should be completed by an adult. Begin by preheating oven to 275°F (130 °C). Test temperature with oven thermometer for perfectly cured clay. For best results, condition all clay by running it through the Clay Conditioning Machine for several passes on the widest setting. Fold the clay in half after each pass and insert the fold side into the rollers first.
Tape your texture sheet or rubber stamp to the tile. This makes Step 2 and Step 3 a little easier to manage. Run the Fuchsia clay through the Clay Conditioning Machine on the #1 setting, the widest. The Fuchsia will create the raised are of the final design. Place the sheet of clay on top of the textured area. Note: Do not use any type of release on the texture sheet.
Using your fingers press the clay into all the depressed area of the texture.

Use the flexible blade from the Super Slicer Set and shave of the top level of the clay, just so the raised areas of the texture is clearly visible. Take your time.

Remove the texture sheet from the tile. Run the Gold clay through the Clay Conditioning Machine on the #1 setting, the widest. Place the Gold sheet over the shaved area you created. With your fingers or an Acrylic Roller firmly press down on the Gold clay.
Flip the texture sheet clay stack over and create some additional pressure on the top of the texture sheet. Carefully pull the texture sheet off of the clay.

Now that you have the finished piece it’s time to create your pendant.

Flip your jewelry finding over so it is front side down and firmly press into the Sutton slice sheet. Remove the finding and carefully trim just inside the impression left by the jewelry finding. Place the trimmed piece into your jewelry finding, adjust fit with your fingers and then bake as directed as instructed above. Allow piece to cool thoroughly and pop baked cay out of the finding. Add a small dot of clear, fast drying glue and replace the clay. Enjoy your pendant.


