Skip to product information
1 of 1

Sculpey III® Sakura Faux Wood Trinket Dish

Sculpey III® Sakura Faux Wood Trinket Dish

Designed by Precious Nunez
Read More
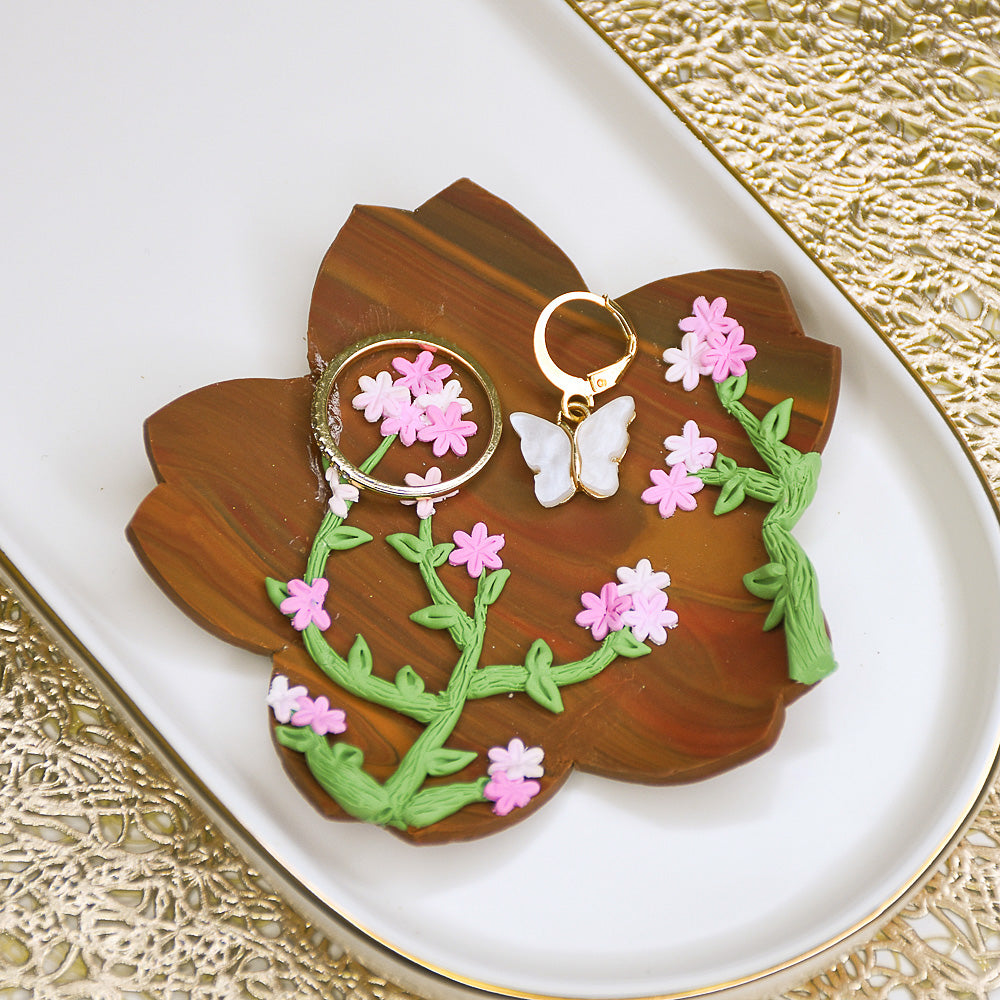
This Sakura Trinket Dish brings a touch of delicate floral elegance to any space. The warm, wood-inspired tones paired with soft pink blossoms create a striking contrast, making it perfect for holding jewelry, small keepsakes, or simply as a decorative piece.
Read Less
ADDITIONAL SUPPLIES
  • X-acto knife
  • Cardstock paper
  • Oven-safe shallow dish
  • Miniature flower clay cutters
View full details
Project Instructions

Step 1

Getting Started:

Please make sure your work area is covered and you are not working on an unprotected surface. We recommend working on the Sculpey® Oven Safe Work Mat, wax paper, metal baking sheet, or disposable foil. Uncured clay may damage unprotected furniture or finished surfaces. Be sure to cover your crafting area appropriately.

Start with clean hands, unwrap and knead clay until soft and smooth, or condition by running clay though a Pasta Machine. We recommend using a designated machine for clay purposes only. When working with multiple colors, clean hands with soap and
water or baby wipes (we have found that baby wipes work best) before switching
colors. Shape clay, pressing pieces firmly together.  Wash hands after use.

Baking (also called Curing):

Begin by preheating oven to 275 °F (130 °C). After you are done creating; for best results bake clay on an oven-proof surface such as metal, aluminum foil, an index card or the Sculpey® Oven Safe Work Mat at 275°F (130 °C) for 15 minutes per ¼"
(6 mm) of thickness according to package directions. Oven safe glass or ceramic
surfaces are also acceptable for baking; however please note that the baking
times may take longer as the glass or ceramic surfaces take longer to heat
up. For best baking results, use an oven thermometer. DO NOT USE MICROWAVE
OVEN. DO NOT EXCEED THE ABOVE TEMPERATURE OR RECOMMENDED BAKING TIME.

Step 2

 Cut two bars from the block of Sandalwood clay and condition thoroughly. Cut ¼ of a
block each from Redwood, Chocolate, Hazelnut, and Suede Brown.

Condition all colors and roll into balls.

Shape each ball into a long snake and pile them together as shown in the photo.

Twist the colors around themselves and roll into a ball, continuing until you achieve the desired wood-like effect.


Step 3

Set your clay machine to the second thickest setting and roll the twisted ball into a
slab.


Step 4

Create a Sakura cutout from cardstock, about 4 inches in size. Using an X-Acto knife, cut out the Sakura shape from the slab. Remove any excess clay and smooth rough edges.

Step 5

Place the Sakura cutout into a small, shallow, oven-safe glass dish. Gently smooth the clay with your fingers. Press out any trapped air bubbles, and slightly round the edges.

Step 6

Mix half of one bar of Leaf Green clay with a small amount of White clay to create a
soft sage green. Roll the clay into several thin snakes (one end thicker, and a
point on the other end) keeping one slightly larger to serve as the main branch. Start adding additional branches to the bottom left and on the right side as shown in the
photo. Extend the branches across the dish, leaving some empty spaces for balance.

Step 7

Roll small teardrop-shaped pieces from the sage green clay for leaves. Use a
needle tool to create a central vein in each leaf and add texture along the branches.


Step 8

Condition White, Pink, and Magenta clay. Roll each color into a thin slab using the thinnest setting of the clay machine,

Step 9

Layer the colors side by side, slightly overlapping (White, Light Pink, then Magenta). Roll them through the clay machine several times, folding the colors onto themselves as needed, until you achieve a smooth gradient.

Use a miniature clay cutter to cut out several flowers from the gradient, ensuring each flower has a mix of colors for a dual-tone effect.

Step 10

Use a needle tool to make small indents in each flower for texture.


Step 11

Arrange and gently press the flowers along the branches in the dish, alternating colors to create a balanced, full look.

Bake/cure the completed design according to the directions in Step 1 above.