

Sculpey® III Happy Father’s Day! - Fish Scales Money Clip
Sculpey® III Happy Father’s Day! - Fish Scales Money Clip
Read More
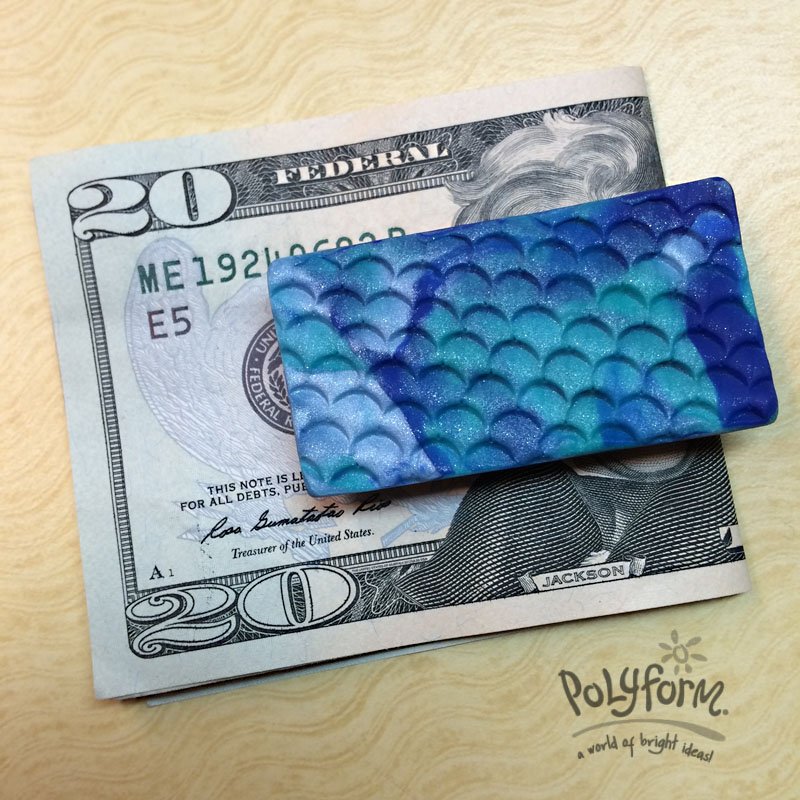
Dad will be happy to drop this money clip into his pocket and maybe just as happy to take it out and lend you that $20!
Read Less
ADDITIONAL SUPPLIES
• Metal money clip
• Silicone glue (Like E-6000 or GOOP)
Project Instructions
step 1
Your workspace:Please make sure your work area is covered and you are not working on an unprotected surface. We recommend working on the Sculpey® Work ‘n Bake Clay Mat, wax paper, metal baking sheet, or disposable foil. Uncured clay may damage unprotected furniture or finished surfaces. Be sure to cover your crafting area appropriately.Getting Started:Start with clean hands, unwrap and knead clay until soft and smooth, or condition by running clay though a Pasta Machine. We recommend using a designated machine for clay purposes only. When working with multiple colors, clean hands with soap and water or baby wipes (we have found that baby wipes work best) before switching colors. Shape clay, pressing pieces firmly together. Wash hands after use.Baking:Begin by preheating oven to 275 °F (130 °C). After you are done creating; for best results bake clay on an oven-proof surface such metal, aluminum foil, an index card or the Sculpey® Clay Mat at 275°F (130 °C) for 15 minutes per ¼" (6 mm) thickness according to package directions. Oven safe glass or ceramic surfaces are also acceptable for baking; however please note that the baking times may take longer as the glass or ceramic surfaces take longer to heat up. For best baking results, use an oven thermometer. DO NOT USE MICROWAVE OVEN. DO NOT EXCEED THE ABOVE TEMPERATURE OR RECOMMENDED BAKING TIME.step 2
Sculpey® III has lines on it that divide it into four equal sections. You will need about 1/3 of a section in each of the three colors.
step 3
Using the knife tool from the Clay Tool Starter Set, chop the three colors of clay up randomly.
step 4
Mix the clay chips up. Chop some more, mix some more until you have all the clay bits in little pieces and randomly mixed.
step 5
Mash the clay chips together into a patty. The clay patty should be randomly mixed up.

step 6
Roll over the clay patty to flatten it out to about 3/16” thick.
step 7
Make sure your sheet of clay is a little bigger than the money clip.
step 8
Start in one corner and make a row of little scallop shapes with the clay tool.
step 9
Make another row alternating the shapes in a scale pattern. Keep making rows of scales until the sheet is covered.

step 10
Make sure you have enough of the pattern to cover the money clip.
step 11
Using the super slicer, trim the clay a little larger than the flat side of the money clip.step 12
Bake the clay piece according to the instructions above in Step 1. When the clay piece is completely cool, glue it to the flat side of the money clip. Allow the glue to dry completely then fill the money clip with cash and give it to your dad for Father’s Day!