Sculpey III Agate Geodes
Sculpey III Agate Geodes
Read More
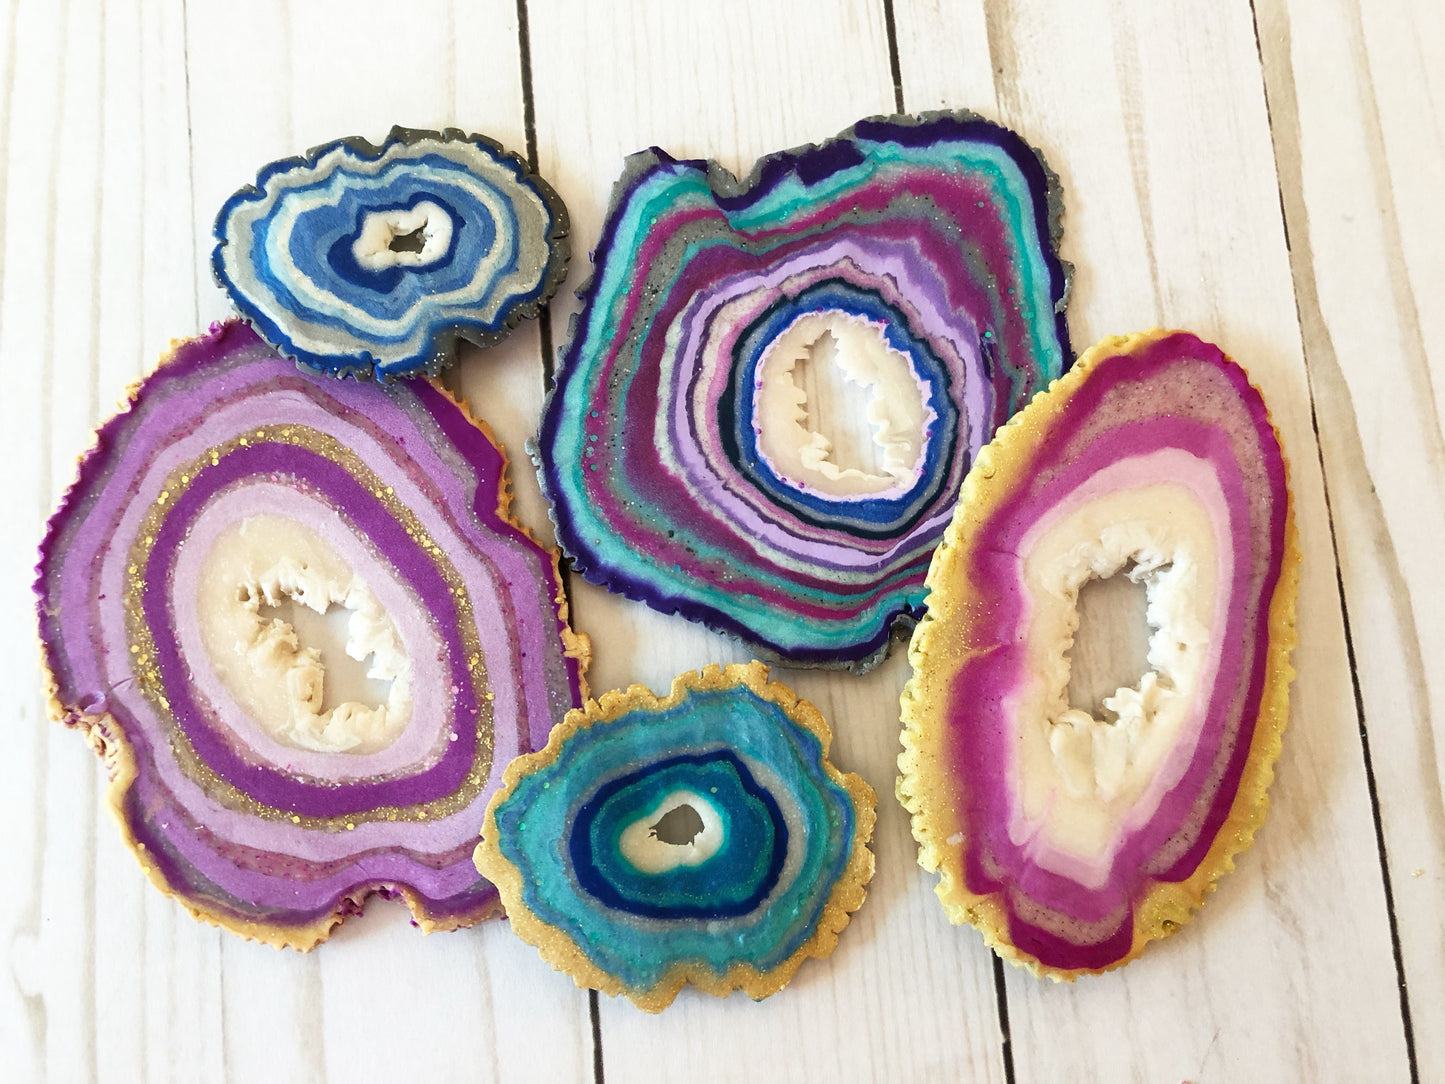
Introduction: Create faux agate slices that can be used to create everything from home décor to jewelry designs. Custom-blend your own colors and glitters to create a one-of-a-kind look.
Designed By: Cathie Filian and Steve Piacenza
Read Less
ADDITIONAL SUPPLIES
Wax PaperWhite Glitter (ultrafine)
Pink and Purple Glitter (Ultrafine and Chunky)
Gold Glitter (Ultrafine and Chunky)
Project Instructions
\Getting Started:
Please make sure your work area is covered and you are not working on an unprotected surface. We recommend working on the Sculpey® Work ‘n Bake Clay Mat, wax paper, metal baking sheet, or disposable foil. Uncured clay may damage unprotected furniture or finished surfaces. Be sure to cover your crafting area appropriately.
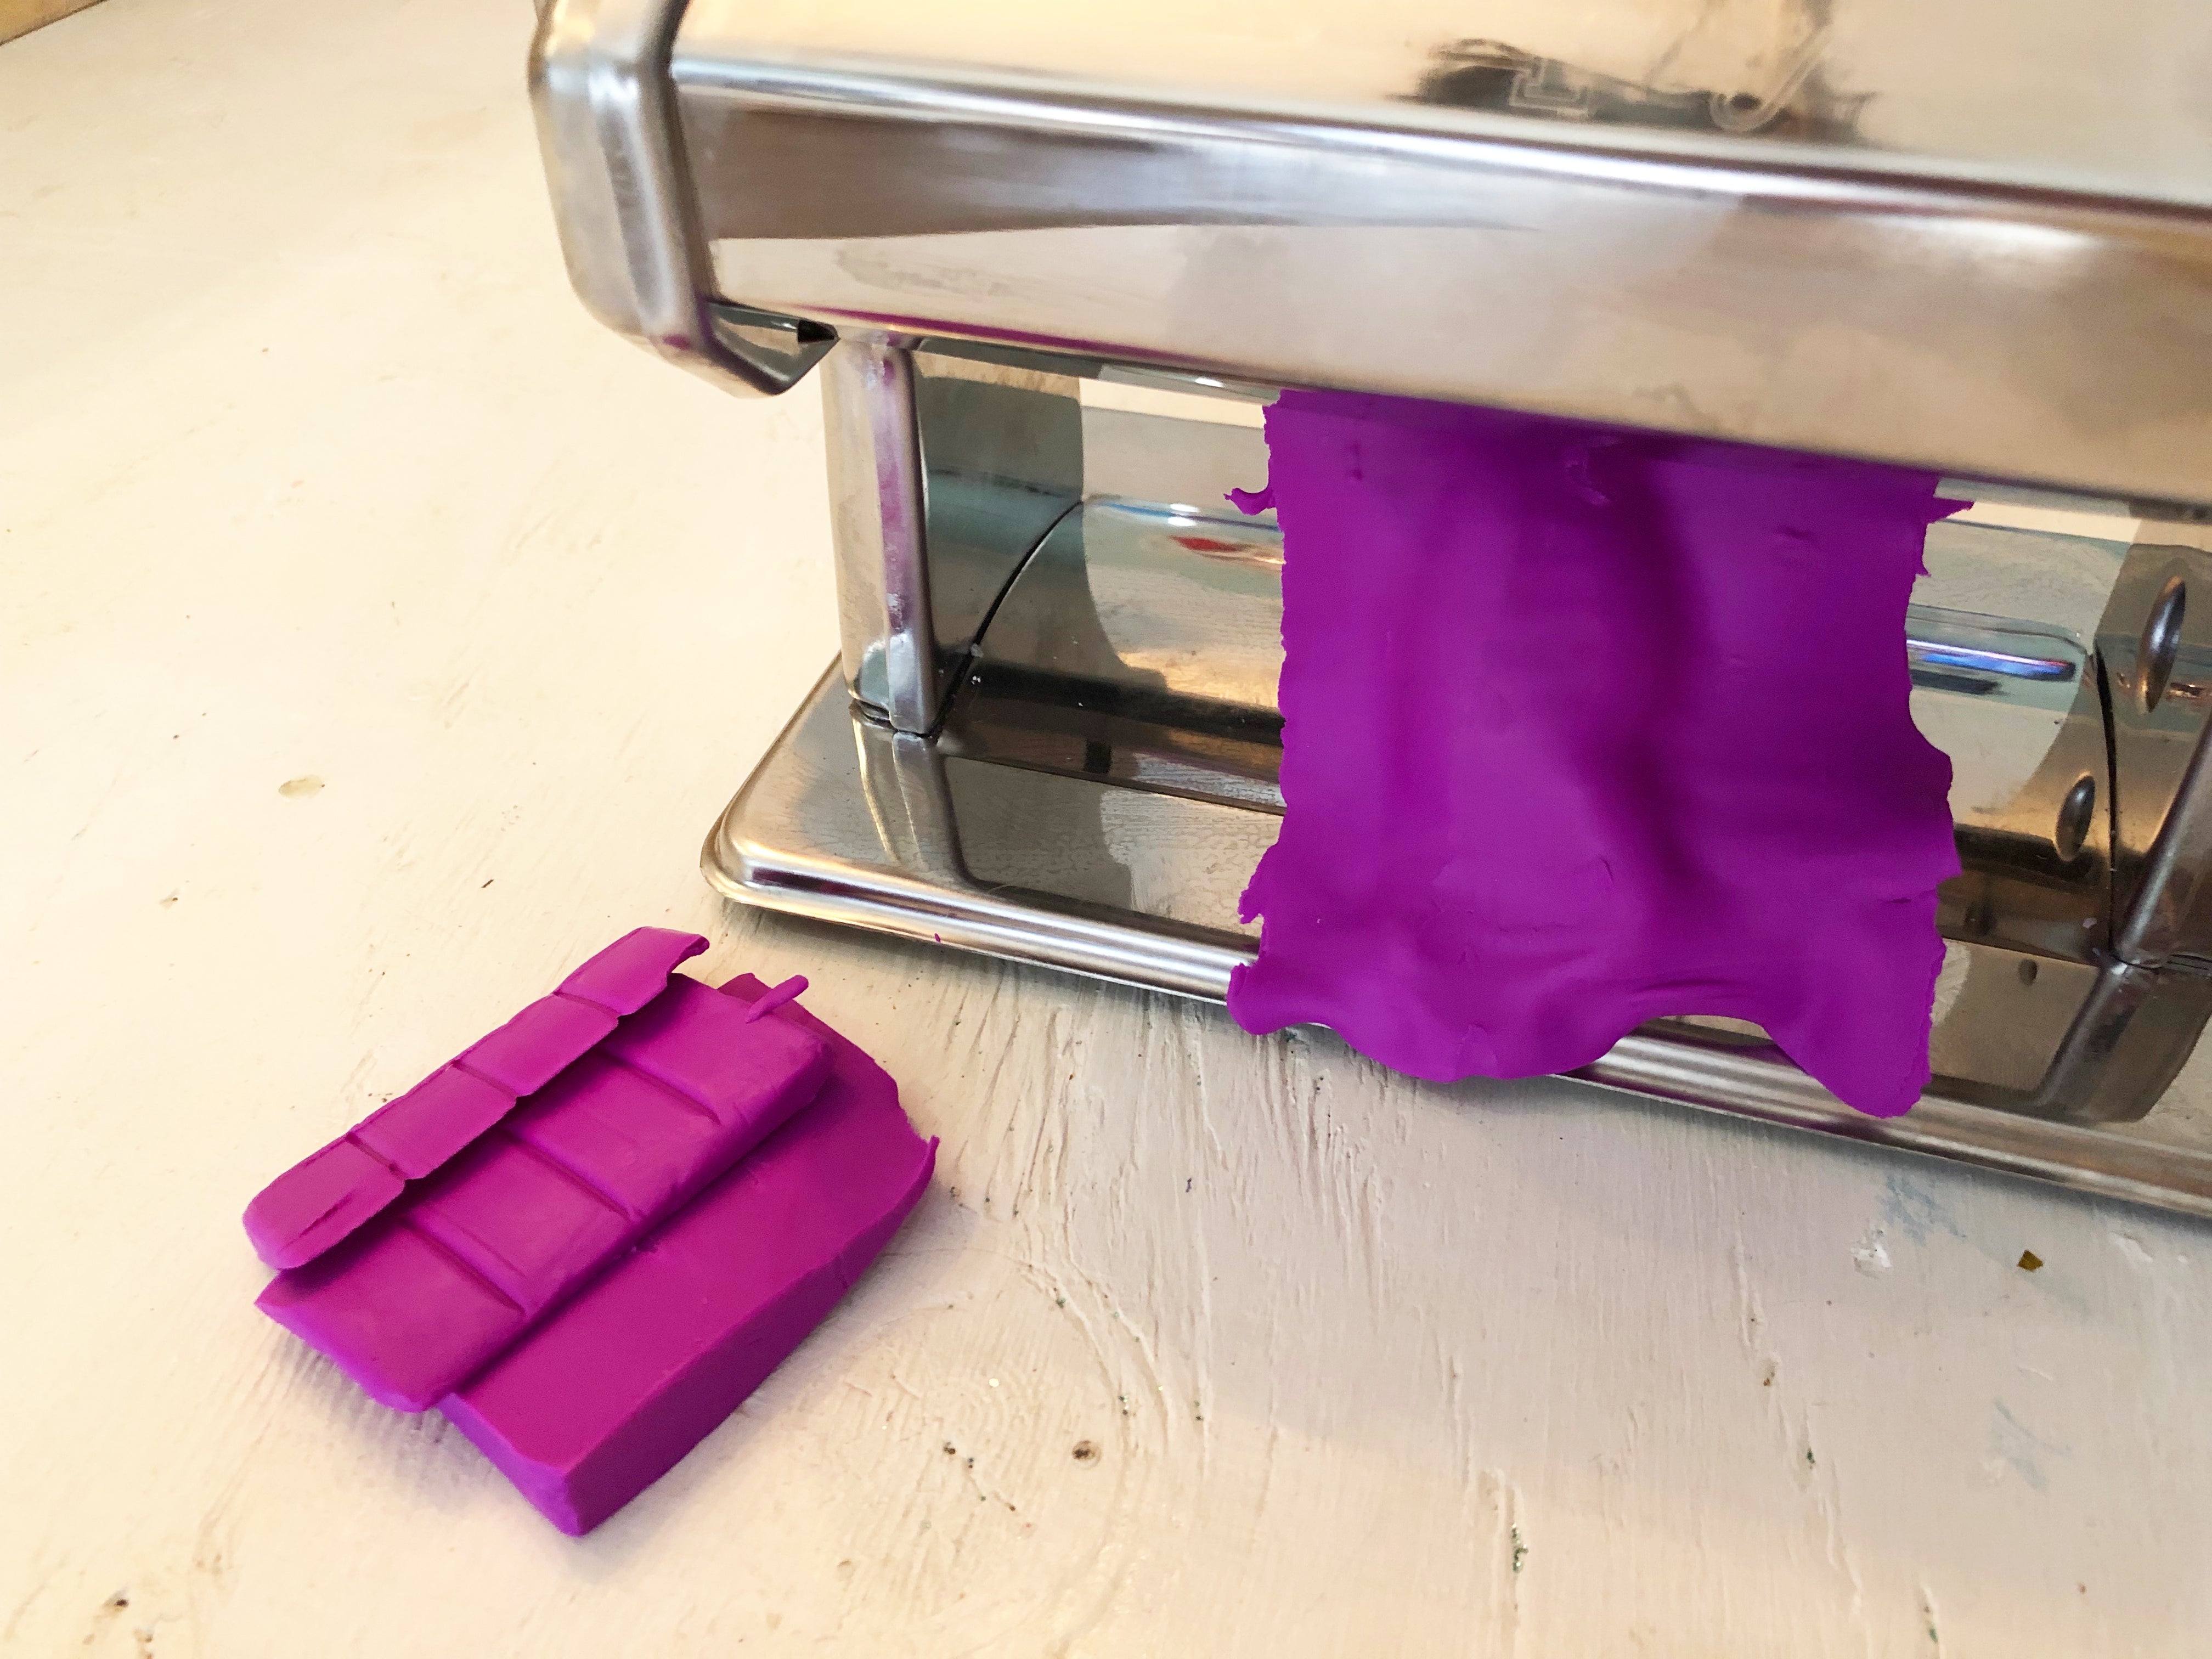
Start with clean hands, unwrap and knead clay until soft and smooth, or condition by running clay though a Pasta Machine. We recommend using a designated machine for clay purposes only. When working with multiple colors, clean hands with soap and water or baby wipes (we have found that baby wipes work best) before switching colors. Shape clay, pressing pieces firmly together. Wash hands after use.
Please make sure your work area is covered and you are not working on an unprotected surface. We recommend working on the Sculpey® Work ‘n Bake Clay Mat, wax paper, metal baking sheet, or disposable foil. Uncured clay may damage unprotected furniture or finished surfaces. Be sure to cover your crafting area appropriately.
Start with clean hands, unwrap and knead clay until soft and smooth, or condition by running clay though a Pasta Machine. We recommend using a designated machine for clay purposes only. When working with multiple colors, clean hands with soap and water or baby wipes (we have found that baby wipes work best) before switching colors. Shape clay, pressing pieces firmly together. Wash hands after use.

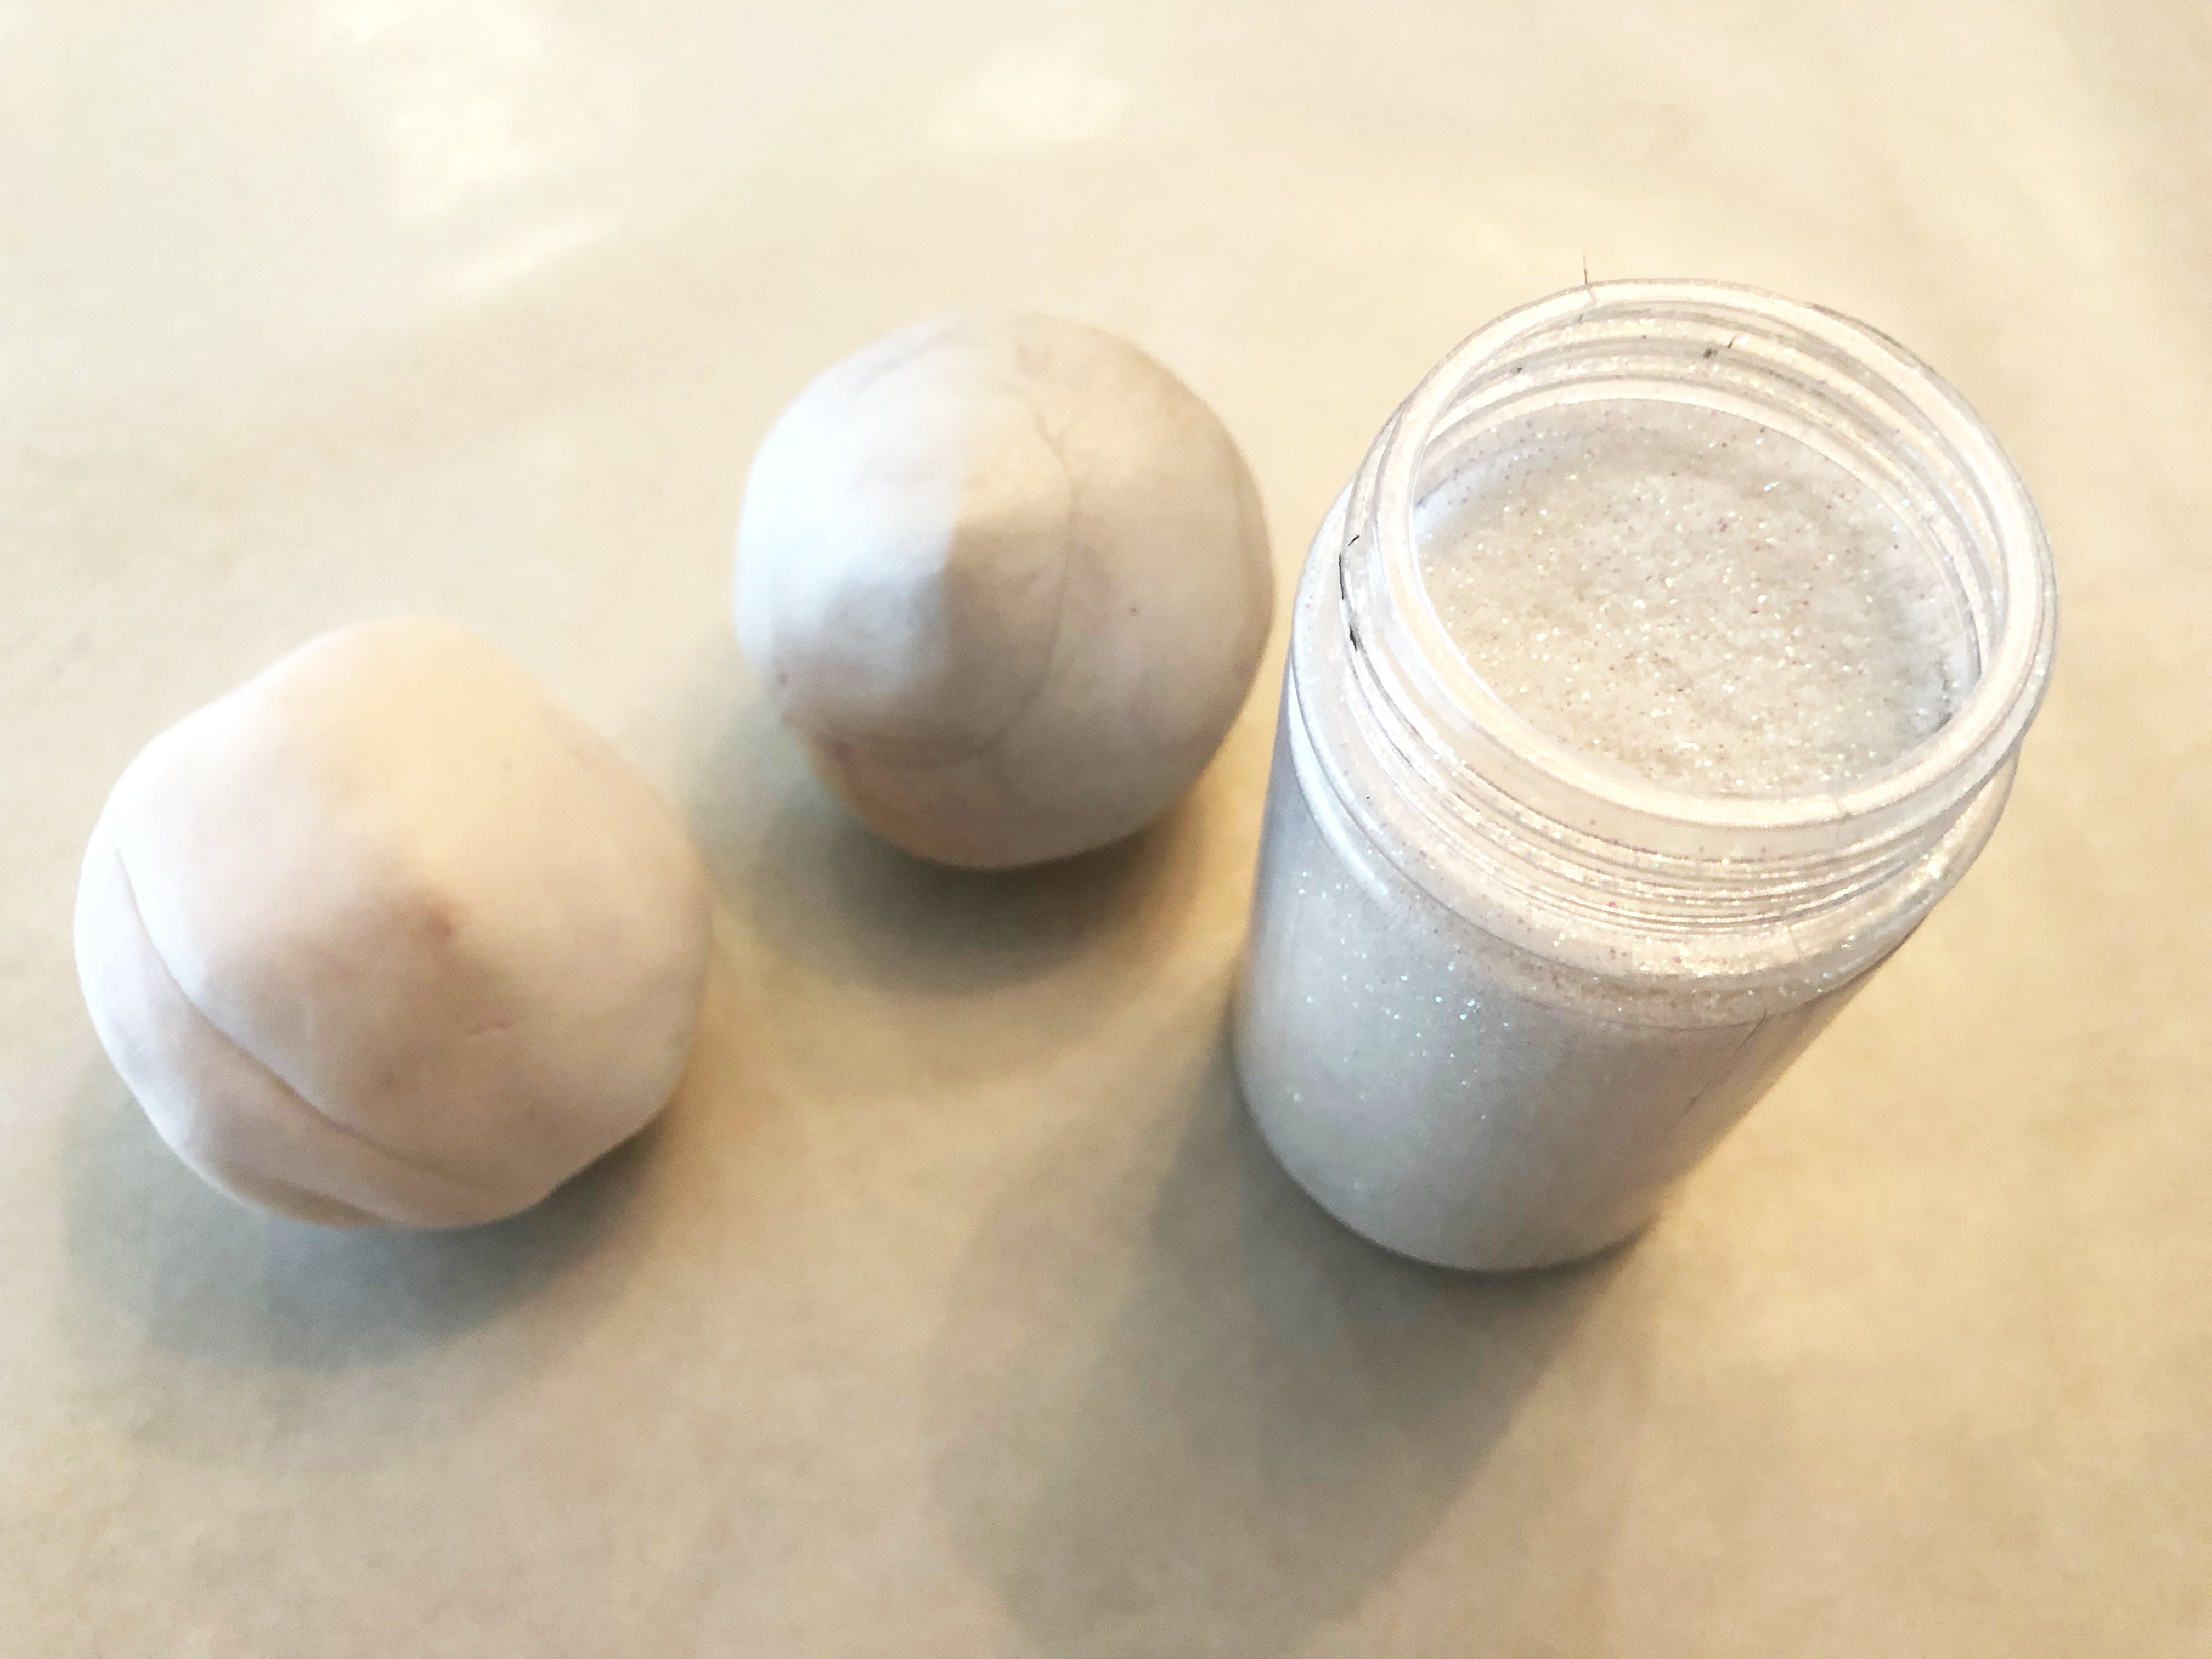
Create the crystal core. Begin with a small ball of Translucent Sculpey III and a smaller ball of Pearl Sculpey III. Working over wax paper, flatten the Translucent clay and sprinkle with white ultra fine glitter. Mix with your fingers until the glitter and clay are combined. Add a small ball of Pearl clay to the glitter mixed clay. Roll into a ball and then into a 3” long log.

Create the colored layers. Working with the Violet Sculpey III and Pearl Sculpey III create 5 different shades of Violet. Start by creating a small ball of Violet and set aside. Create 4 more balls by combining a small amount of Pearl with Violet. Each ball should be a different ratio of Violet to Pearl. Line up your balls from darkest to lightest.


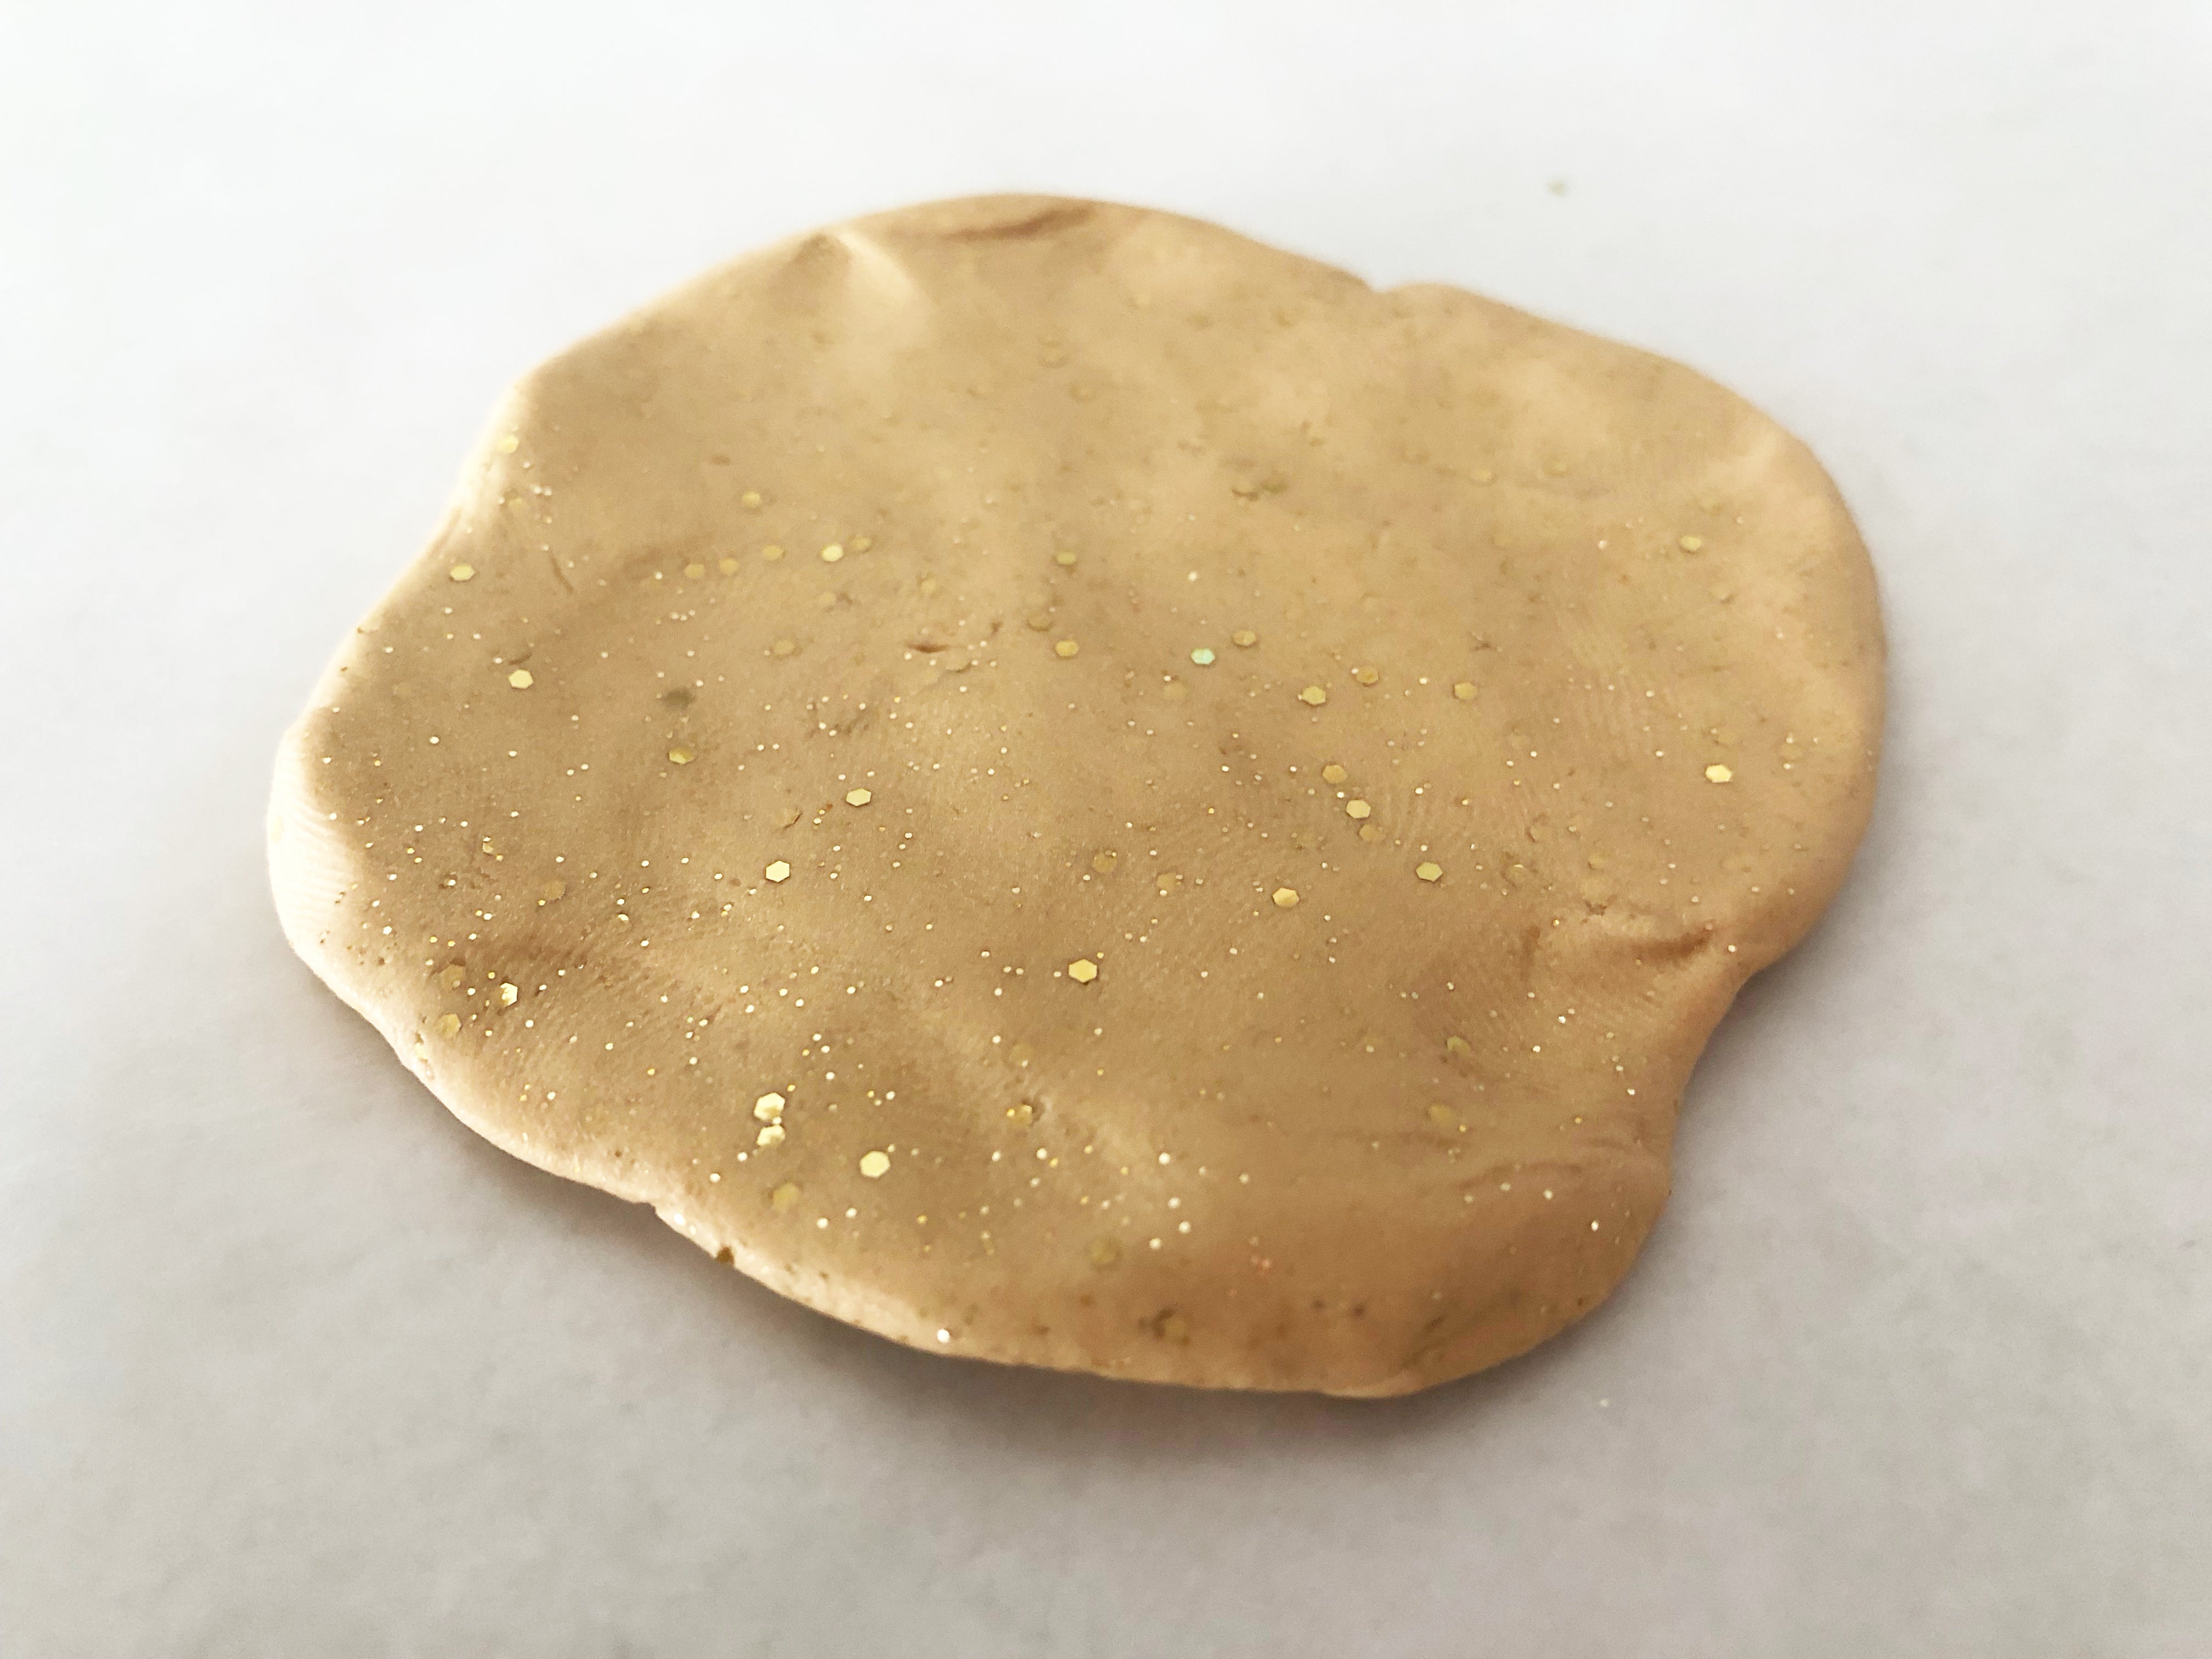
Create the glitter layers. Working with the Translucent Sculpey III roll out several balls of clay. Each one will represent a different glitter color. Flatten the ball and combine glitter with the Translucent clay. Use a mix of ultrafine glitter and chunky glitter.

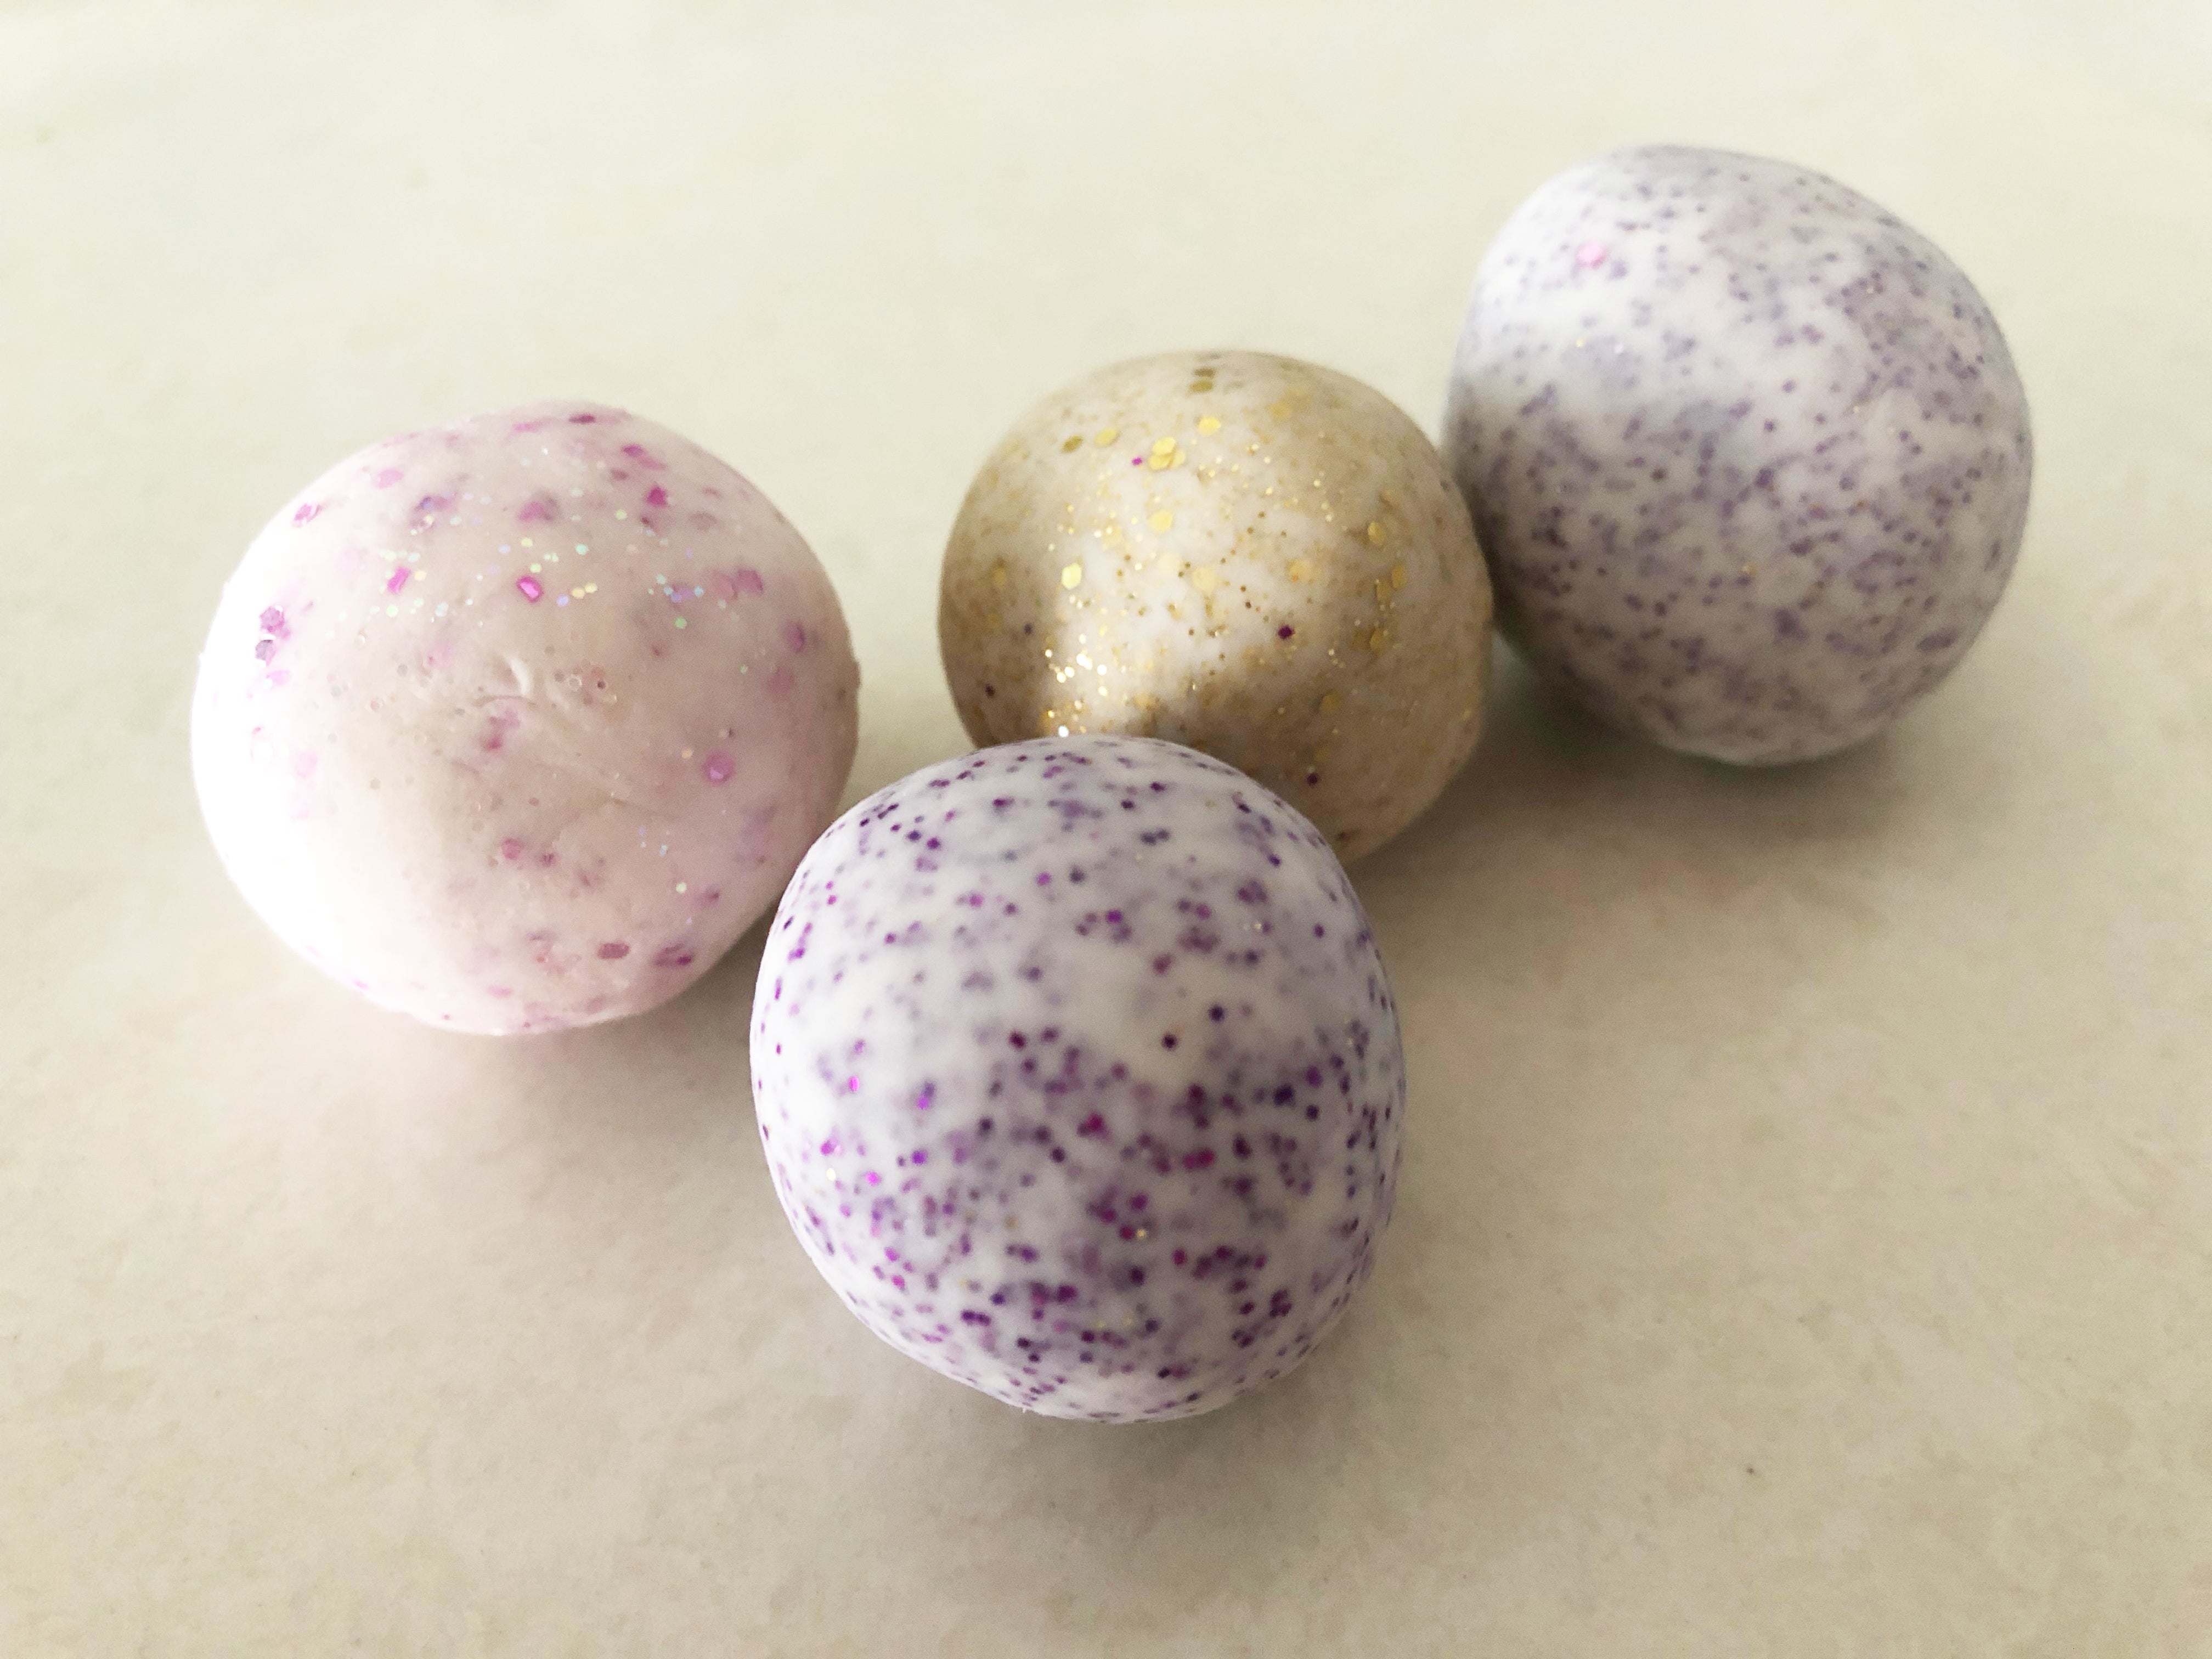
Create the glitter layers. Working with the Translucent Sculpey III roll out several balls of clay. Each one will represent a different glitter color. Flatten the ball and combine glitter with the Translucent clay. Use a mix of ultrafine glitter and chunky glitter.
Create your pattern by laying out all your colors. Start with the log on one end. Use the glitter clay in between the solid colors. End with the Jewelry Gold ball for the outer edge.

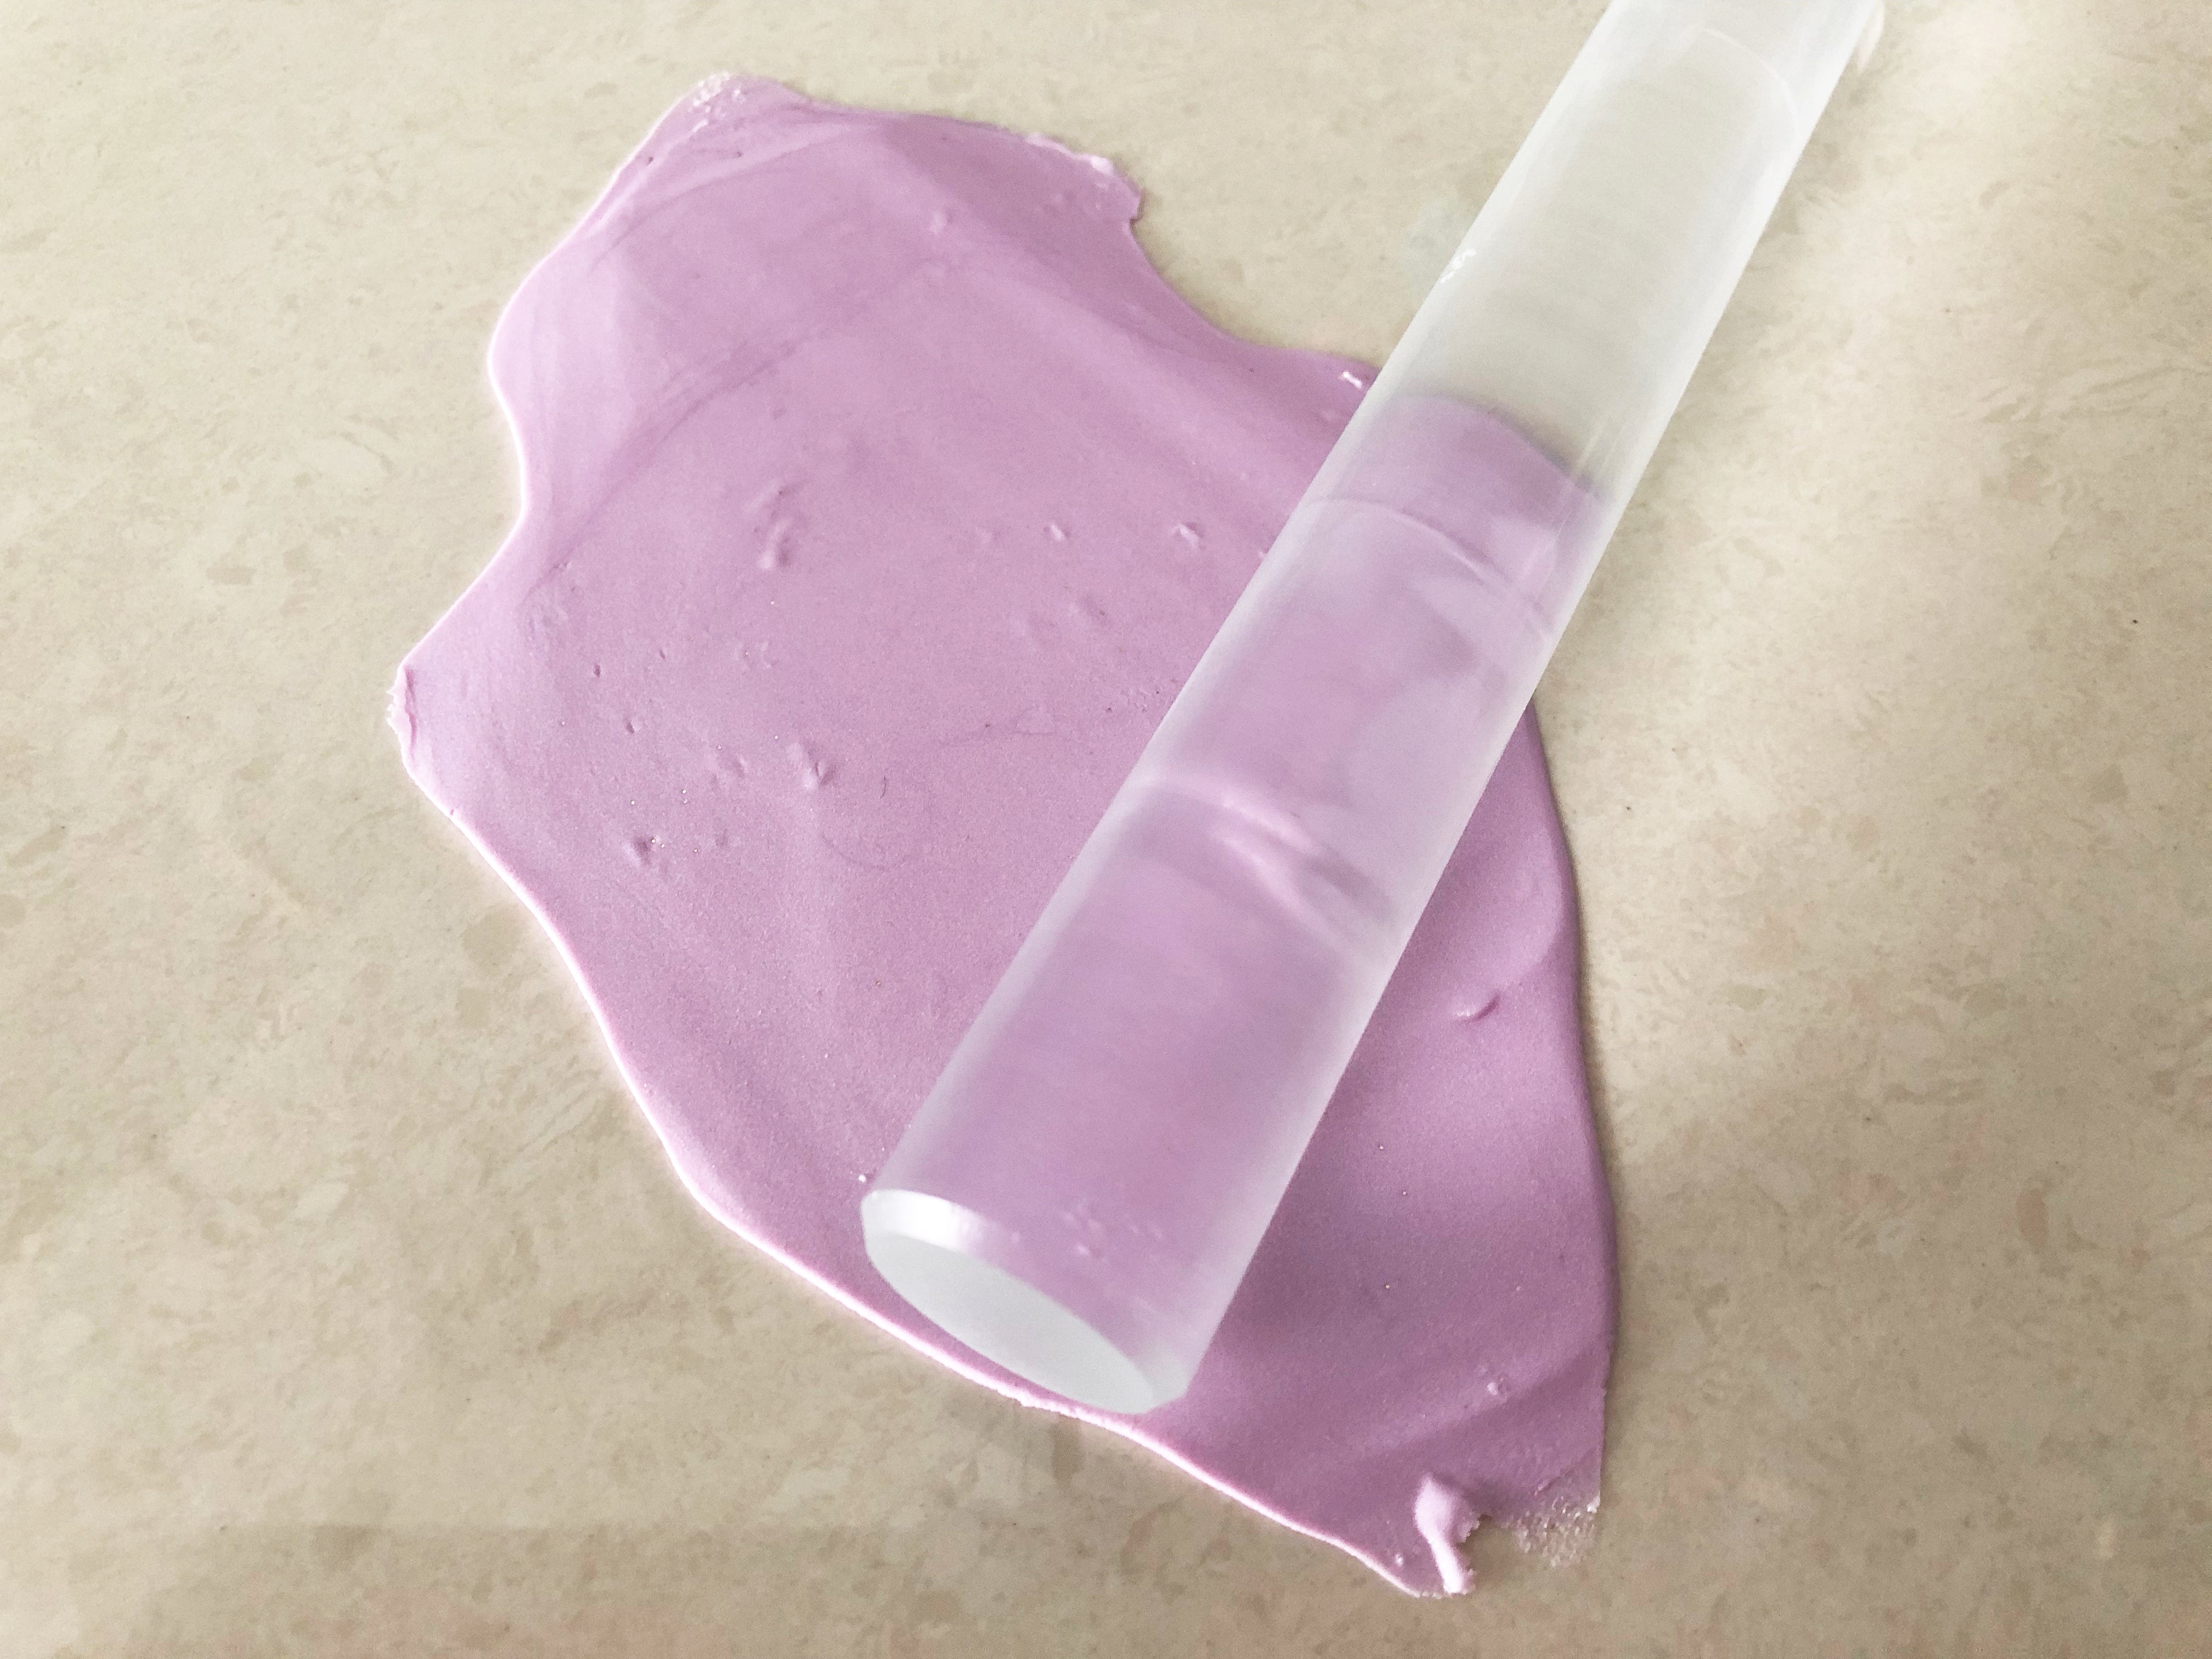
Create the layers. Roll out each color of clay into a thin strip that is approximately the same with as the log that was created in step 2. Roll out the glitter balls and gold ball the same way.
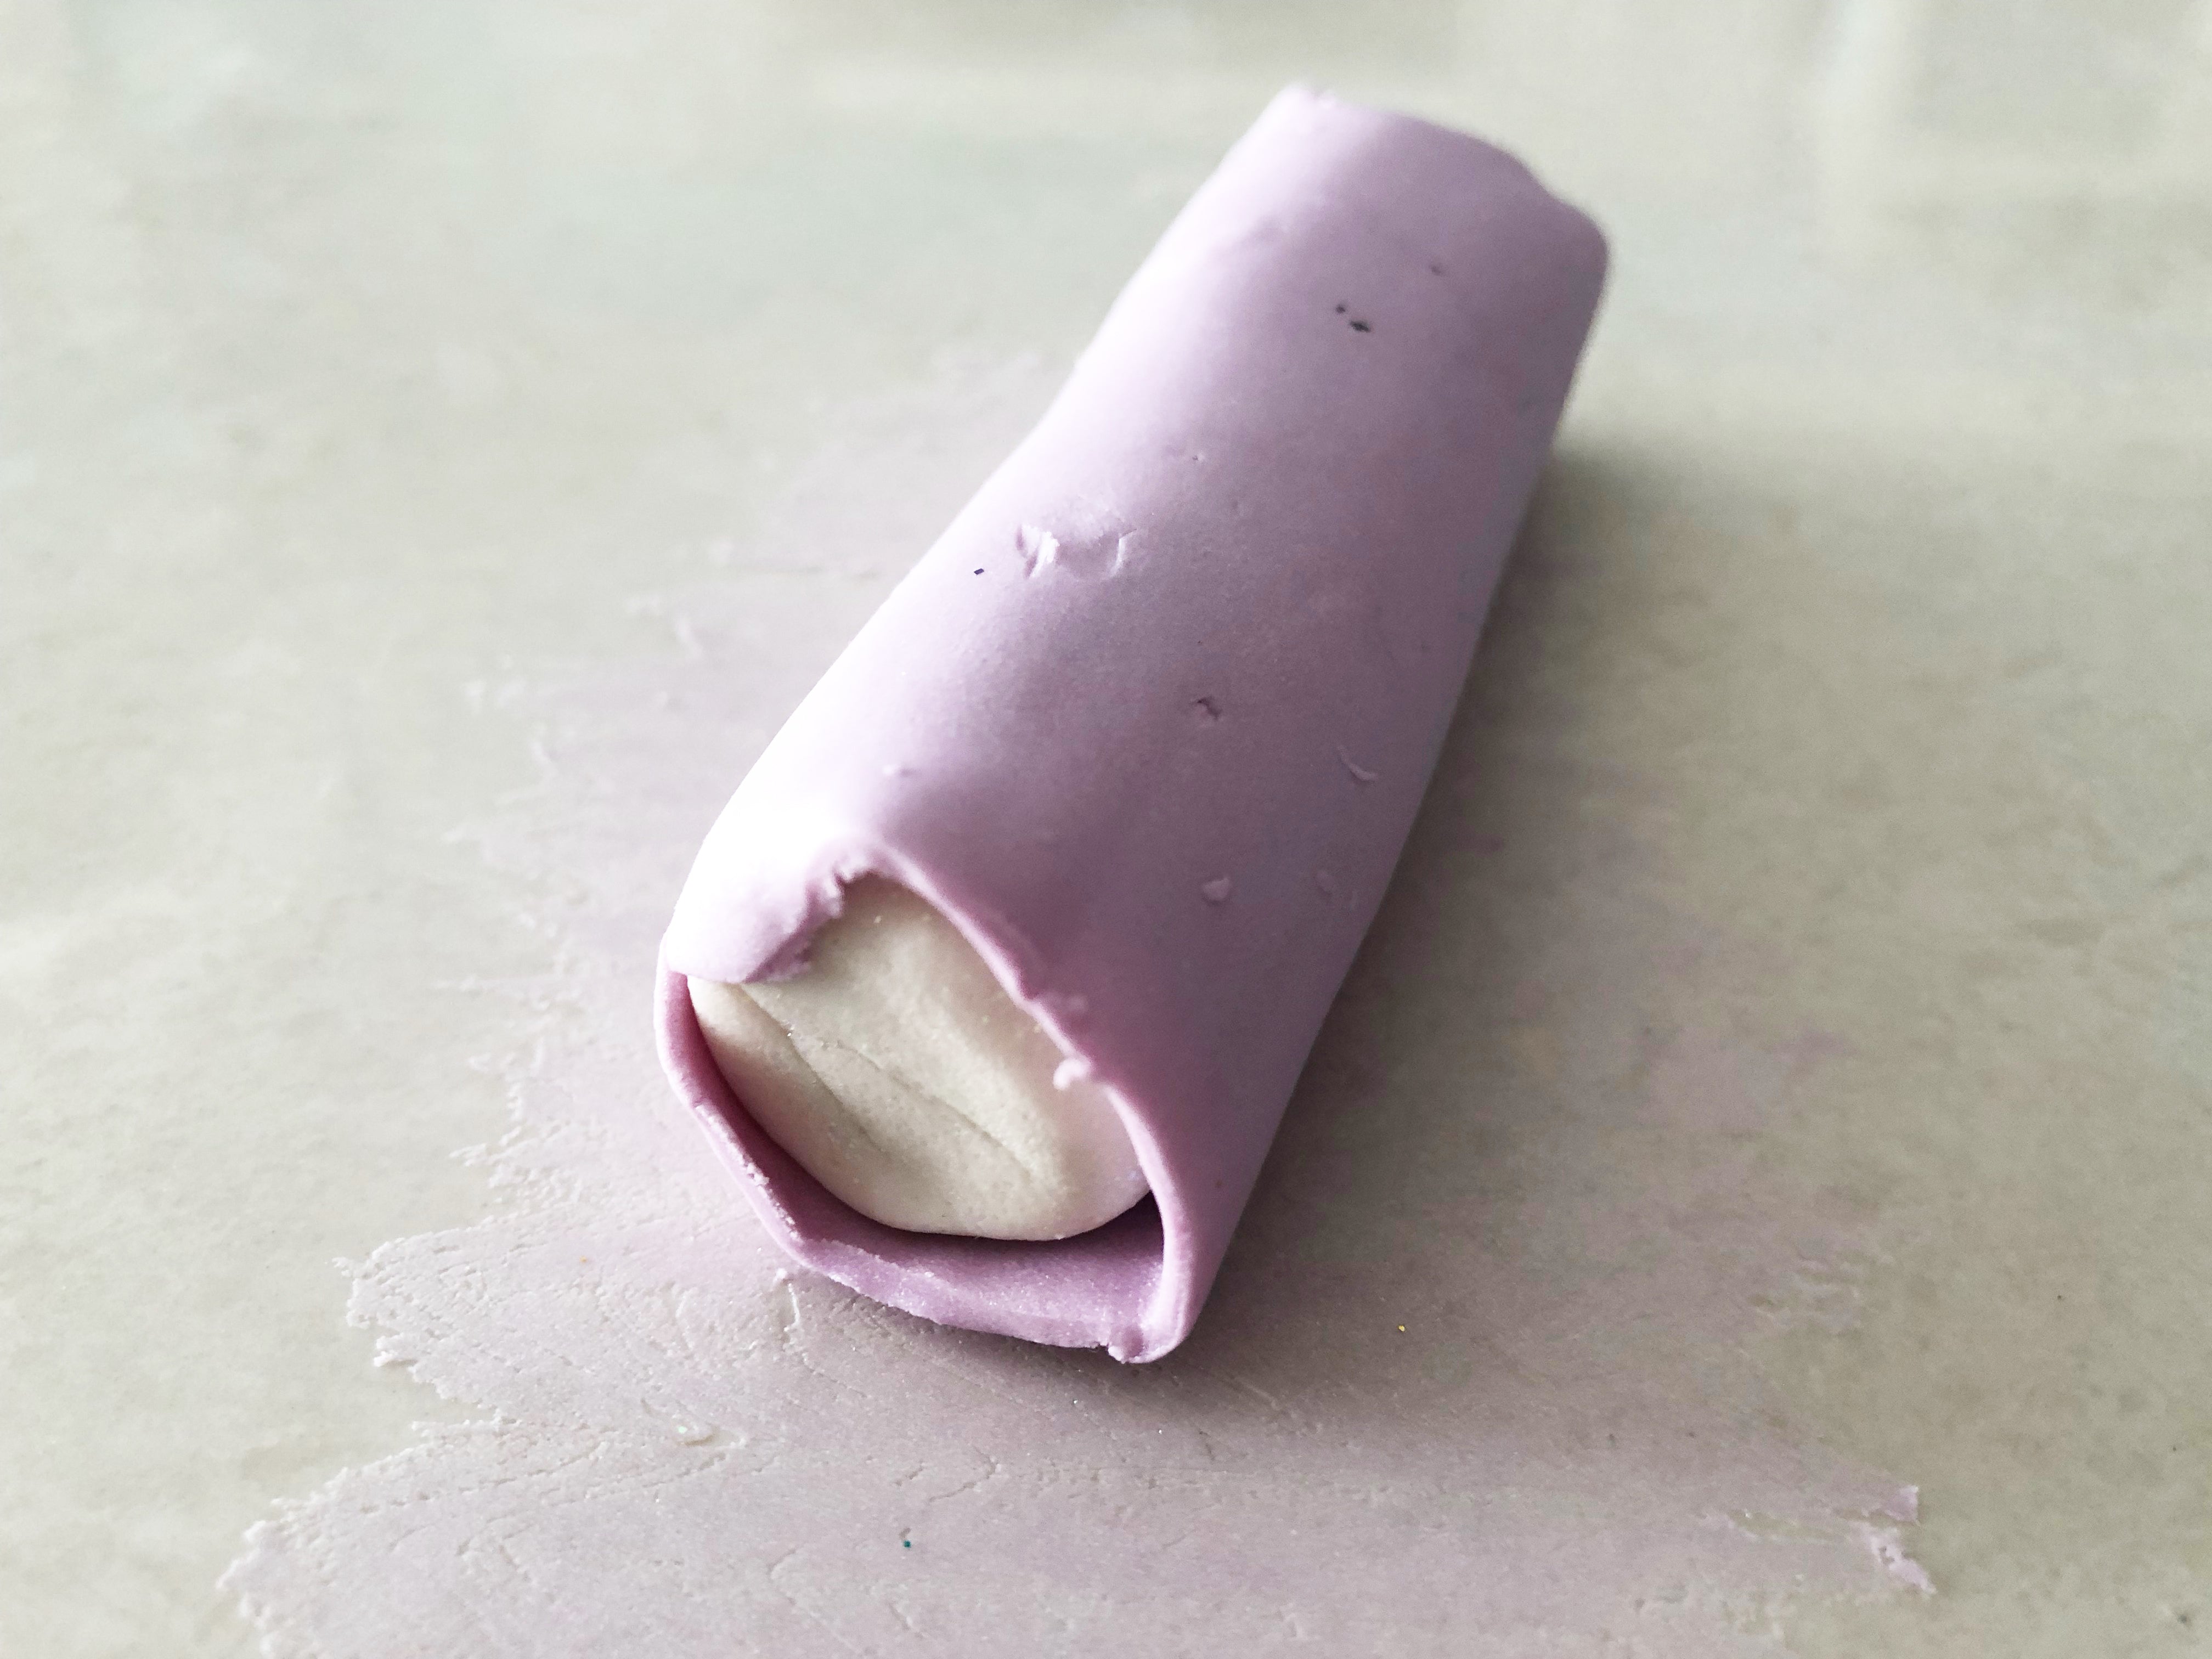
Begin the layers by rolling the first layer around the tube. Only overlap a tiny bit. Press to seal with your fingers. Trim away the excess and reserve for later.
Continue to add layers around the center tube. Use the pieces that you trim to add to the layer if needed. Add all the layers ending with the gold layer.


Using the Super Slicer, slice the tube down the center. Working from the cut edge to the raw edge, slice as many disks as you can. They should be around 3/8” thick.

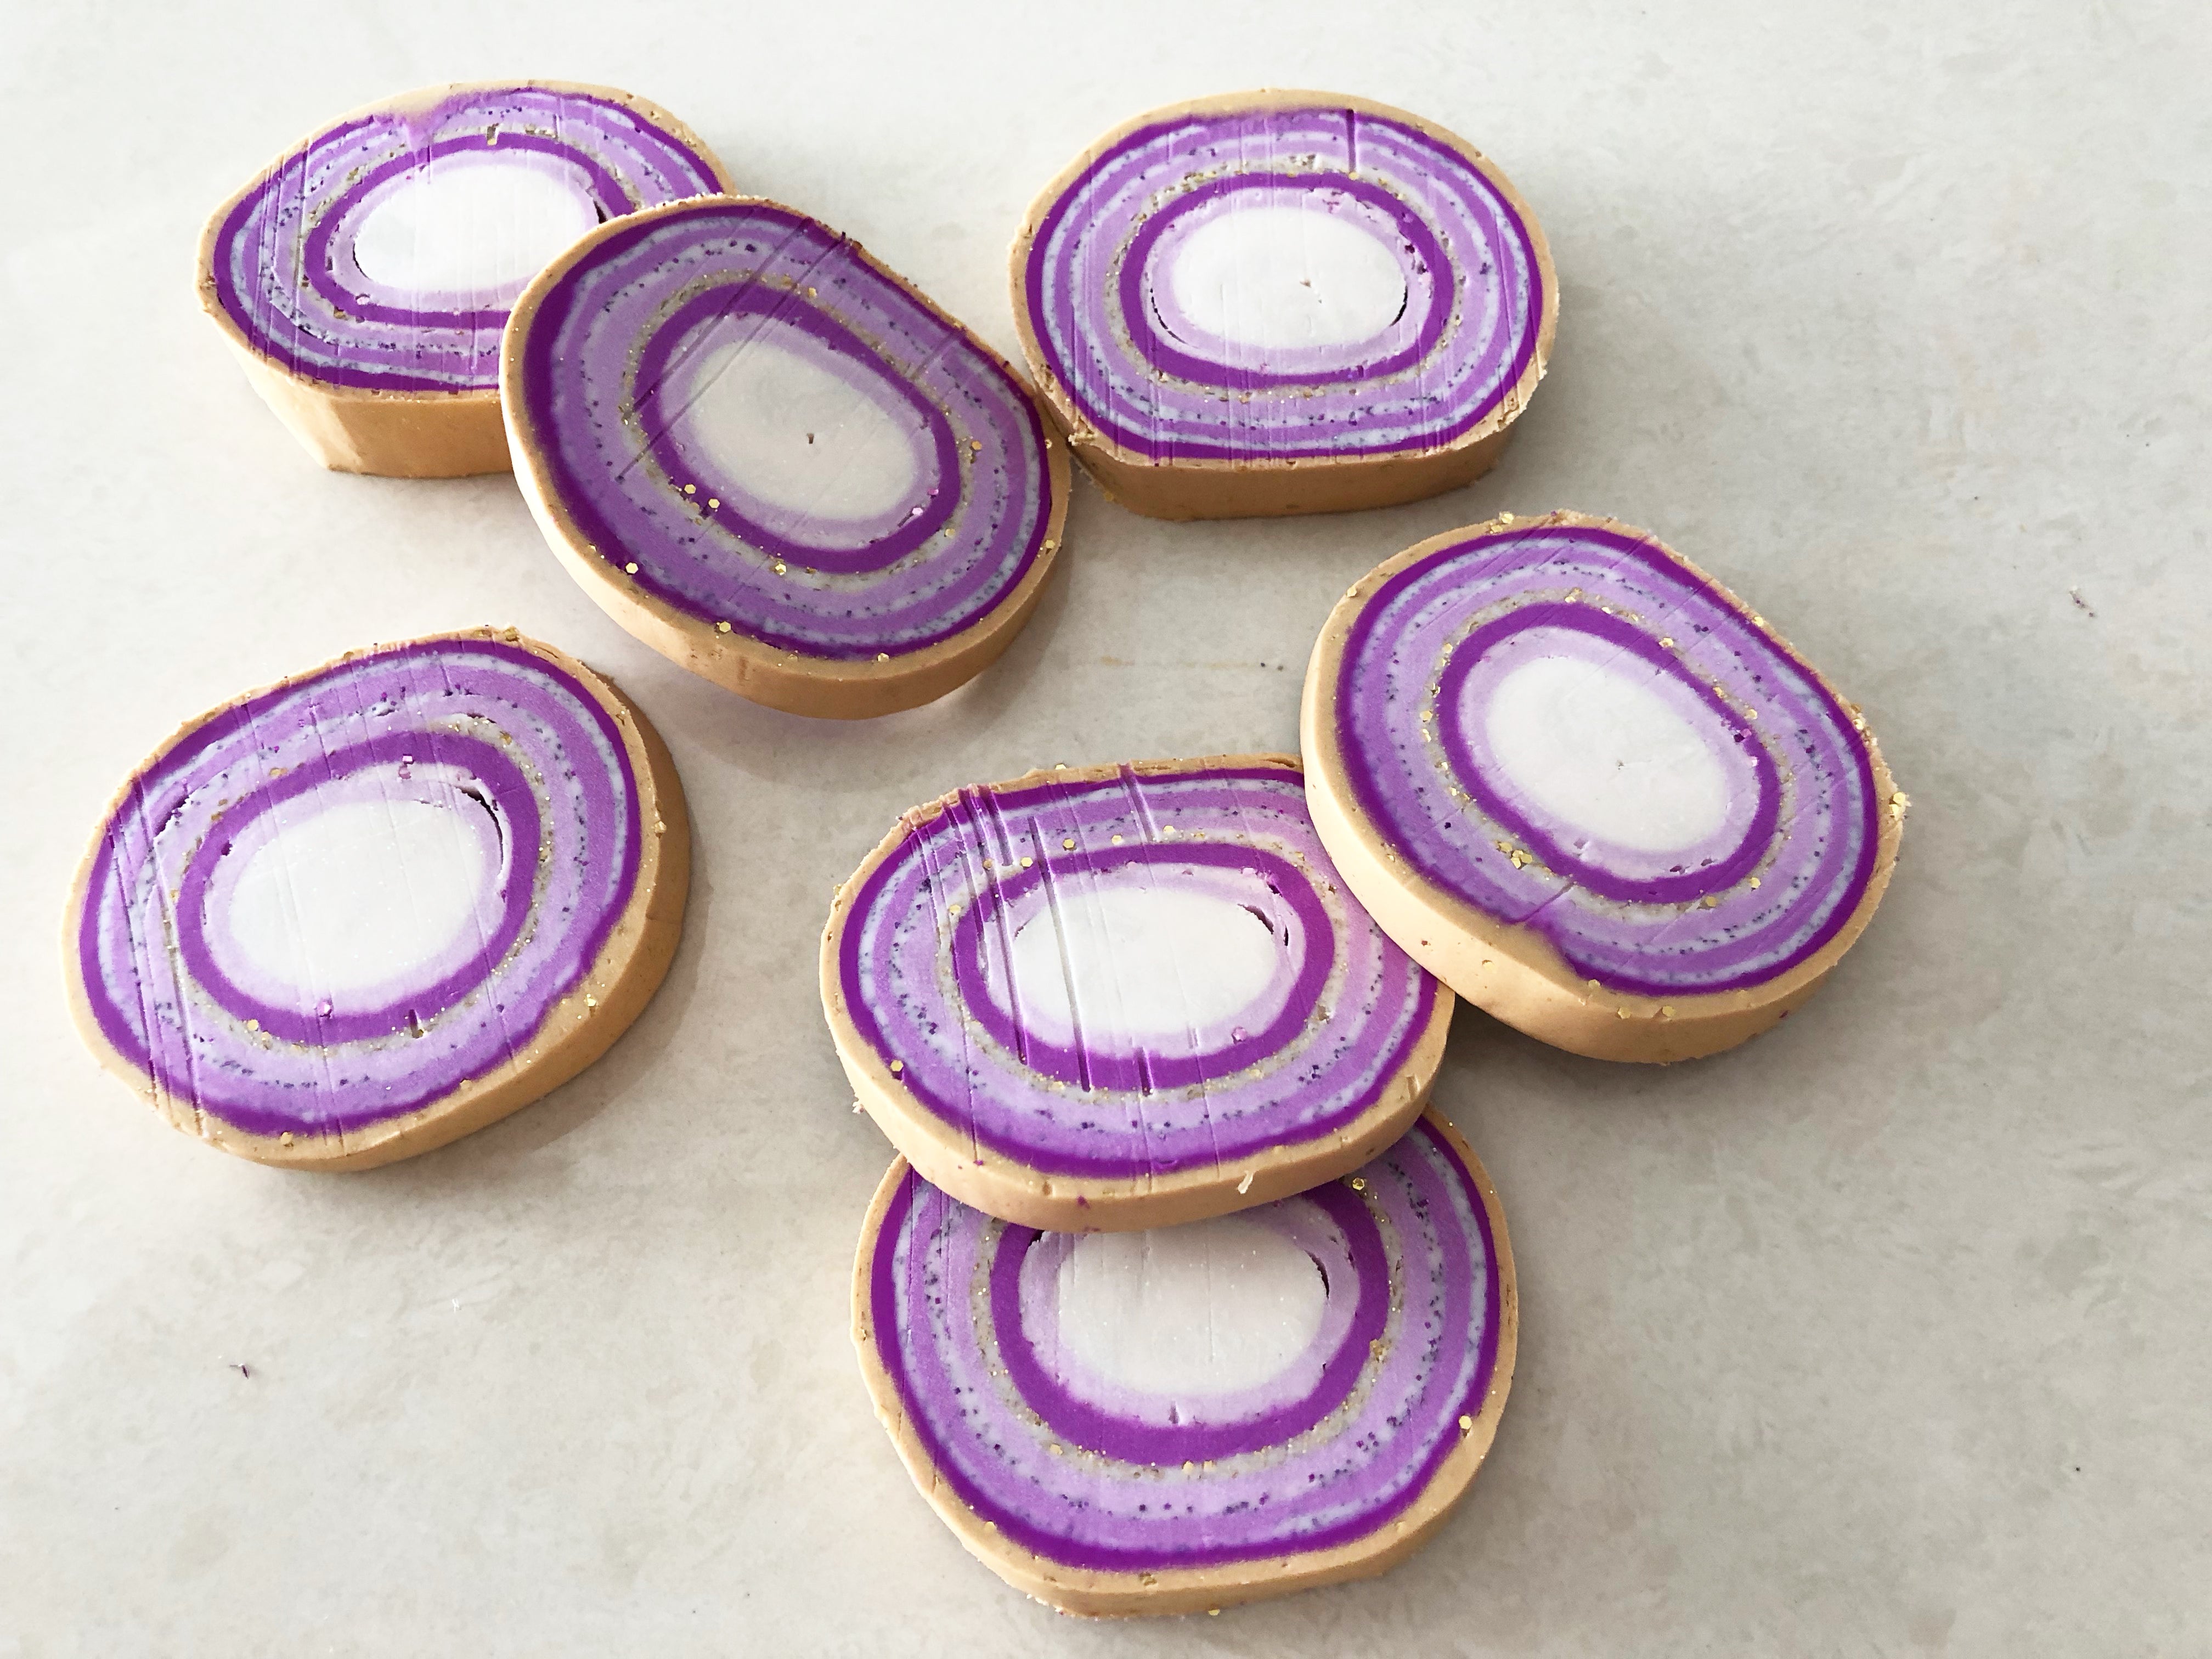
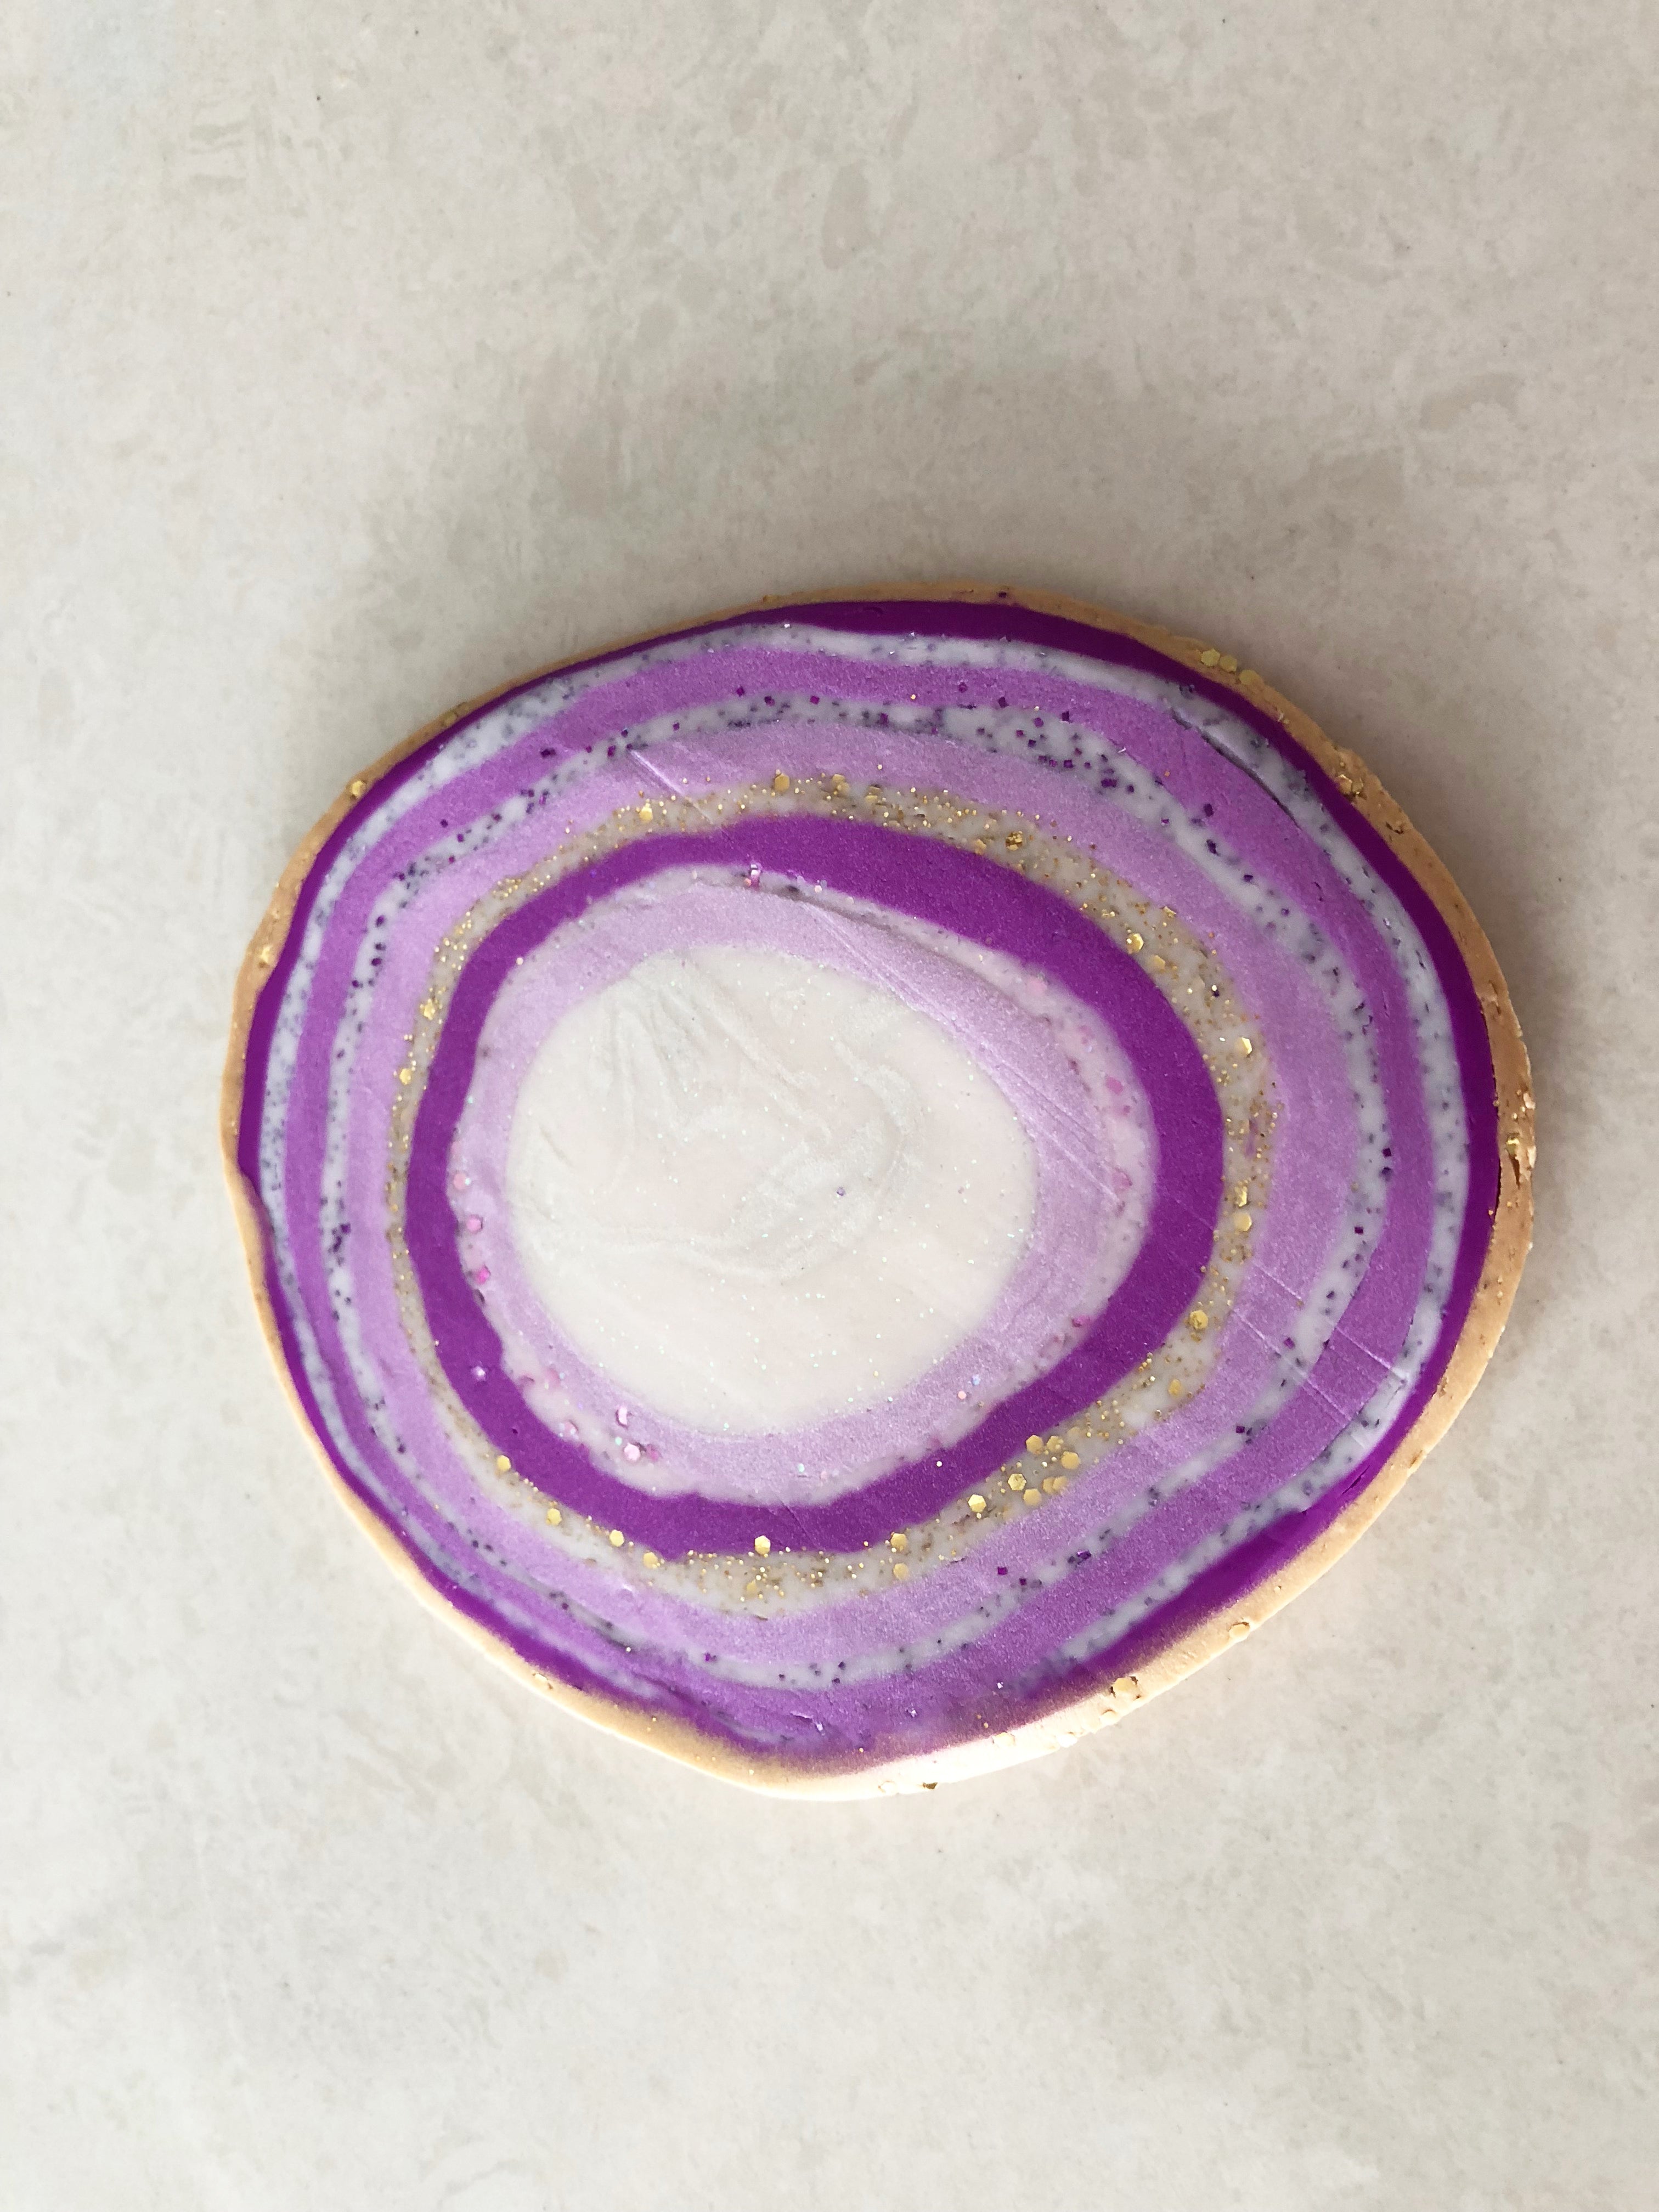
Roll out the slice to create an organic shape.
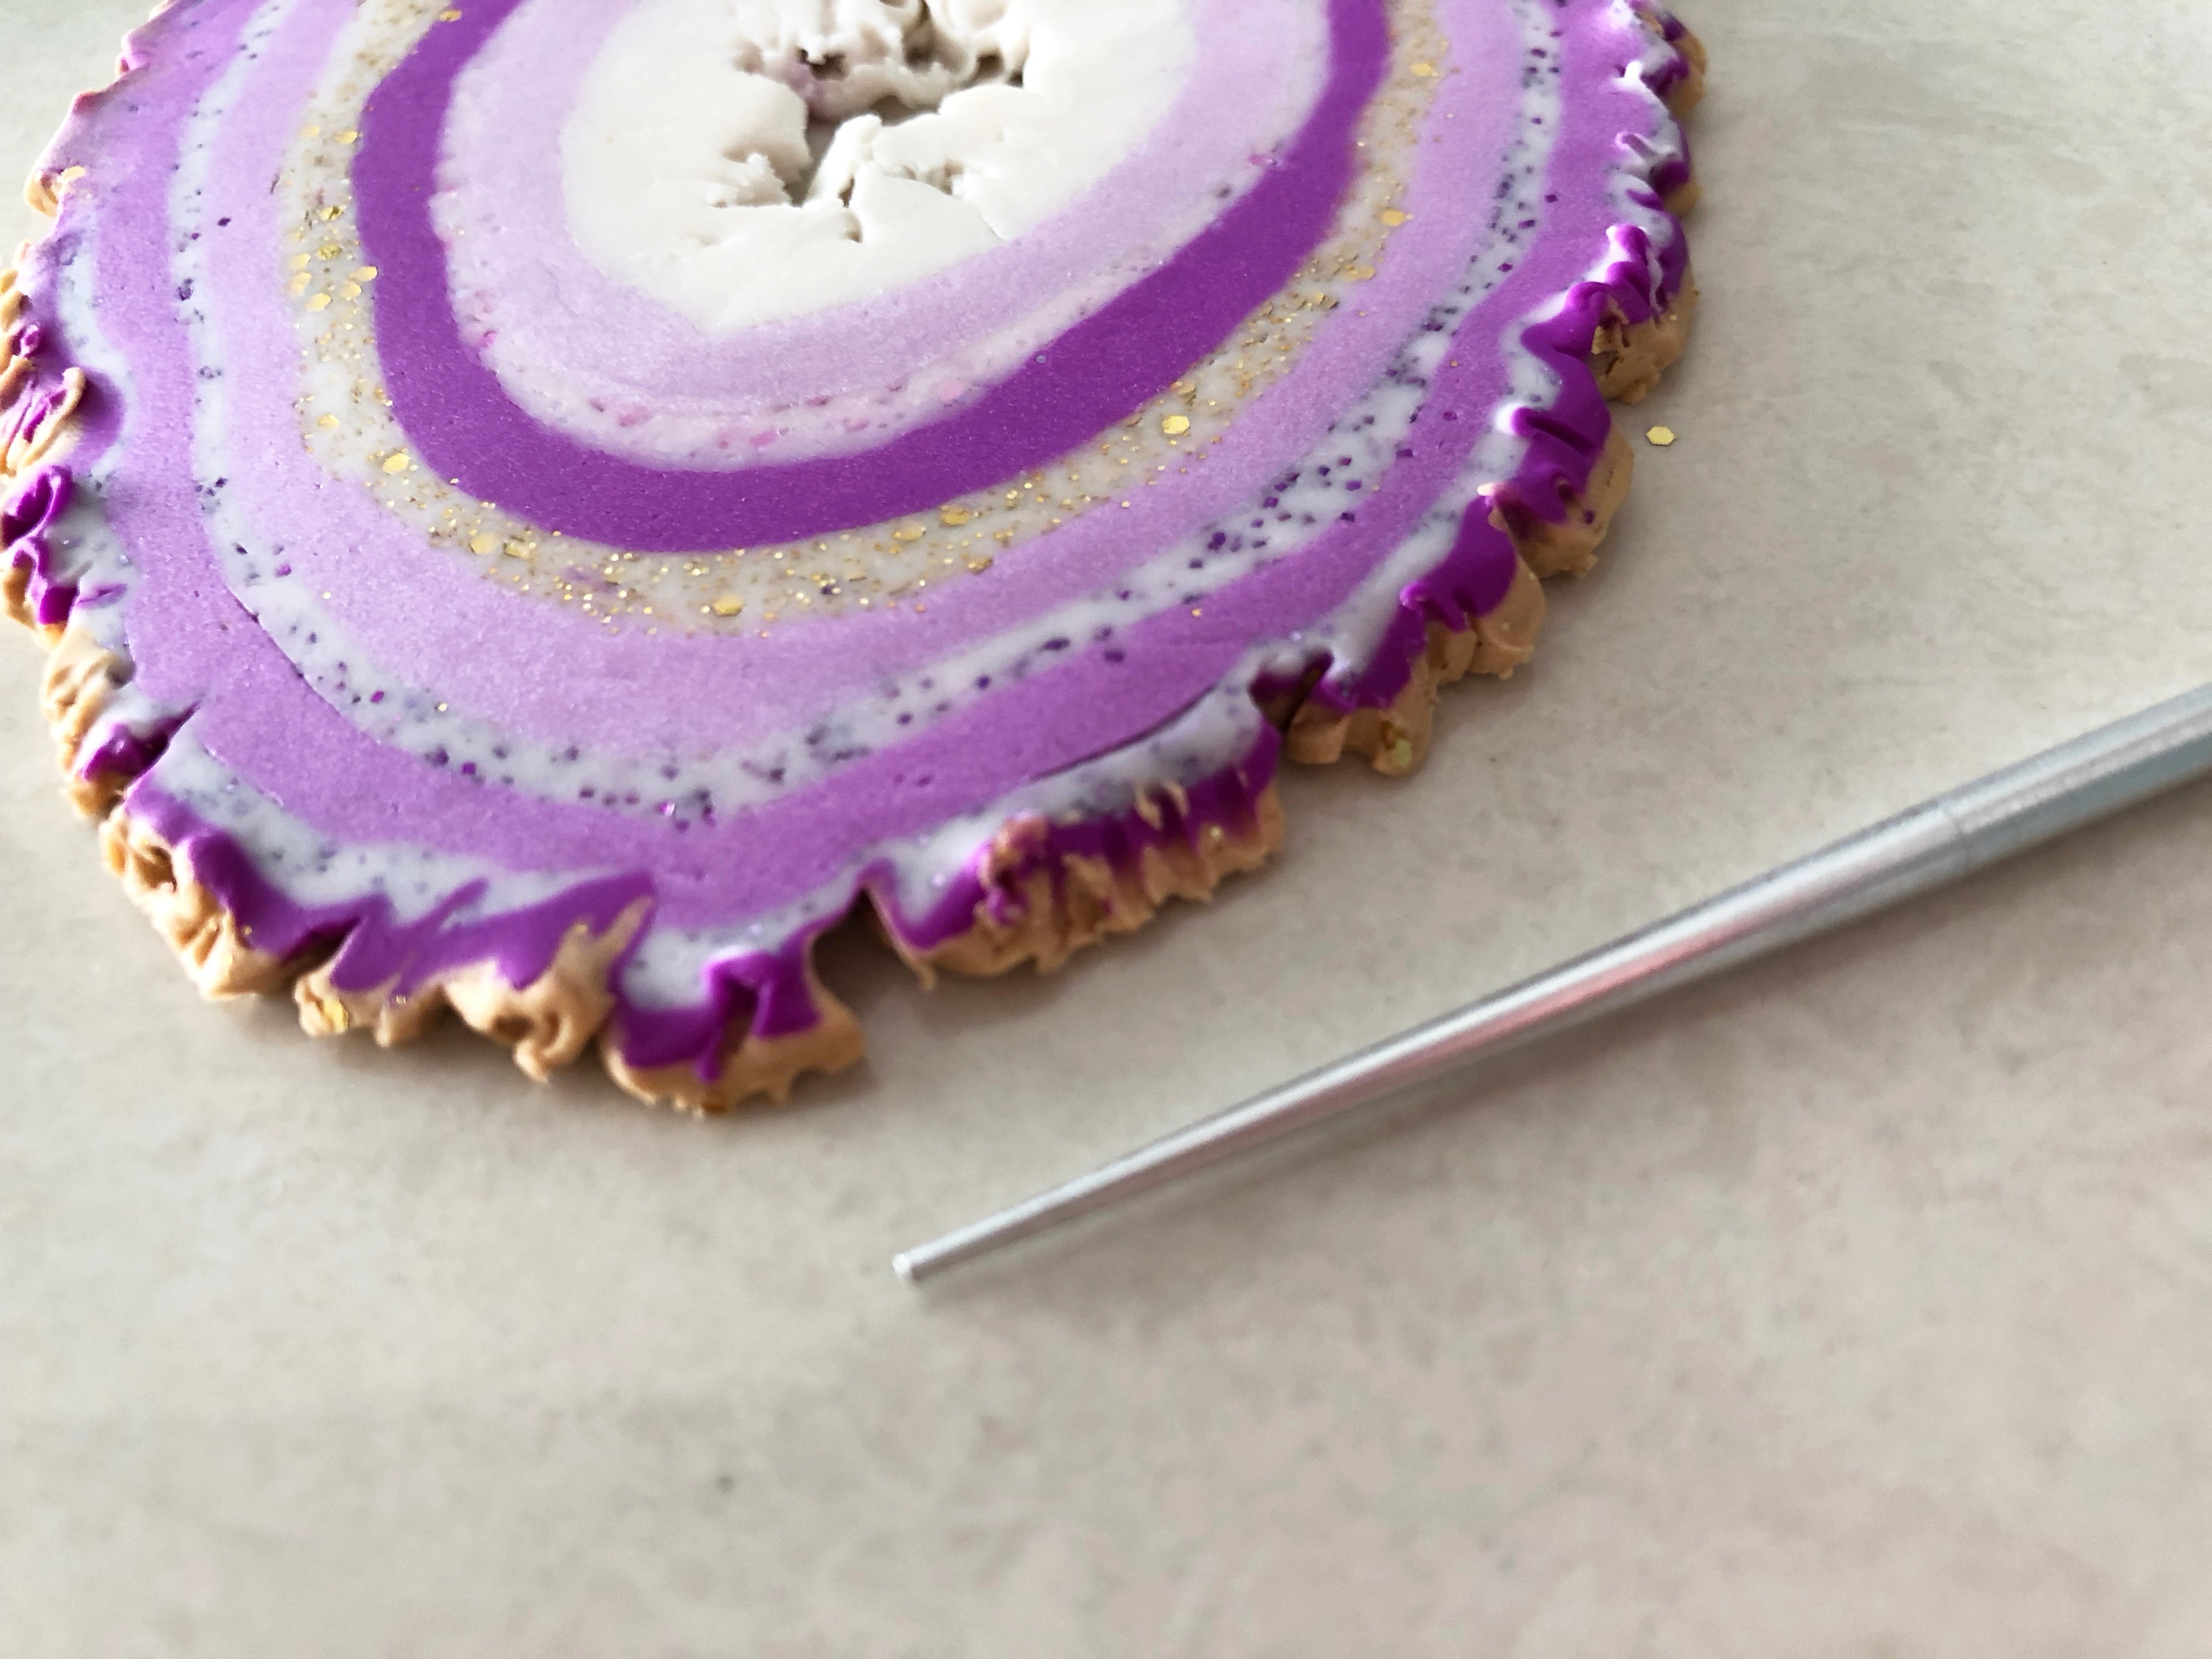
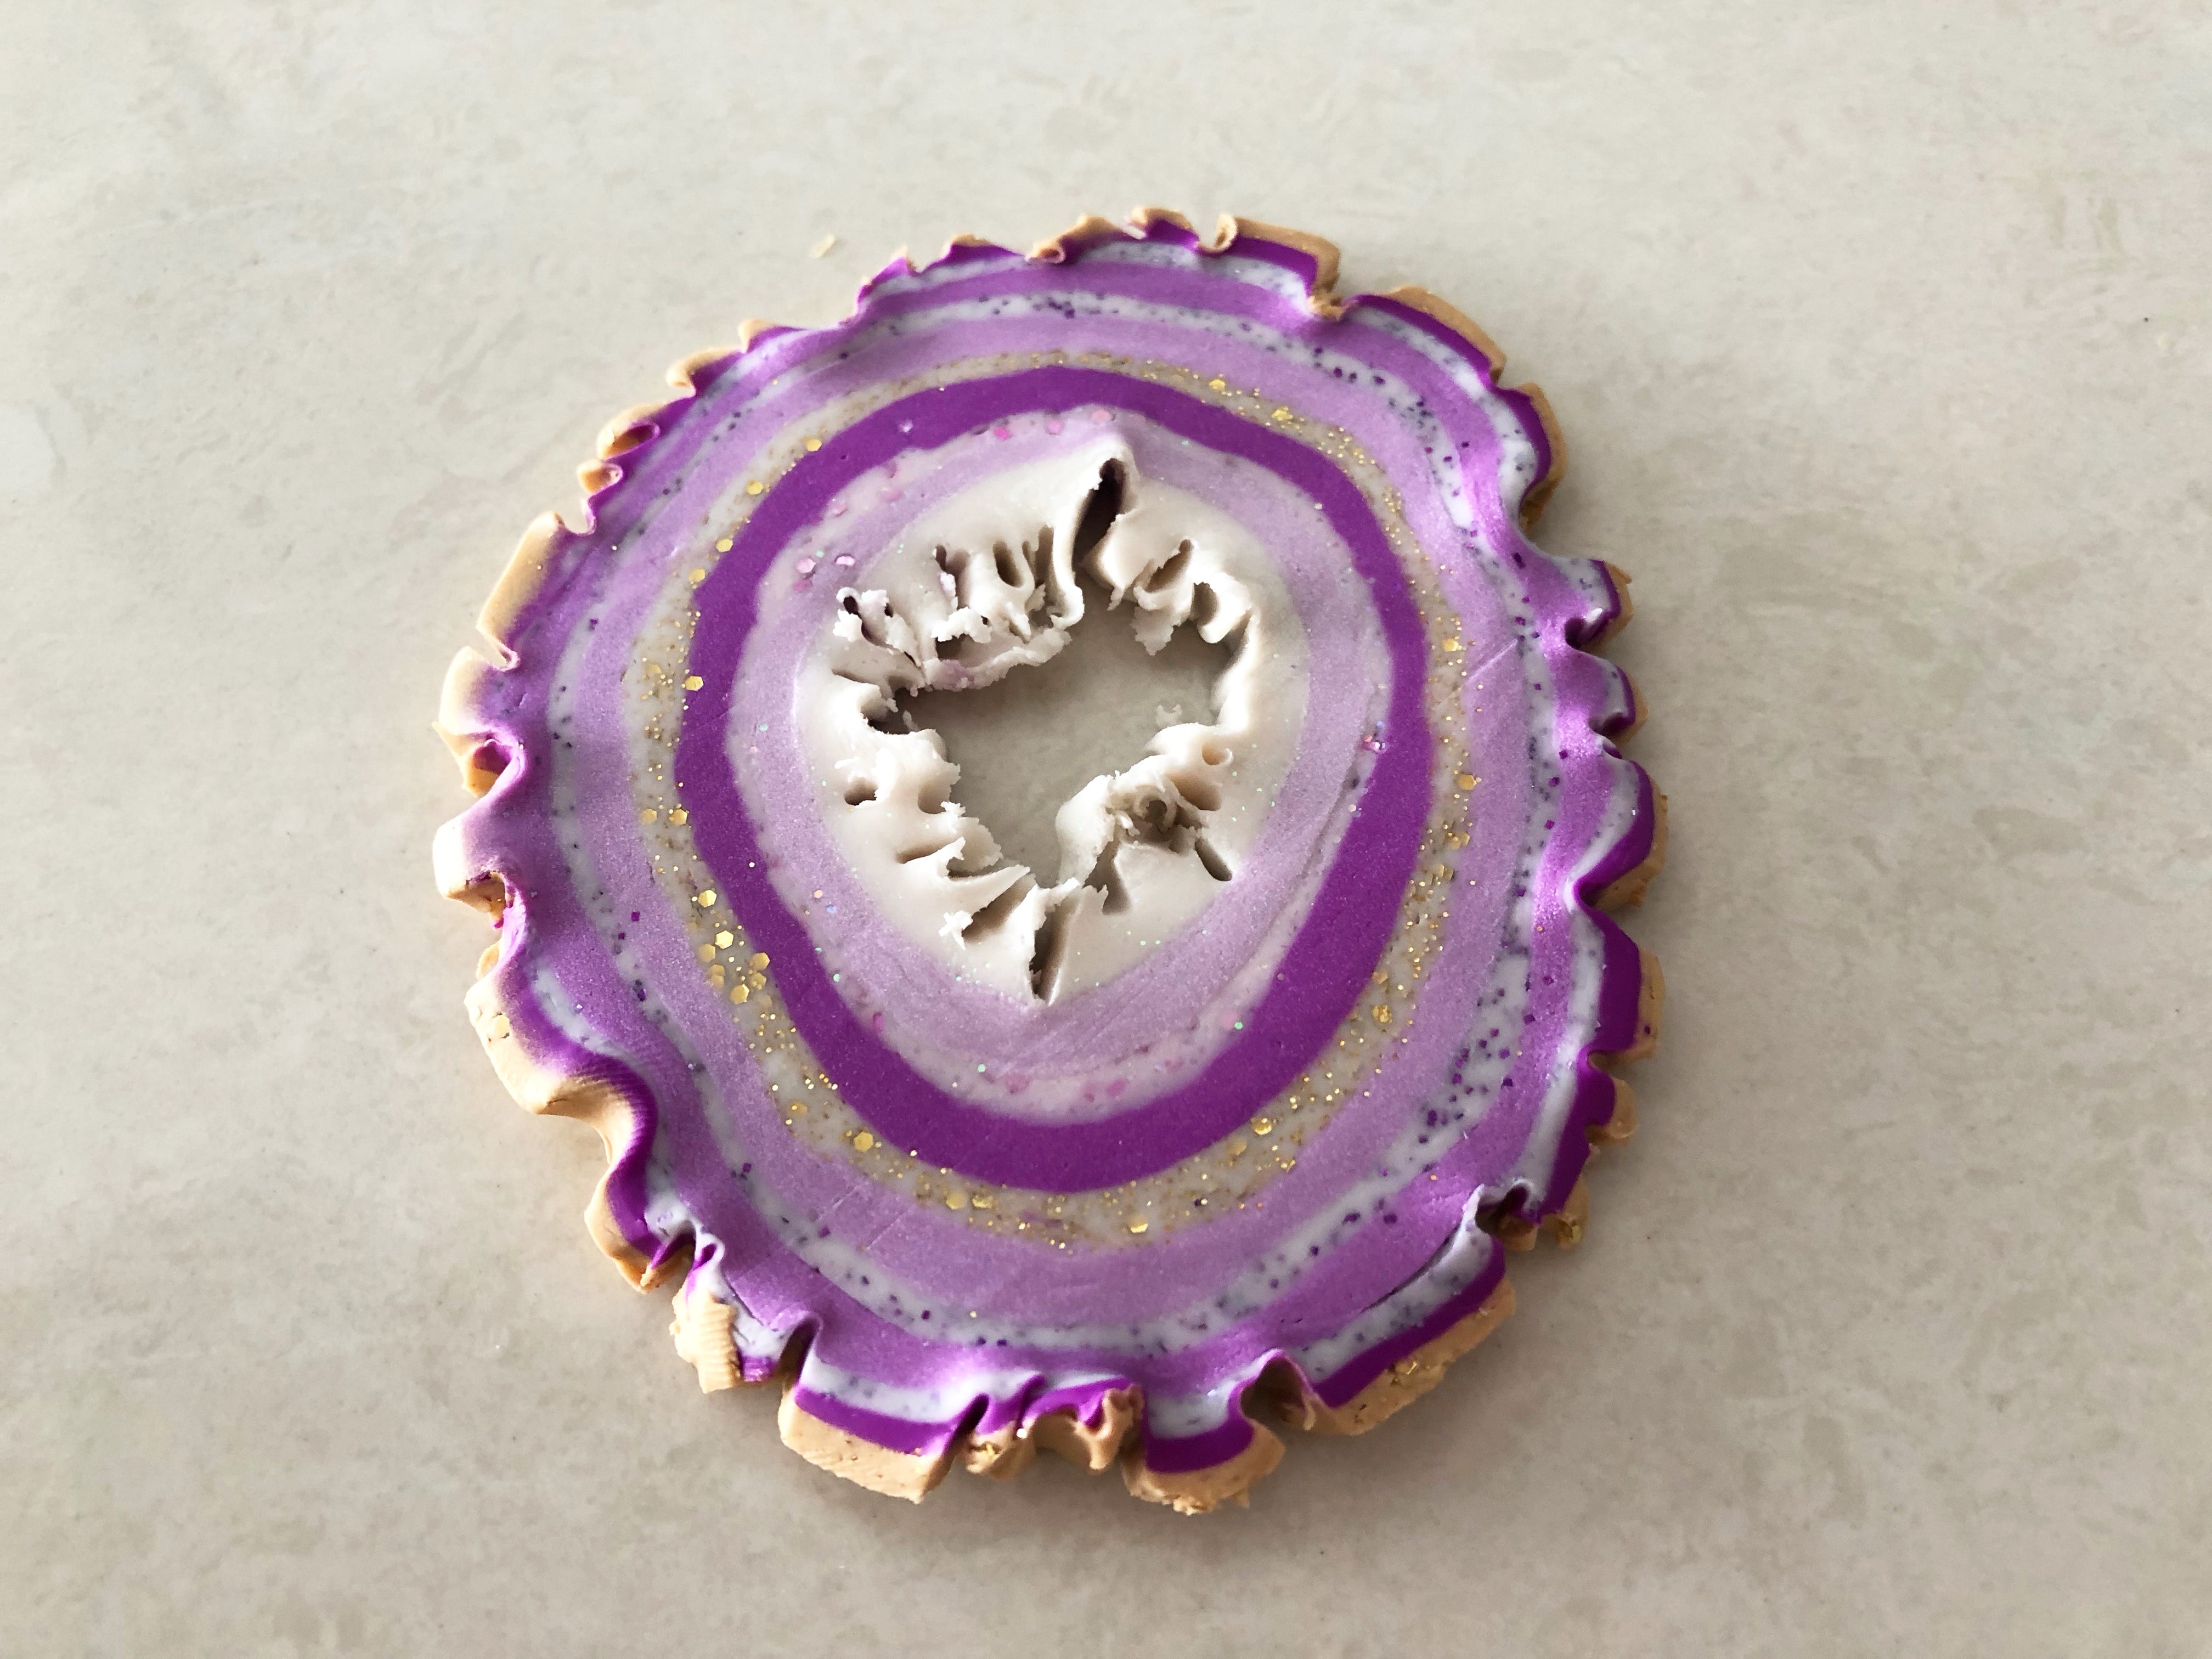
Use the Etch n Peal tool to create texture. Use the point end to carve out an organic and jagged shape in the center. Use the concave end to push the edge of the clay in to create curves in the outer edge. Use the point end to add texture to the outer edge.
Roll out your slice one more time. Roll to ¼” thickness.

Baking
Begin by preheating oven to 275 °F (130 °C). After you are done creating; for best results bake clay on an oven-proof surface such metal, aluminum foil, an index card or the Sculpey® Clay Mat at 275°F (130 °C) for 30 minutes per ¼" (6 mm) thickness according to package directions. Oven safe glass or ceramic surfaces are also acceptable for baking; however please note that the baking times may take longer as the glass or ceramic surfaces take longer to heat up. For best baking results, use an oven thermometer. DO NOT USE MICROWAVE OVEN. DO NOT EXCEED THE ABOVE TEMPERATURE OR RECOMMENDED BAKING TIME.
Begin by preheating oven to 275 °F (130 °C). After you are done creating; for best results bake clay on an oven-proof surface such metal, aluminum foil, an index card or the Sculpey® Clay Mat at 275°F (130 °C) for 30 minutes per ¼" (6 mm) thickness according to package directions. Oven safe glass or ceramic surfaces are also acceptable for baking; however please note that the baking times may take longer as the glass or ceramic surfaces take longer to heat up. For best baking results, use an oven thermometer. DO NOT USE MICROWAVE OVEN. DO NOT EXCEED THE ABOVE TEMPERATURE OR RECOMMENDED BAKING TIME.
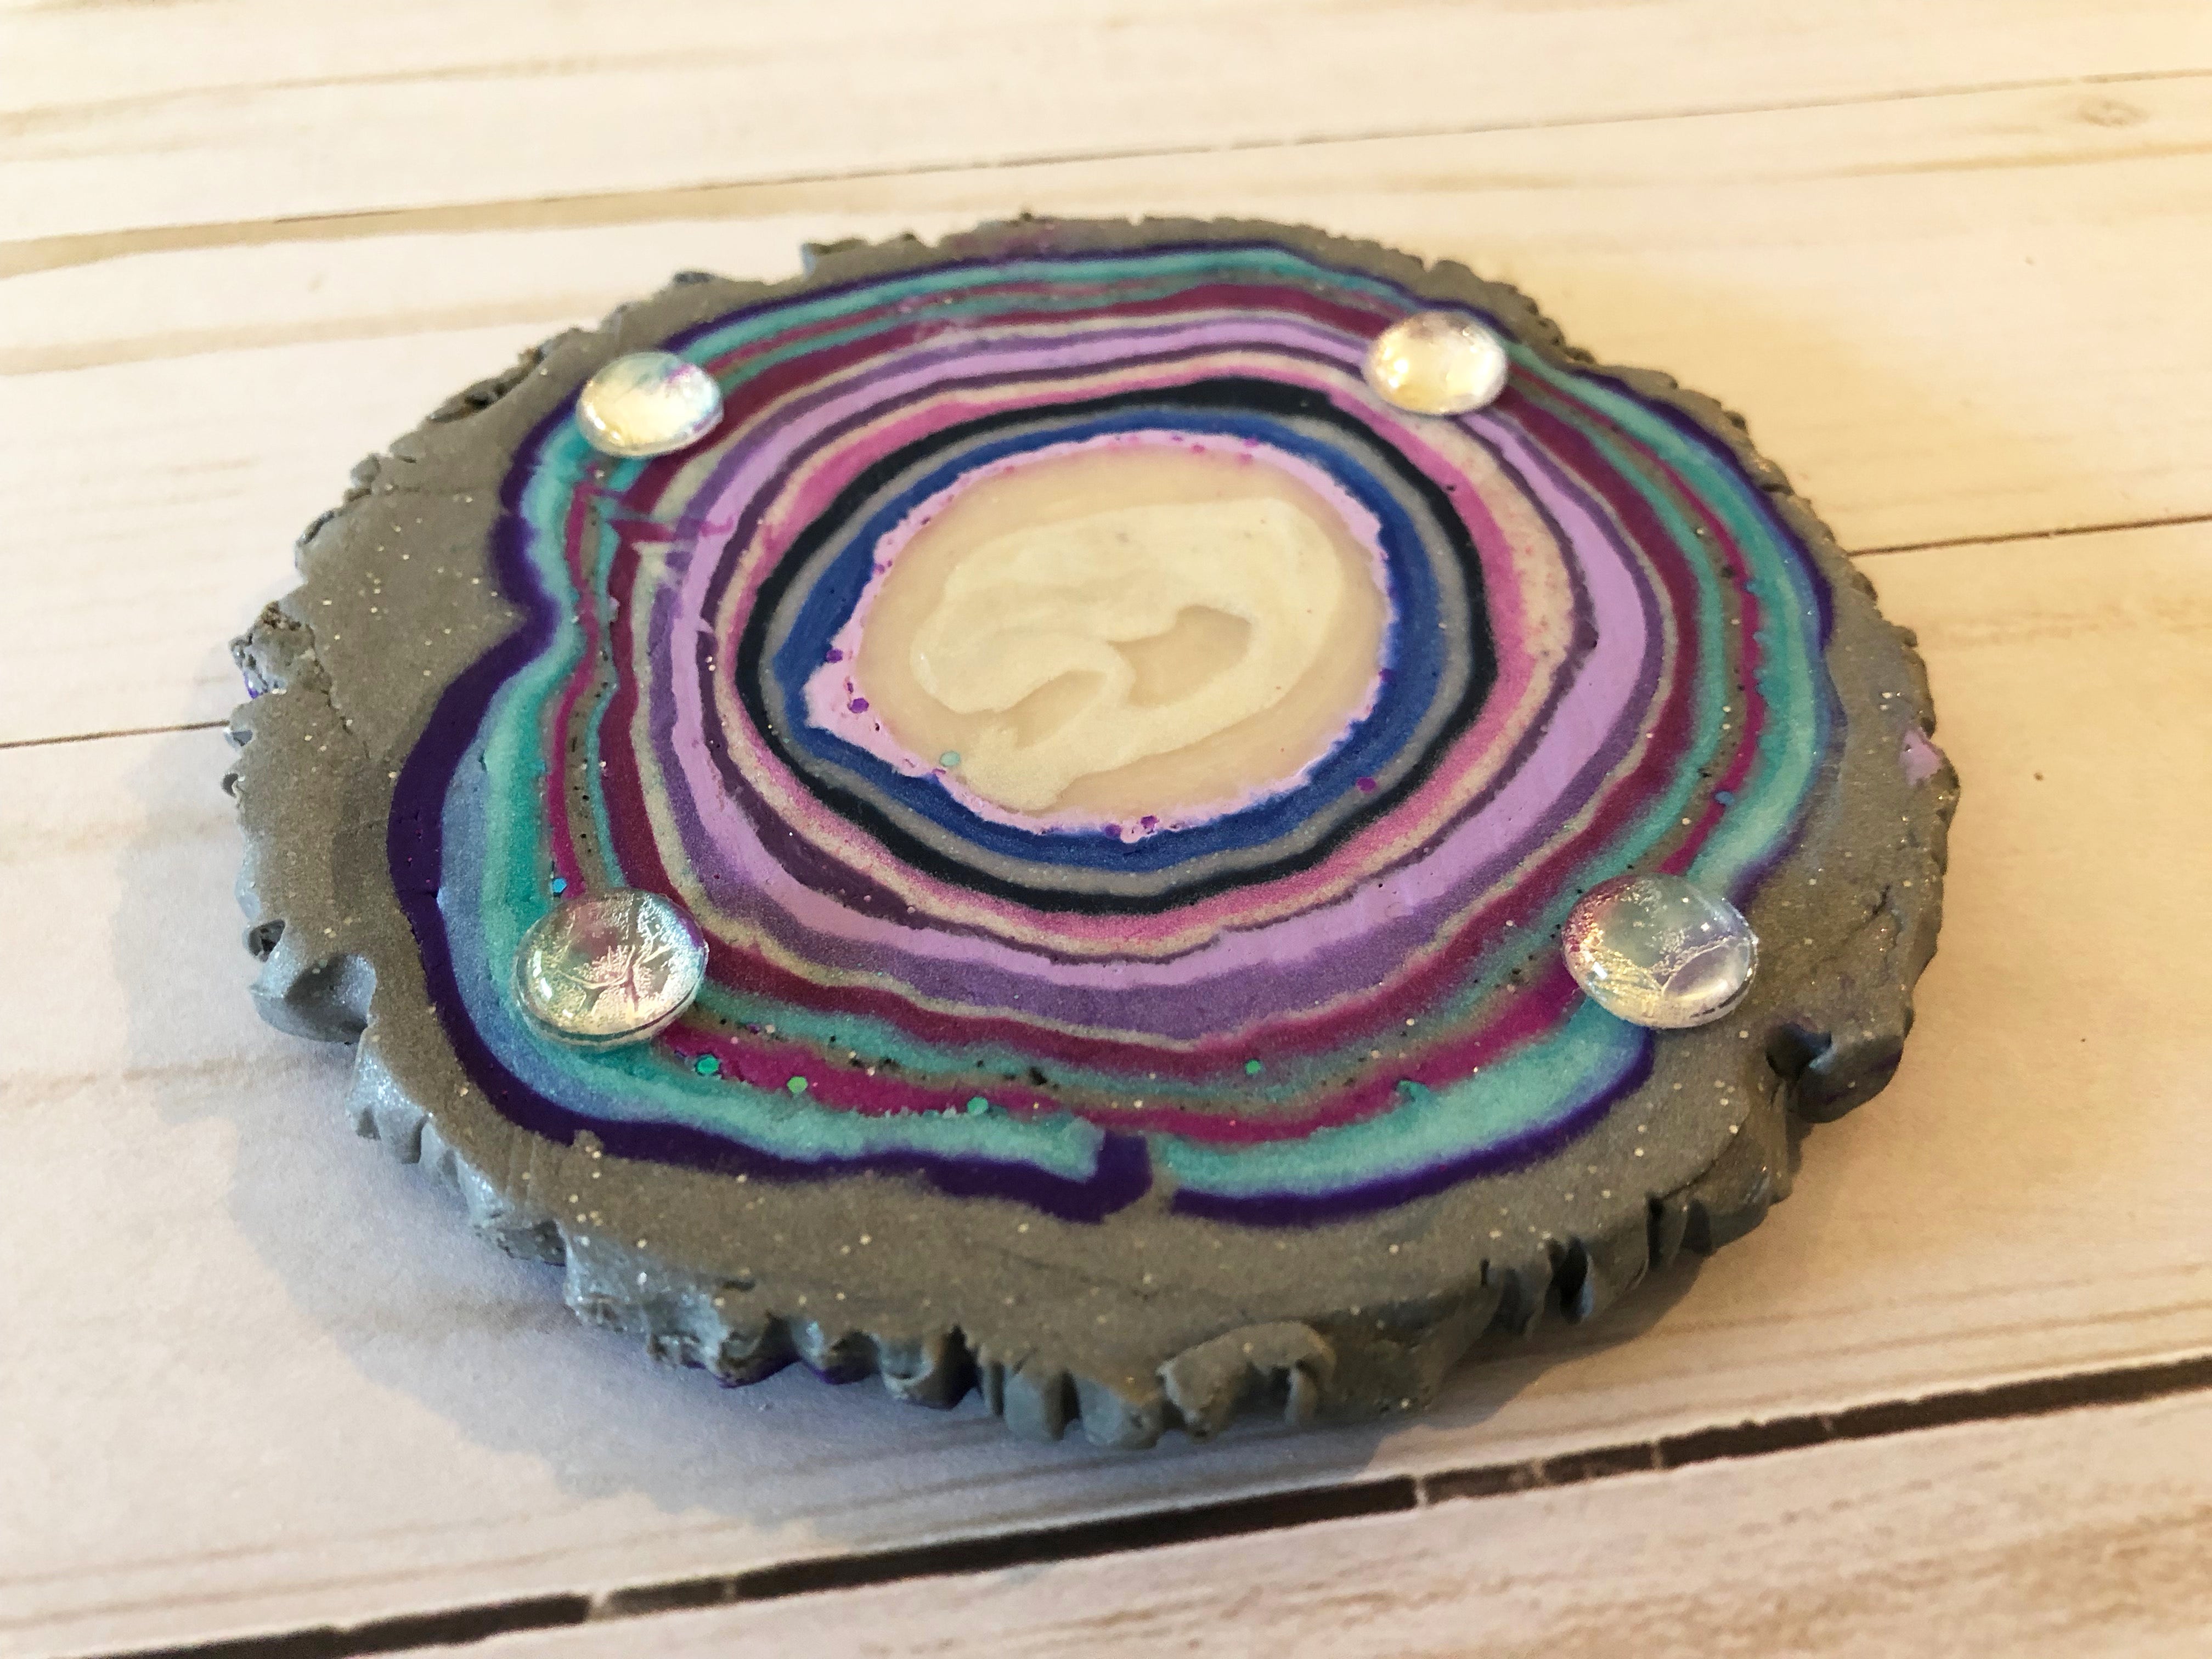
Create Coasters by adding small rubber feet to the base a large agate geode slice.

Create Magnets by gluing magnets to the back of small agate geode slices.

Create decorative vases by gluing small agate geode slices to the front of vases and candleholders.

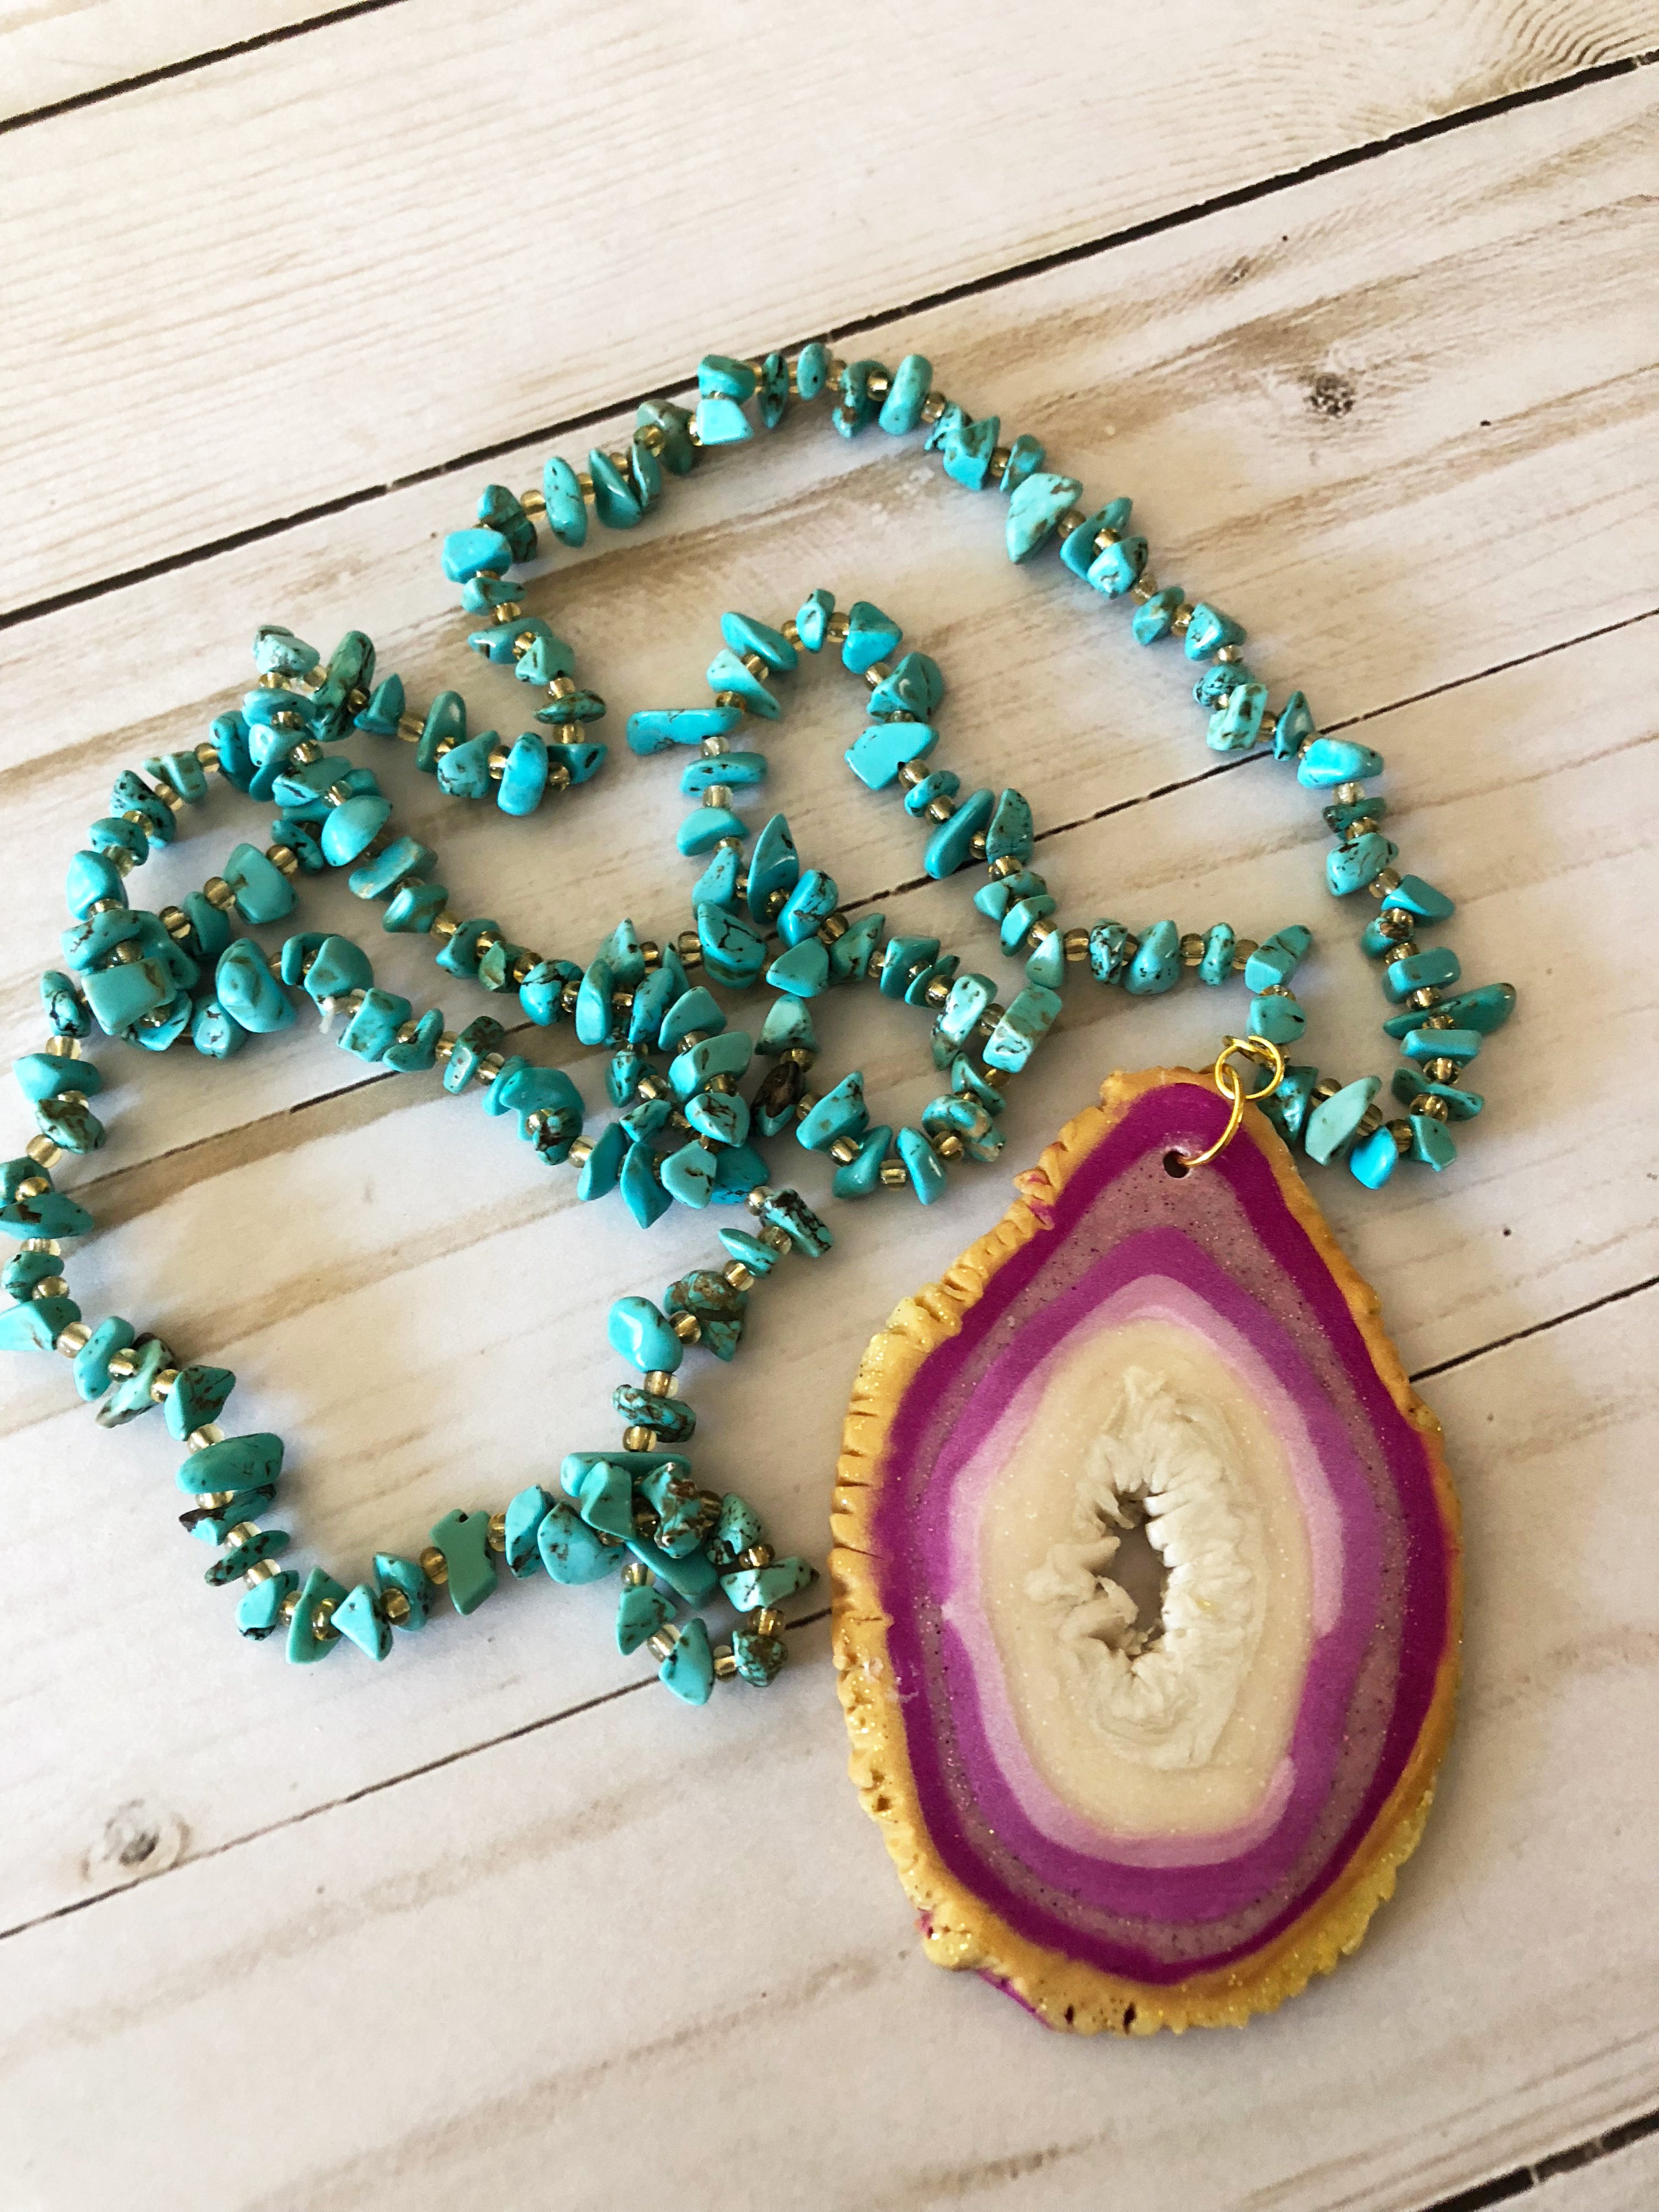
Create a pendant by piercing a hole in a tear-dropped shape agate geode slice prior to baking. Add a jump ring and attach to a chain.
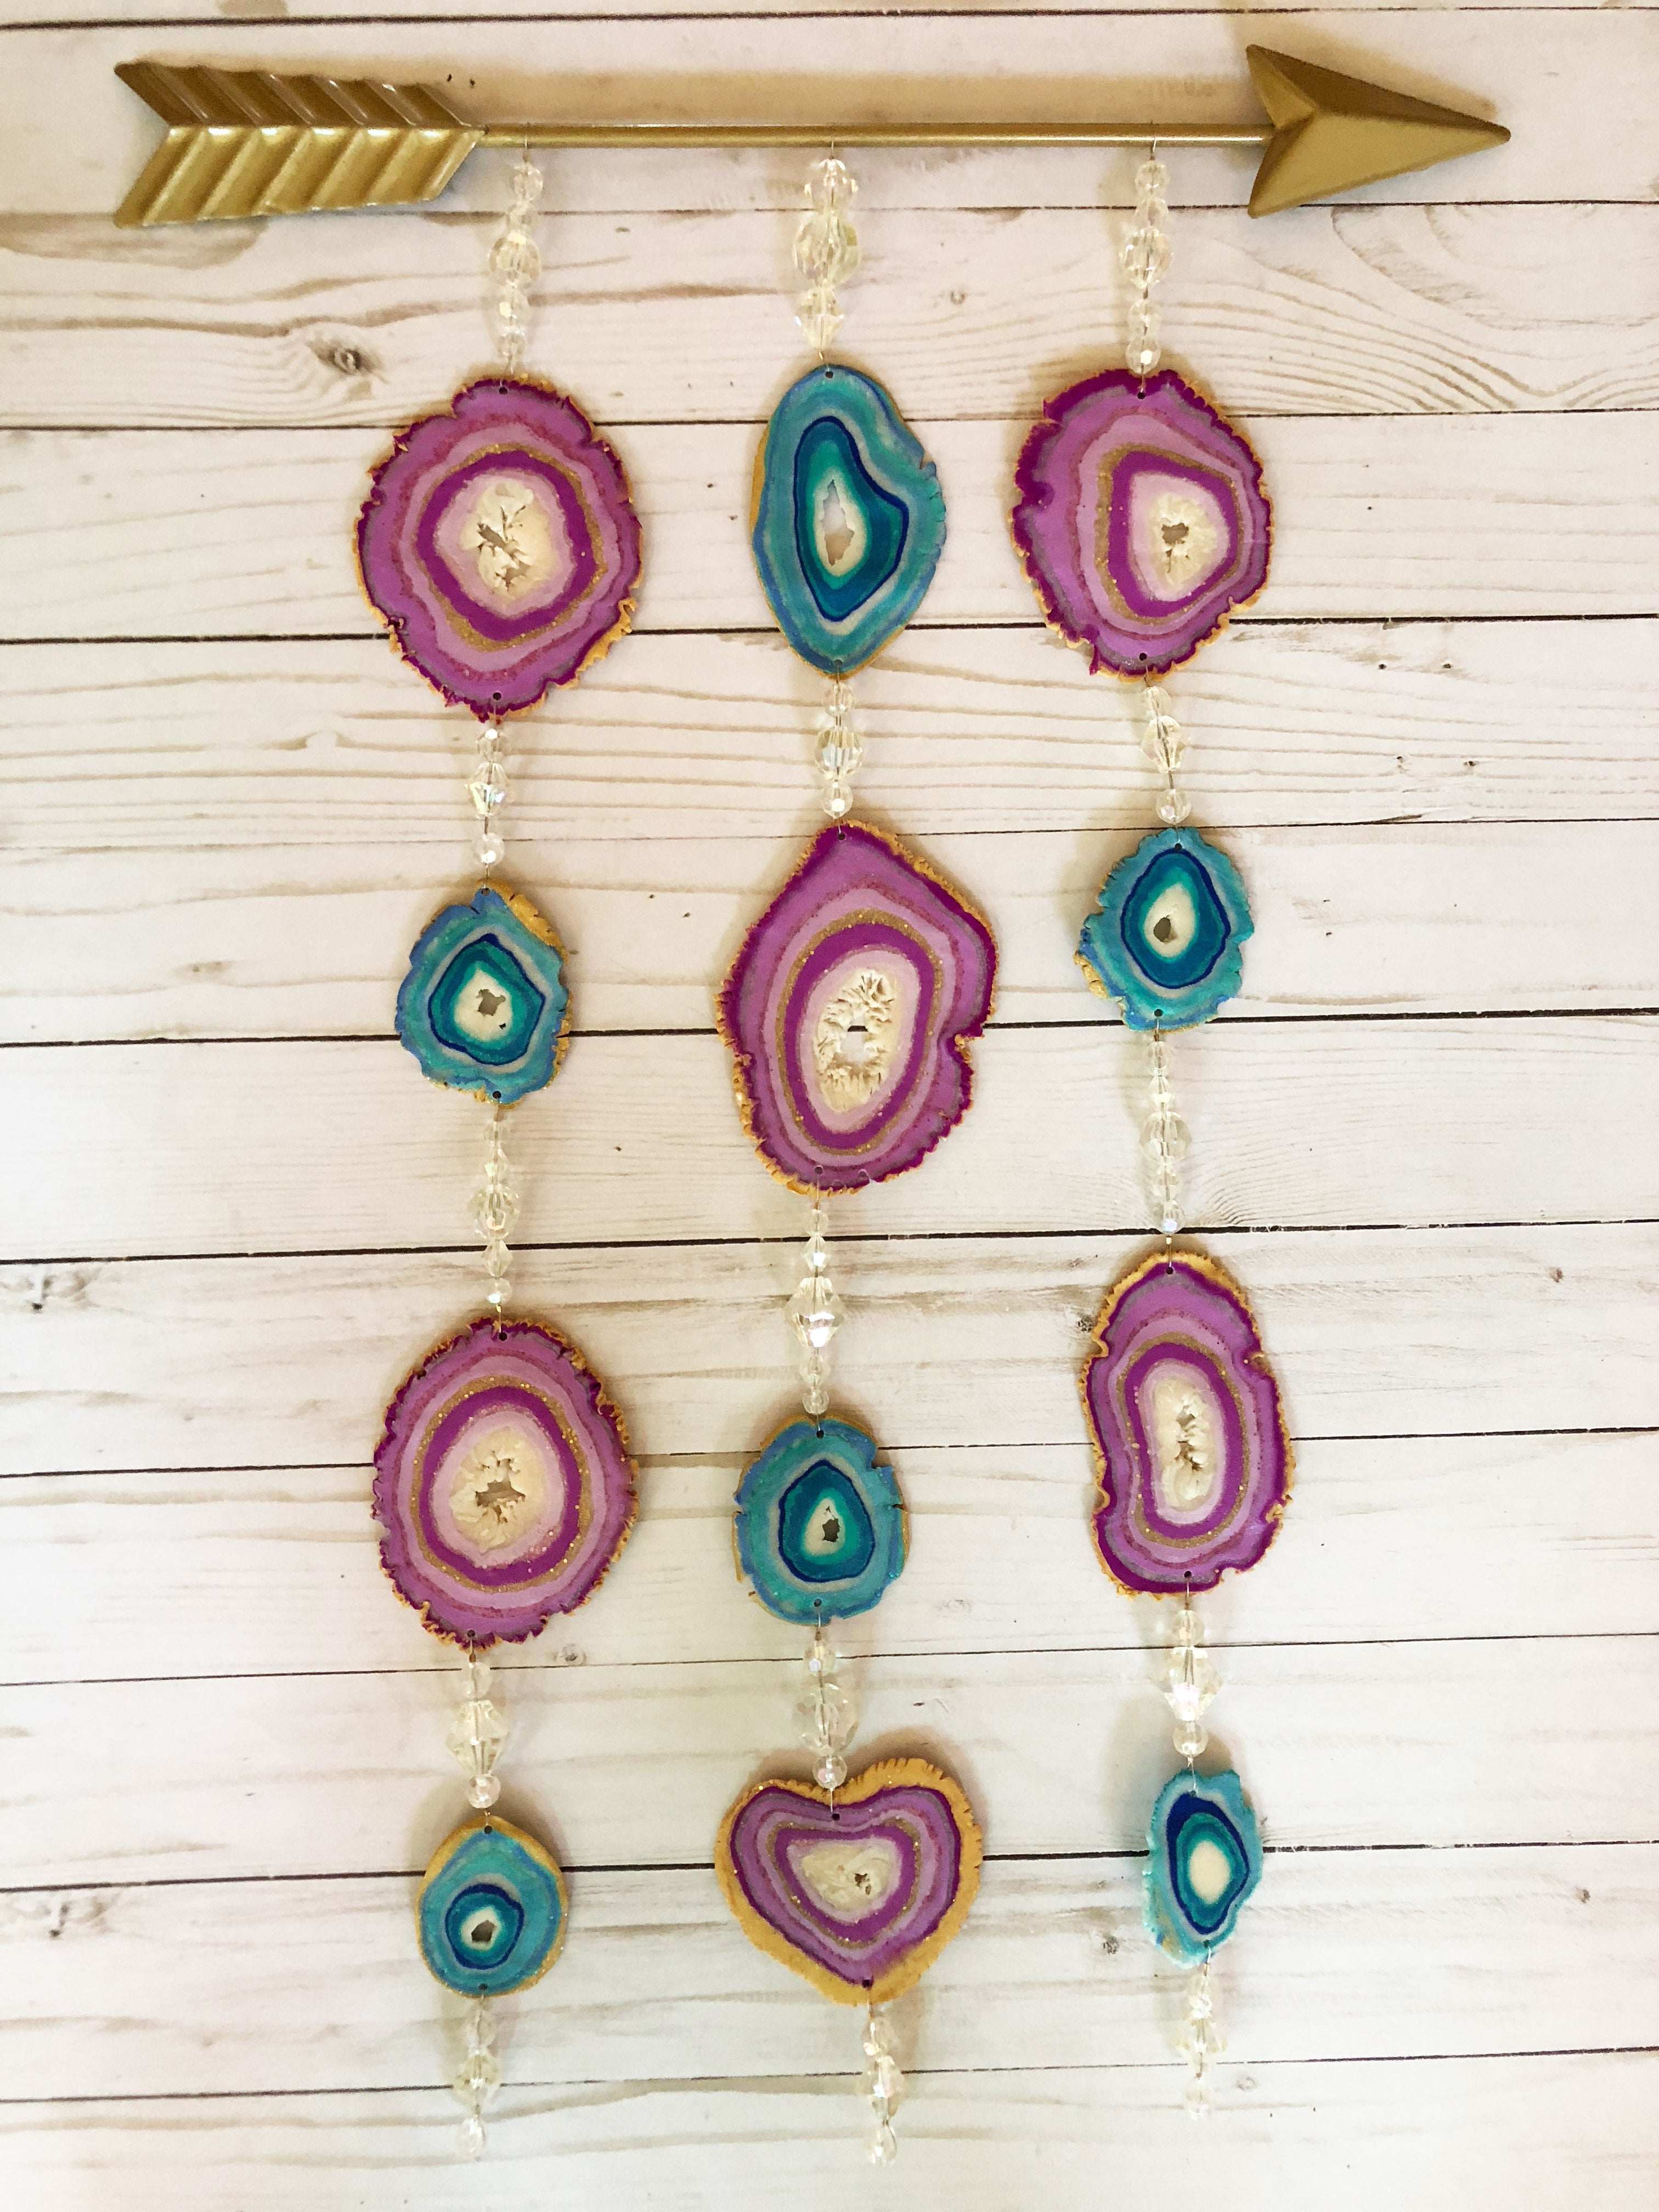
Create a wall hanging by piercing holes on the top and bottom of each agate geode shape that you wish to hang. String the geodes with fishing line and beads in between each geode. Attach to a stick or arrow.
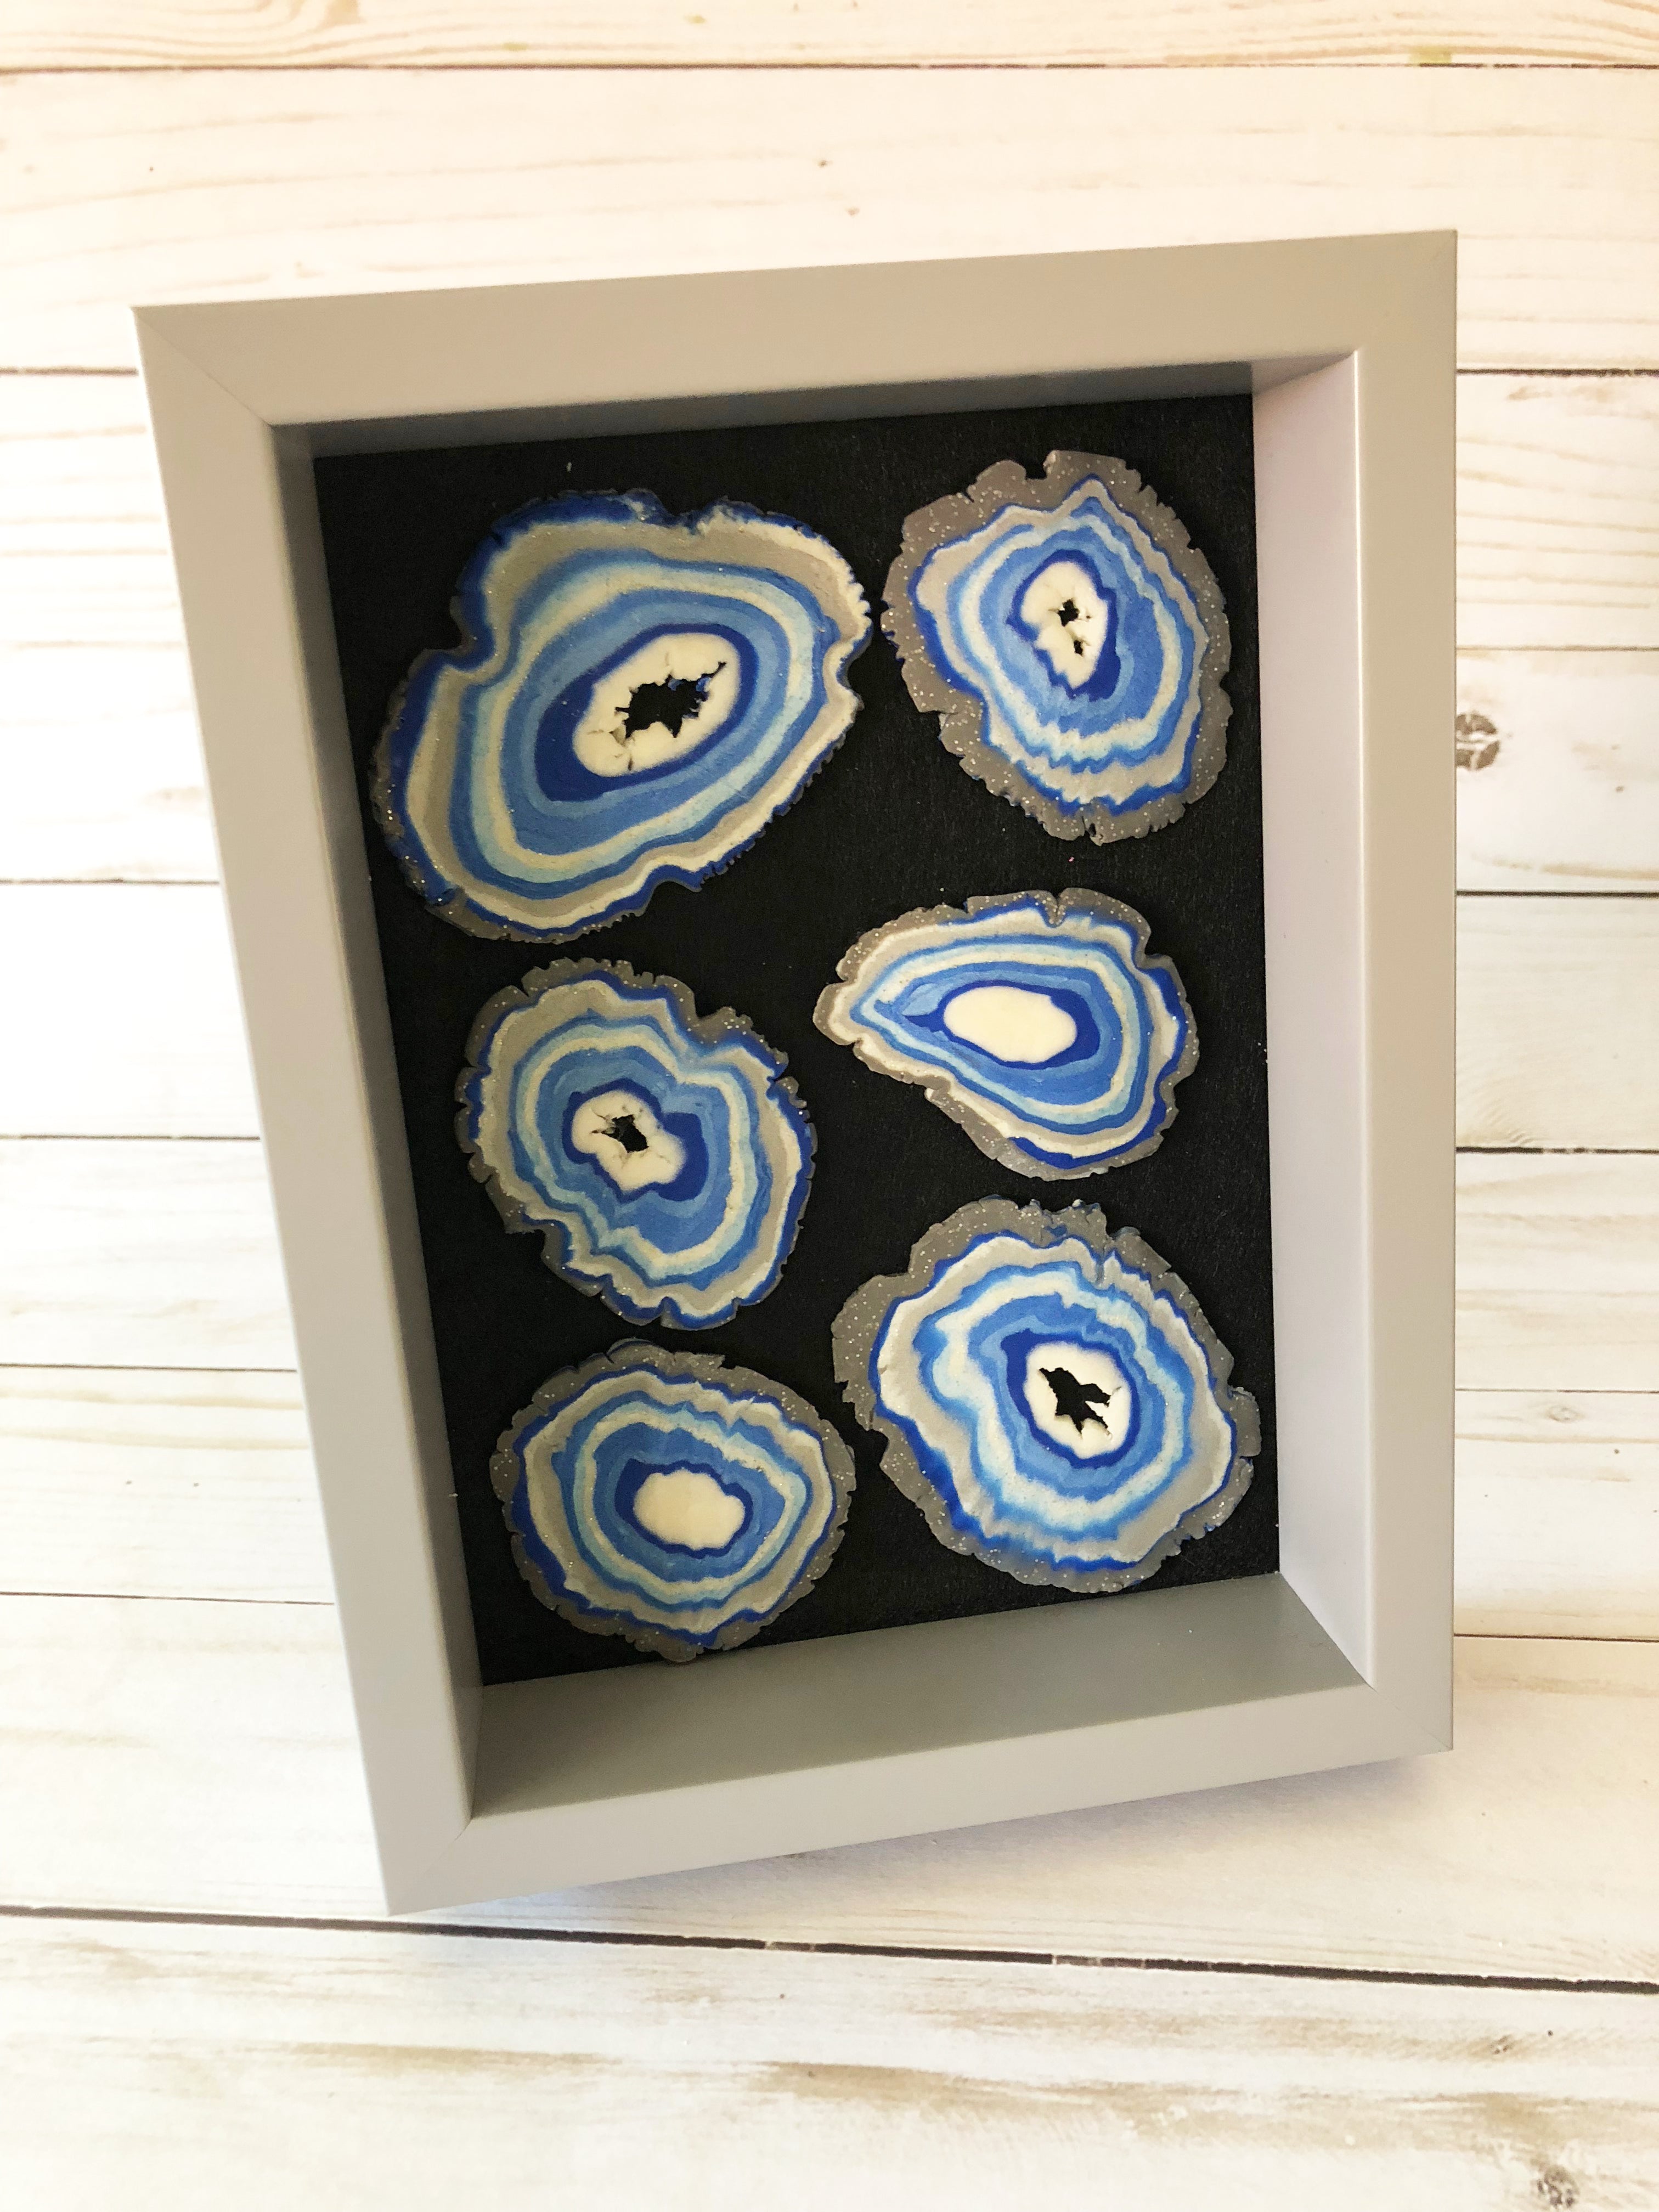
Create a framed piece of art by gluing agate geode slices into the back of a shadow box frame.