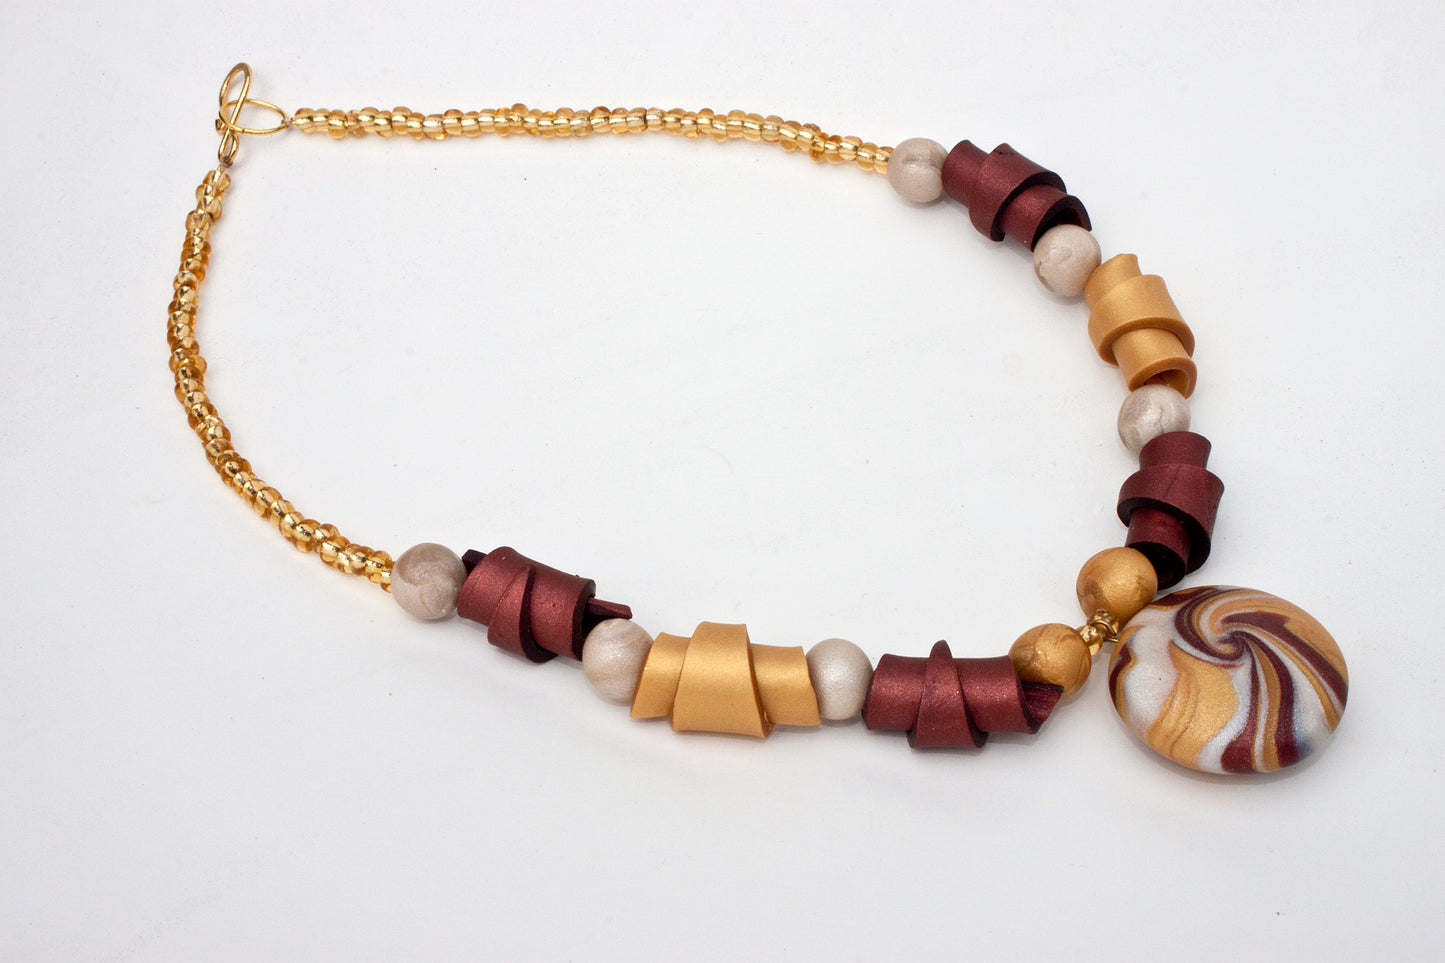
premo! Tsunami and Triangles Necklace
premo! Tsunami and Triangles Necklace
Read More
This necklace uses a popular technique of swirling the clay colors called Tsunami beads. The other striking wrapped beads are created using a popular paper bead technique.
Read Less
ADDITIONAL SUPPLIES
• Qty 74 Gold glass “E” sized beads
• Gold eye pin
• Jewelry string wire
• 2 small gold crimp beads and gold clasp
• Wire clippers and crimping pliers|• Qty 74 Gold glass “E” sized beads
• Gold eye pin
• Jewelry string wire
• 2 small gold crimp beads and gold clasp
• Wire clippers and crimping pliers

Project Instructions
Do not use unbaked clay on unprotected furniture or finished surfaces. Start with clean hands and work surface area. Good work surfaces include wax paper, metal baking sheet, or disposable foil. Knead clay until soft and smooth. For best results, clean your hands in between colors. Shape clay, pressing pieces together firmly. Bake on oven-proof glass or metal surface at 275°F (130°C) for 30 minutes per ¼" (6 mm) thickness. For best baking results, use an oven thermometer. DO NOT USE MICROWAVE OVEN. DO NOT EXCEED THE ABOVE TEMPERATURE OR RECOMMENDED BAKING TIME. Wash hands after use. Baking should be completed by an adult. Begin by preheating oven to 275°F (130 °C). Test temperature with oven thermometer for perfectly cured clay. For best results, condition all clay by running it through the clay dedicated pasta machine several passes on the widest setting. Fold the clay in half after each pass and insert the fold side into the rollers first.

Sheet Twinkle Twinkle clay on the thickest setting of the Clay Conditioning Machine. Cut out a large circle.

Sheet 18K Gold on the thickest setting of the Clay Conditioning Machine. Cut out a large star. Place the Gold star on top of the Black circle so that the star's points just touch the edge of the circle.

Lightly roll over the star with the clay roller to make sure there are not air bubbles between it and the Black circle. Spritz the Gold star lightly with water. Press the texture into the surface of the Gold star. Roll over the texture sheet with the roller. Blot any excess water with paper towel.

Using the Gold clay make five little club shaped pieces about 2.25" long. Position these pieces so that the club end is at the star point and the tapered end is in the middle. Repeat for each star point.

Impress the side of the smallest Etch 'n' Pearl tool into the club shape scoring it.

Impress the ball end of the medium Style & Detail tool into each of the clubs at the tips.

Roll a very thin rope of Gold about 1/8" thick and at least 20" long. Cut 2" pieces with tapered ends from the rope. You will need ten. Roll each piece up starting at the fat end to make a curly Q. Leave a little tail on each one. Position the curly Q's so that the little tail is alongside the club piece and the curled side is lined up with the star's edge. Position two curly Q's along each of the clubs.

Cut out a 2" star from the sheet of Gold clay. Place it in the middle of the large star covering up all the tails of the other pieces. Press it into place with the largest style and detail tool.

Using the pointed rubber chisel tip, press a point into each of the small star's tips.

Place a 3/8" ball of Gold in the center of the small star. Using the flat rubber chisel tip, score 10 lines in the ball radiating out from the center.

Using the largest Etch 'n' Pearl tool, place a pearl in the center of the small star.

Using the largest Etch 'n' Pearl tool, place a pearl in the intersection of each of the star points. Using the medium Etch 'n' Pearl tool, place a pearl at the tip of each of the small star points. Use the smallest ball tool to make a divot in the center of each pearl. Poke a hole in the top of the star where you would like the ribbon to attach. Bake as directed above.


