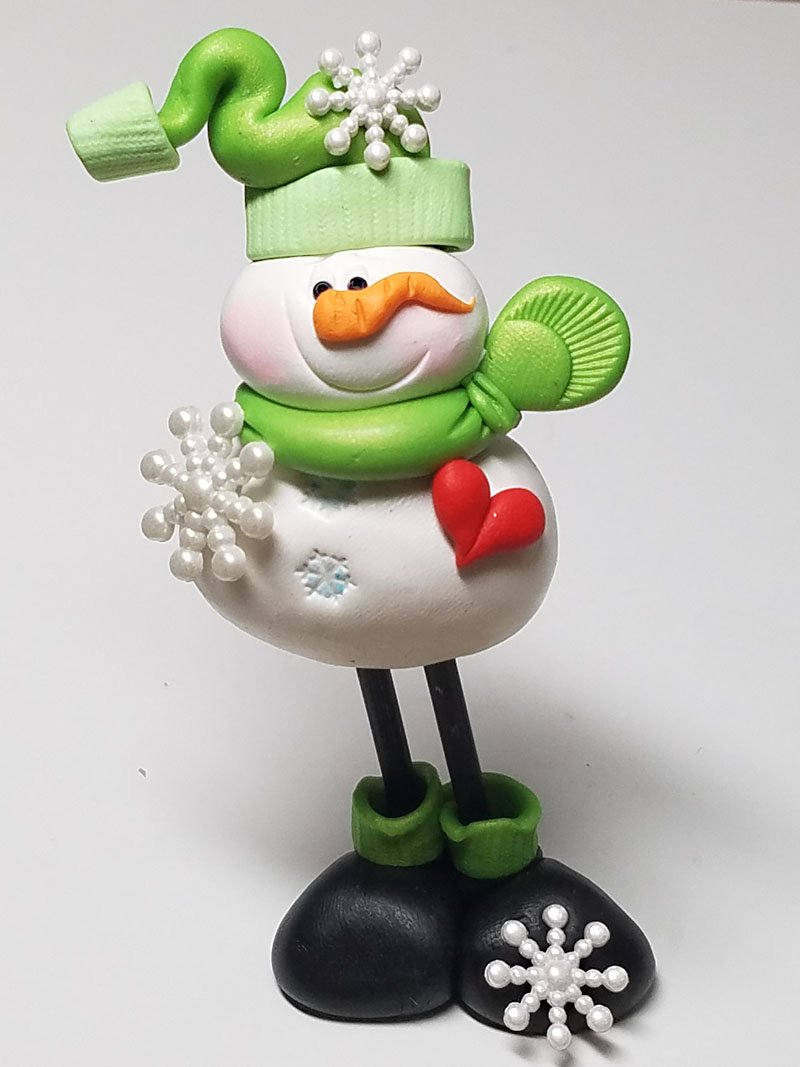
Premo Stick Leg Snowman
Premo Stick Leg Snowman
Read More
This cheery guy will fit any Winter decor!
Design by Helen Terlalis Dorn
Read Less
ADDITIONAL SUPPLIES
Resin Button Snowflakes (3)

Project Instructions
- Getting Started:
Start with clean hands, unwrap and knead clay until soft and smooth, or condition by running clay though a Pasta Machine. We recommend using a designated machine for clay purposes only. When working with multiple colors, clean hands with soap and water or baby wipes (we have found that baby wipes work best) before switching colors. Shape clay, pressing pieces firmly together. Wash hands after use.
- Baking:
Paint two dowels black with acrylic paint…set aside to dry.

BOOTS: Using two ¾” balls of black clay make two rounded oval boots and add a flattened ball of black clay to represent the boot tops.LEGS: Insert dowels into the boot tops and cut dowels to the desired heights


TORSO: Make a ball using a 2” of white clay and insert both legs (may want to dab a bit of super glue for added security. Push torso down to desired height. Use a little mica powder on a small snowflake stamp to create the buttons on the torso.


HEAD: Add a half a toothpick into the neck of the torso and add the head which is made by rolling a 1”inch ball of white clay into the desired head shape. Press lightly into place on the torso.SCARF: Roll out and flatten slightly a ½” ball of green pearl and place under neck. For the scarf end, make a triangle shape and attach. Make fringe lines using a needle tool or toothpick. Lastly, add a small snake of green pearl to represent the knot and indent with needle tool or toothpick.


FACE: Make two eye sockets using the end of a paint brush or stylus and fill in with a tiny amount of white clay. Add a black seed bead to each socket. Make eyebrows using a craft knife. Make an elongated cone shape using a small amount of orange clay to represent a carrot. Make smile line with a cookie cutter/smile tool/toothpick/needle tool. Blush cheeks with pink chalk/makeup.


STOCKING CAP: Shape green pearl into an elongated triangle and shape as desired. For cap band, flatten a light green (make blending green pearl and white) 1” ball and press into fabric for added texture (optional) or make lines using needle tool. Add pompom by wrapping a small amount of light green clay around the tip.
- Choosing a selection results in a full page refresh.
- Opens in a new window.

