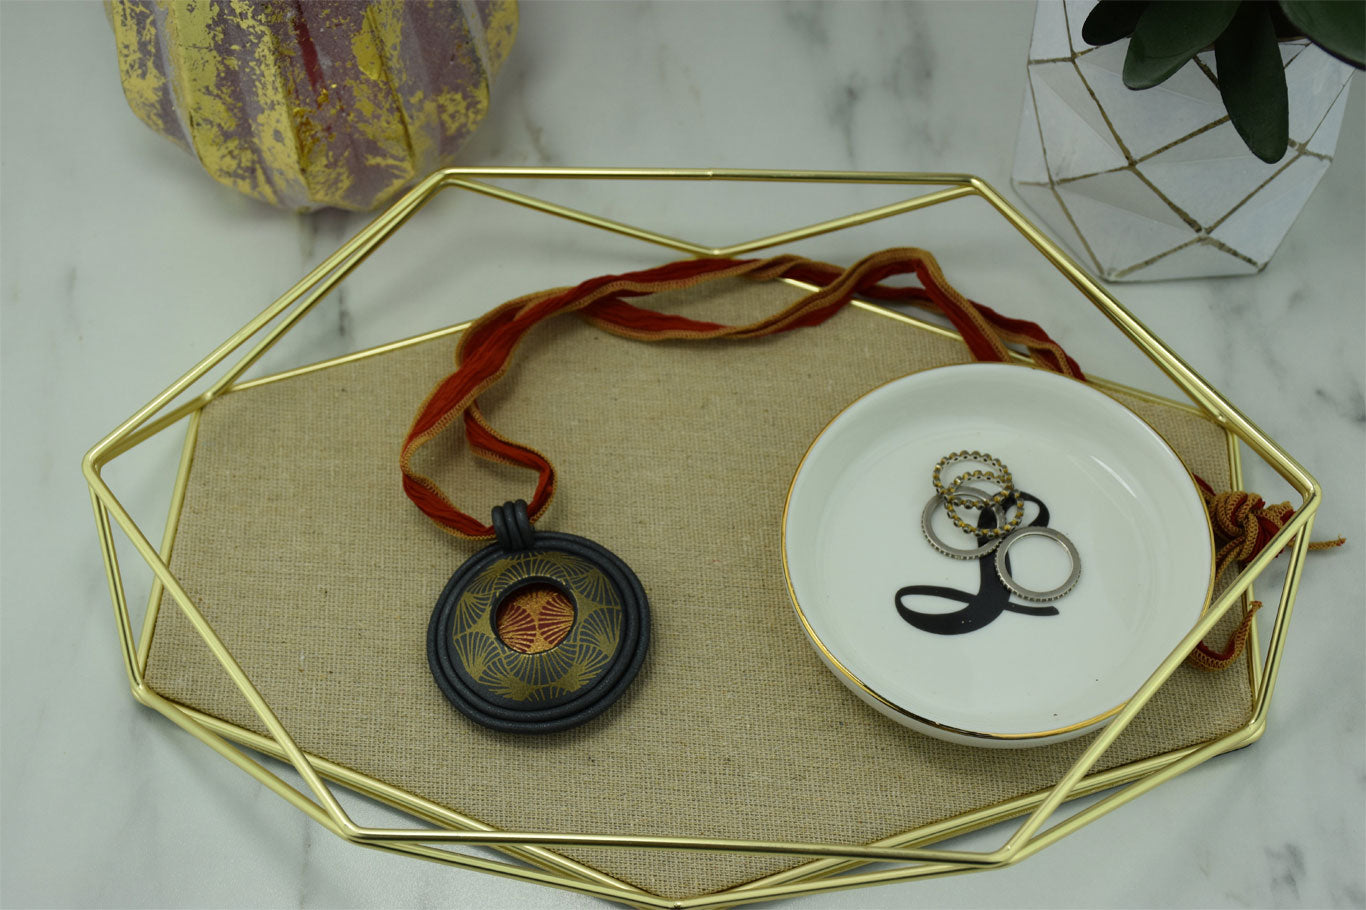
Premo Silkscreen Bubble Pendant
Premo Silkscreen Bubble Pendant
Read More
This gorgeous pendant is so easy to make with the Sculpey silkscreen and a color combination of Premo Accents Graphite and Premo Cayenne.
Design by syndee holt
Read Less
ADDITIONAL SUPPLIES
Gold acrylic paint (mine is the Gold from the original Sculpey silkscreen kit)

Project Instructions
- Getting Started:
Start with clean hands, unwrap and knead clay until soft and smooth, or condition by running clay though a Pasta Machine. We recommend using a designated machine for clay purposes only. When working with multiple colors, clean hands with soap and water or baby wipes (we have found that baby wipes work best) before switching colors. Shape clay, pressing pieces firmly together. Wash hands after use.
- Baking:
Sheet out the conditioned Graphite clay on the second from widest setting on the Clay Conditioning Machine. Place the mandala silkscreen with the fan pattern on it with the shiny side down on the clay. Add a thin strip of paint that is the width of the screen.

Use the silkscreen paddle to spread the paint quickly and completely across the pattern. Remove the silkscreen and immediately rinse the screen under running water to remove all the remaining paint. Allow the silkscreen on the clay to dry thoroughly.


Use the 2nd to largest circle cutter to cut out the screened pattern.

Use the smallest cutter to remove the center of the round clay. Use the pattern to help you find the center!

Place the clay ring on the largest bump on the Hollow Bead Maker and bake according to the directions in Step 1. NOTE: I keep my Hollow Bead Makers on the top of my oven. This way, they are warm from the pre-heating and my clay lays and sticks to the bump much easier!

While the clay is baking, steps 2-4 using the Cayenne clay. Use the next smaller circle cutter to retrim the Cayenne clay as shown. Once the Graphite ring has finished baking and cooled, position it over the Cayenne circle, lining up the patterns from the Graphite to the Cayenne. Press the ring gently in place.

Sheet out the remaining Graphite clay on a medium thickness and use the largest circle cutter to cut a circle of clay. Center the pendant onto this new circle and press it gently in place. There should be a small selvage all around the outside of the pendant.

Extrude the remaining Graphite clay and lay a piece of this extruded clay around the edge of the pendant with the ends at the top of the pendant. Add a second round of extruded clay around the pendant as shown. Make sure that both pieces have their seams at the TOP of the pendant. Cut three equal pieces of the remaining extruded clay about 4 inches long. Stroke the pieces to gently press them together.

Roll up one end of these 3 strips and press the ends of the coil lightly into the tail. This will create the bail for the pendant. Trim the tail of bail as shown. Bake the pendant and the bail according to the directions in step 1. Make SURE that the bail remains upright in the oven!

One the clay has baked and cooled, put your thumbnail right at the base of the bail loop and pull the loop slight open with the other hand. You should hear a little pop! Gently slide the bail onto the pendant, pulling the bail open slightly so that it can slide right over where the seams at the top of the pendant are. Once you are satisfied with the fit, remove the bail, add a little instant glue to the tail of the bail and reposition it again on the pendant. Pick your cording and hand your pendant!


