Skip to product information
1 of 1

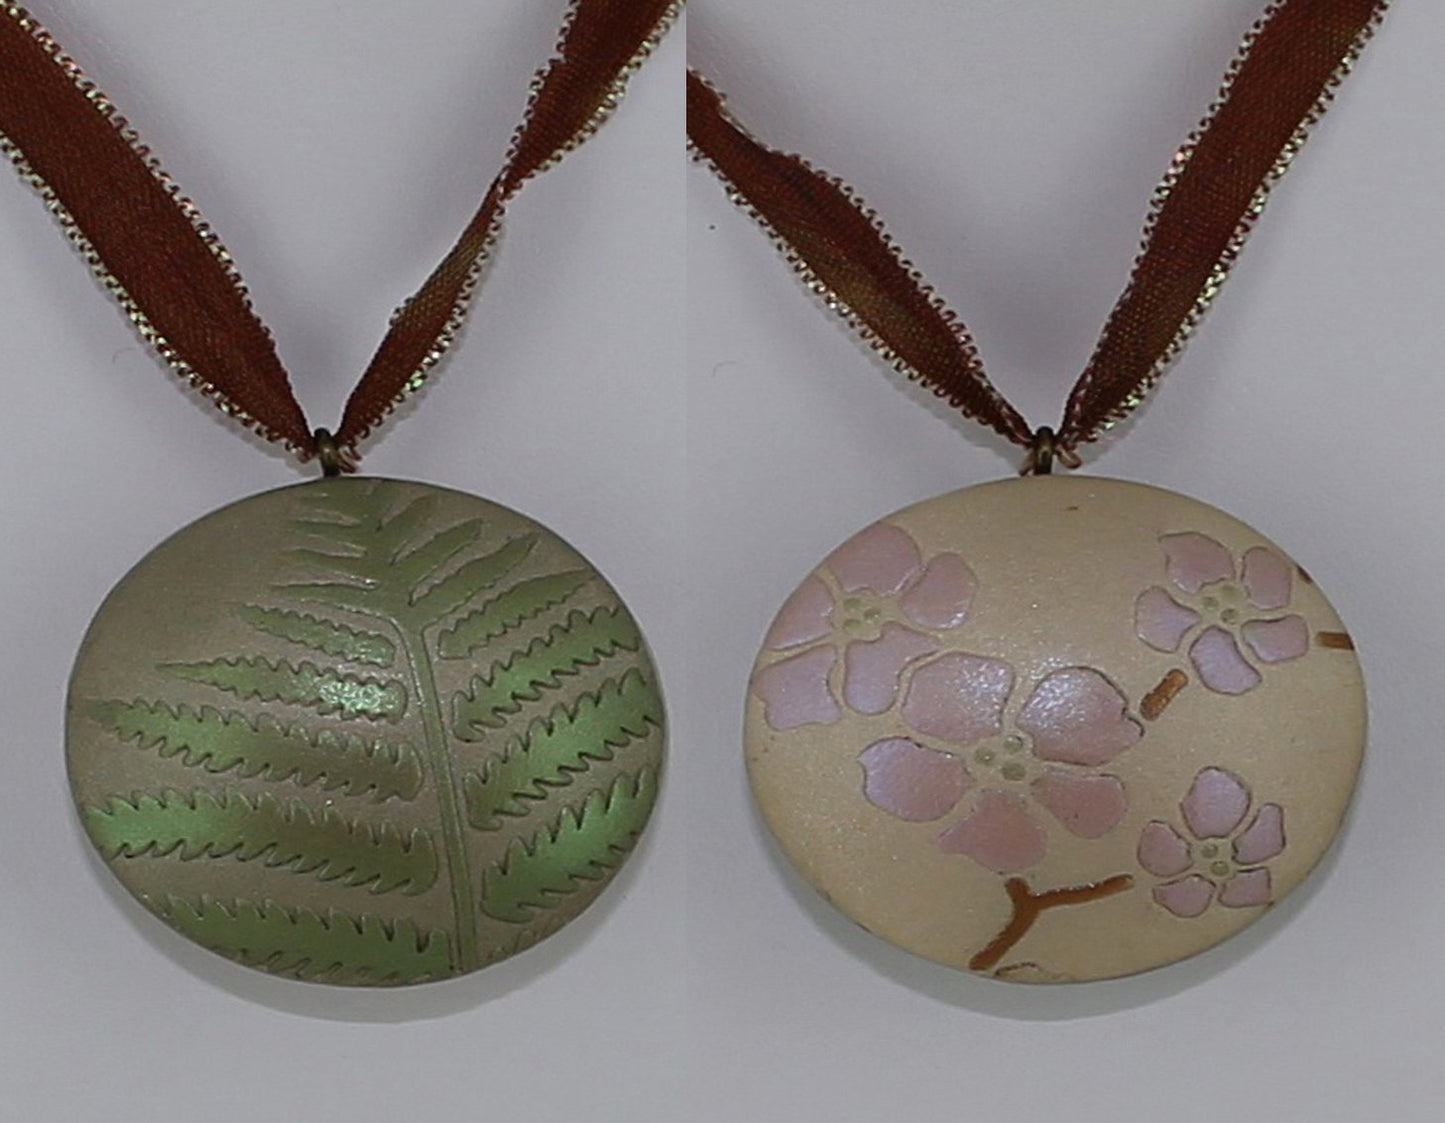
premo! Sculpey Reversible Nature Bead

premo! Sculpey Reversible Nature Bead

Read More
This super simple polymer clay technique results in a subtle natural looking hollow bead.
Read Less
ADDITIONAL SUPPLIES

Small Antique Brass Screw-Eye
1/8” cord or a size that will fit through the eye of your screw-eye
Super Glue
Embossing Stencils – Fern and Cherry Blossom patterns
Pearl Ex Powders in: Spring Green, Red-Blue Duo, and Antique Bronze
Small Paint Brush - 20/0 size
Medium size paint brush
Make-Up Sponge – Optional
220 Grit Wet/Dry Sandpaper|Small Antique Brass Screw-Eye
1/8” cord or a size that will fit through the eye of your screw-eye
Super Glue
Embossing Stencils – Fern and Cherry Blossom patterns
Pearl Ex Powders in: Spring Green, Red-Blue Duo, and Antique Bronze
Small Paint Brush - 20/0 size
Medium size paint brush
Make-Up Sponge – Optional
220 Grit Wet/Dry Sandpaper
View full details
Project Instructions
Do not use unbaked clay on unprotected furniture or finished surfaces. Start with clean hands and work surface area. Good work surfaces include wax paper, metal baking sheet, or disposable foil. Knead clay until soft and smooth. For best results, clean your hands in between colors. Shape clay, pressing pieces together firmly. Bake on oven-proof glass or metal surface at 275 °F (130 °C) for 30 minutes per 1/4” (6 mm) thickness. For best baking results, use an oven thermometer. DO NOT USE MICROWAVE OVEN. DO NOT EXCEED THE ABOVE TEMPERATURE OR RECOMMENDED BAKING TIME. Wash hands after use. Baking should be completed by an adult.Begin by preheating oven to 275 °F (130 °C). Test temperature with oven thermometer for perfectly cured clay. For best results, condition all clay by running it through the clay dedicated pasta machine several passes on the widest setting. Fold the clay in half after each pass and insert the fold side into the rollers first.
Use the Clay Conditioning Machine on the #1 setting to Mix ½ package of Turquoise and ¼ package of White. Set aside.
Using one third of a block of Burnt Umber, roll it through the Clay Conditioning Machine on the #1 setting until it’s soft and pliable. Then roll it through again on the #2 setting. Set the sheet on a smooth ceramic tile. Use the square cutter form the Metal Mini Cutter set to stamp out several tiles.
Slowly peel up the remaining clay and the tiles should stay in place on the tile. Slide the Super Slicer blade underneath each tile quickly to lift it from the tile surface and place them on your baking sheet, making sure the edges don’t touch. Repeat to make 40 tiles.
Repeat steps 2 and 3 with each of the colors, including the Turquoise/White mix. NOTE: There were only 20 tiles made of Rhino Grey as they were used as an accent color in the design.
Bake the tiles according the above directions and allow to cool.
Paint the frame in your selected background color while the tiles are baking and cooling.
Once the tiles have cooled and the frame has dried, lay your tiles out quickly to check the fit of the pattern. Creating a border around the frame opening. Once you have established that the tiles will fit correctly, remove them and lay a line of white glue along the same area you just measured, then set the pattern. Try to choose the tile colors at random. Note-A craft blade or the Super Slicer can be used to trim any “bits” or uneven edges from the tiles so that they fit close together. Allow the glue to dry completely and add your photo and hang your new tiled frame!