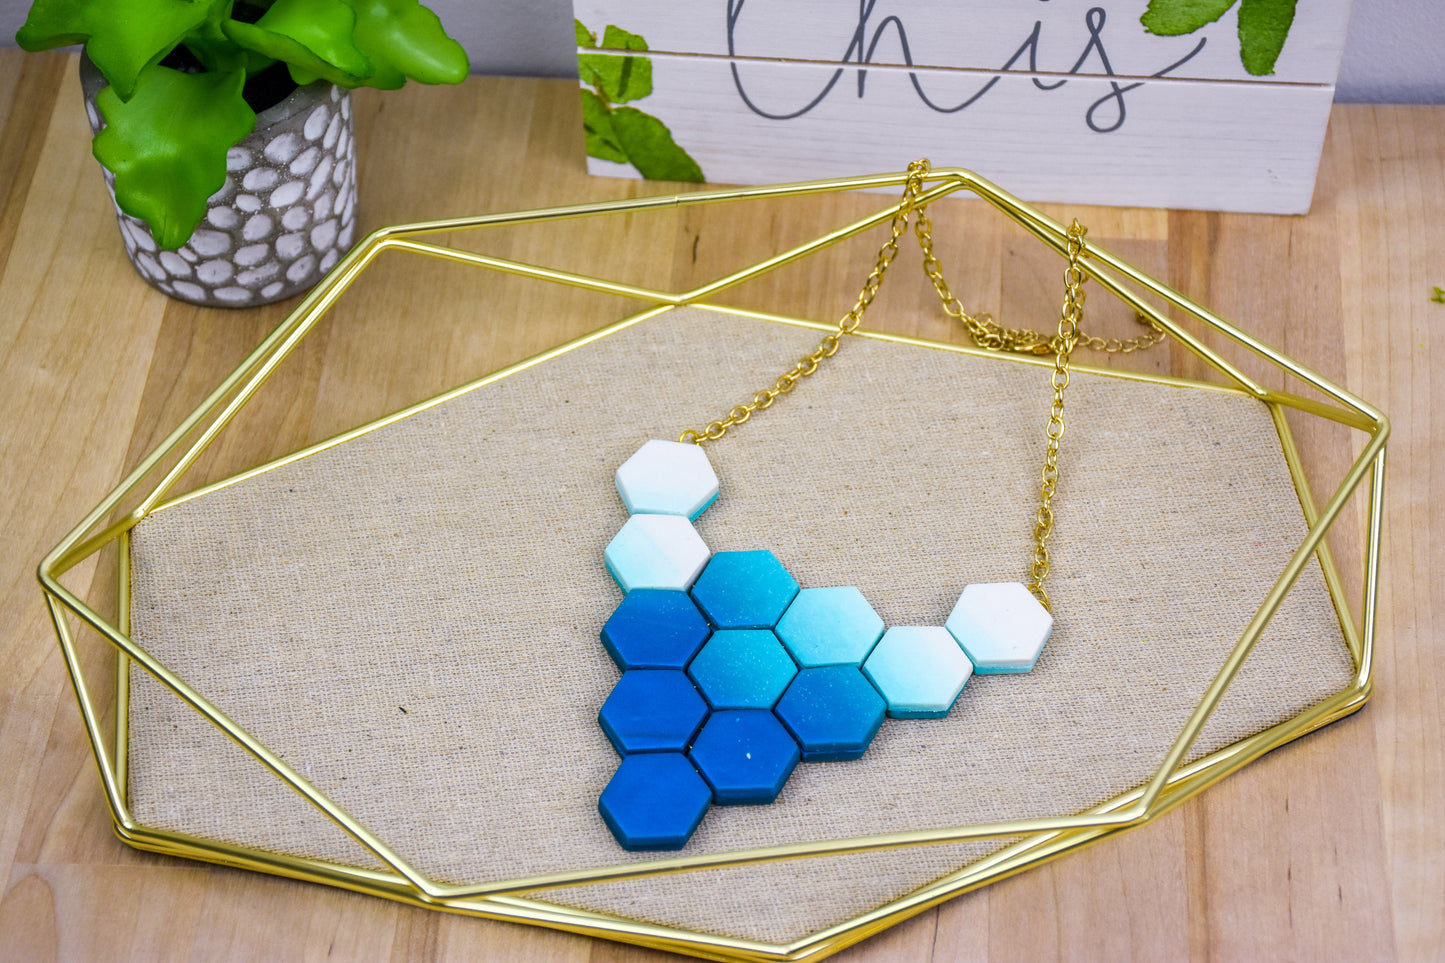
premo Sculpey® and Hexagon Cutter Bib Necklace
premo Sculpey® and Hexagon Cutter Bib Necklace
Read More
Make your very own 2-part dangling Flamingo and Fern(e) earrings with these simple steps!
By Ferne Atelier
Read Less
ADDITIONAL SUPPLIES
2 pieces of copier paper22 - 6 or 8mm Gold tone jump rings
2 - 4mm Gold tone jump rings
Gold tone chain with clasp
Wire cutters
Flat nose jewelry pliers

Project Instructions
Getting Started:
Do not use unbaked clay on unprotected furniture or finished surfaces. Start with clean hands and work surface area. Good work surfaces include wax paper, metal baking sheet, or disposable foil. Knead clay until soft and smooth. For best results, clean your hands in between colors. Shape clay, pressing pieces together firmly. Bake on oven-proof glass or metal surface at 275 degrees F (130 degrees C) for 15 minutes per ¼” (6mm) thickness. For best baking results, use and oven thermometer. DO NOT USE MICROWAVE OVEN. DO NOT EXCEED THE ABOVE TEMPERATURE OR RECOMMENDED BAKING TIME. Wash hands after use. Baking should be done by an adult.
Begin by preheating oven to 275 degrees F (130 degrees C). Test temperature with oven thermometer for perfectly cured clay. For best results, condition all clay by running it through the clay dedicated pasta machine several passes on the widest setting. Fold the clay in half after each pass and insert the fold side into the rollers first.
Sheet Frost White Glitter and Peacock Pearl through the pasta machine on the thickest setting. Make each sheet a little more than 1/2 as wide as the pasta machine rollers. Lay them side by side with the extra clay overlapping in the middle.

Fold the sheets - white to white and blue to blue. Press them through the pasta machine folded end first on the thickest setting. Keep folding like color to like color and pressing through on the thickest setting until a nice blend is achieved in the middle. This is a variation of the Skinner Blend. Turn the sheet 1/4 turn and sheet the clay through the pasta machine on the second thickest setting without folding it to thin it and to make the blend more gradual. Then again on the third thickest setting without folding it.

Use the small hexagon cutter to cut out as many shapes as you can from your blended sheet.

Remove the cut hex shapes from the sheet of clay and arrange them in a pattern going from dark at the bottom to light at the top on a piece of paper. Sandwich the clay between pieces of paper and flip them over so that the back side is face up. Check your arrangement one more time to make sure the pieces are all lined up neatly. Position them with a slight gap between each one. Place a jump ring going across every gap that is between pieces to hook all the pieces together. Use enough pressure to imbed the jump rings into the back of each piece of clay. Add one additional jump ring on each of the very top pieces so that you have a place to attach the chain later.

Arrange a second set of hex shapes on top of the first sandwiching the jump rings in between. Again, organize your hex shapes going from dark at the bottom to light at the top. Use enough pressure to connect the front pieces of clay to the back pieces.

Bake the pieces on the paper so that the back pieces will not turn shiny from coming into contact with the baking surface.

As soon as possible remove the warm piece from the paper and lay it flat to cool. The front and back are now both beautiful making for a reversible bib necklace.

Cut the chain necklace in half with wire cutters and discard the broken loops. Add one end of each of the chain pieces to the jump rings in the clay bib with the 4mm jump rings.


