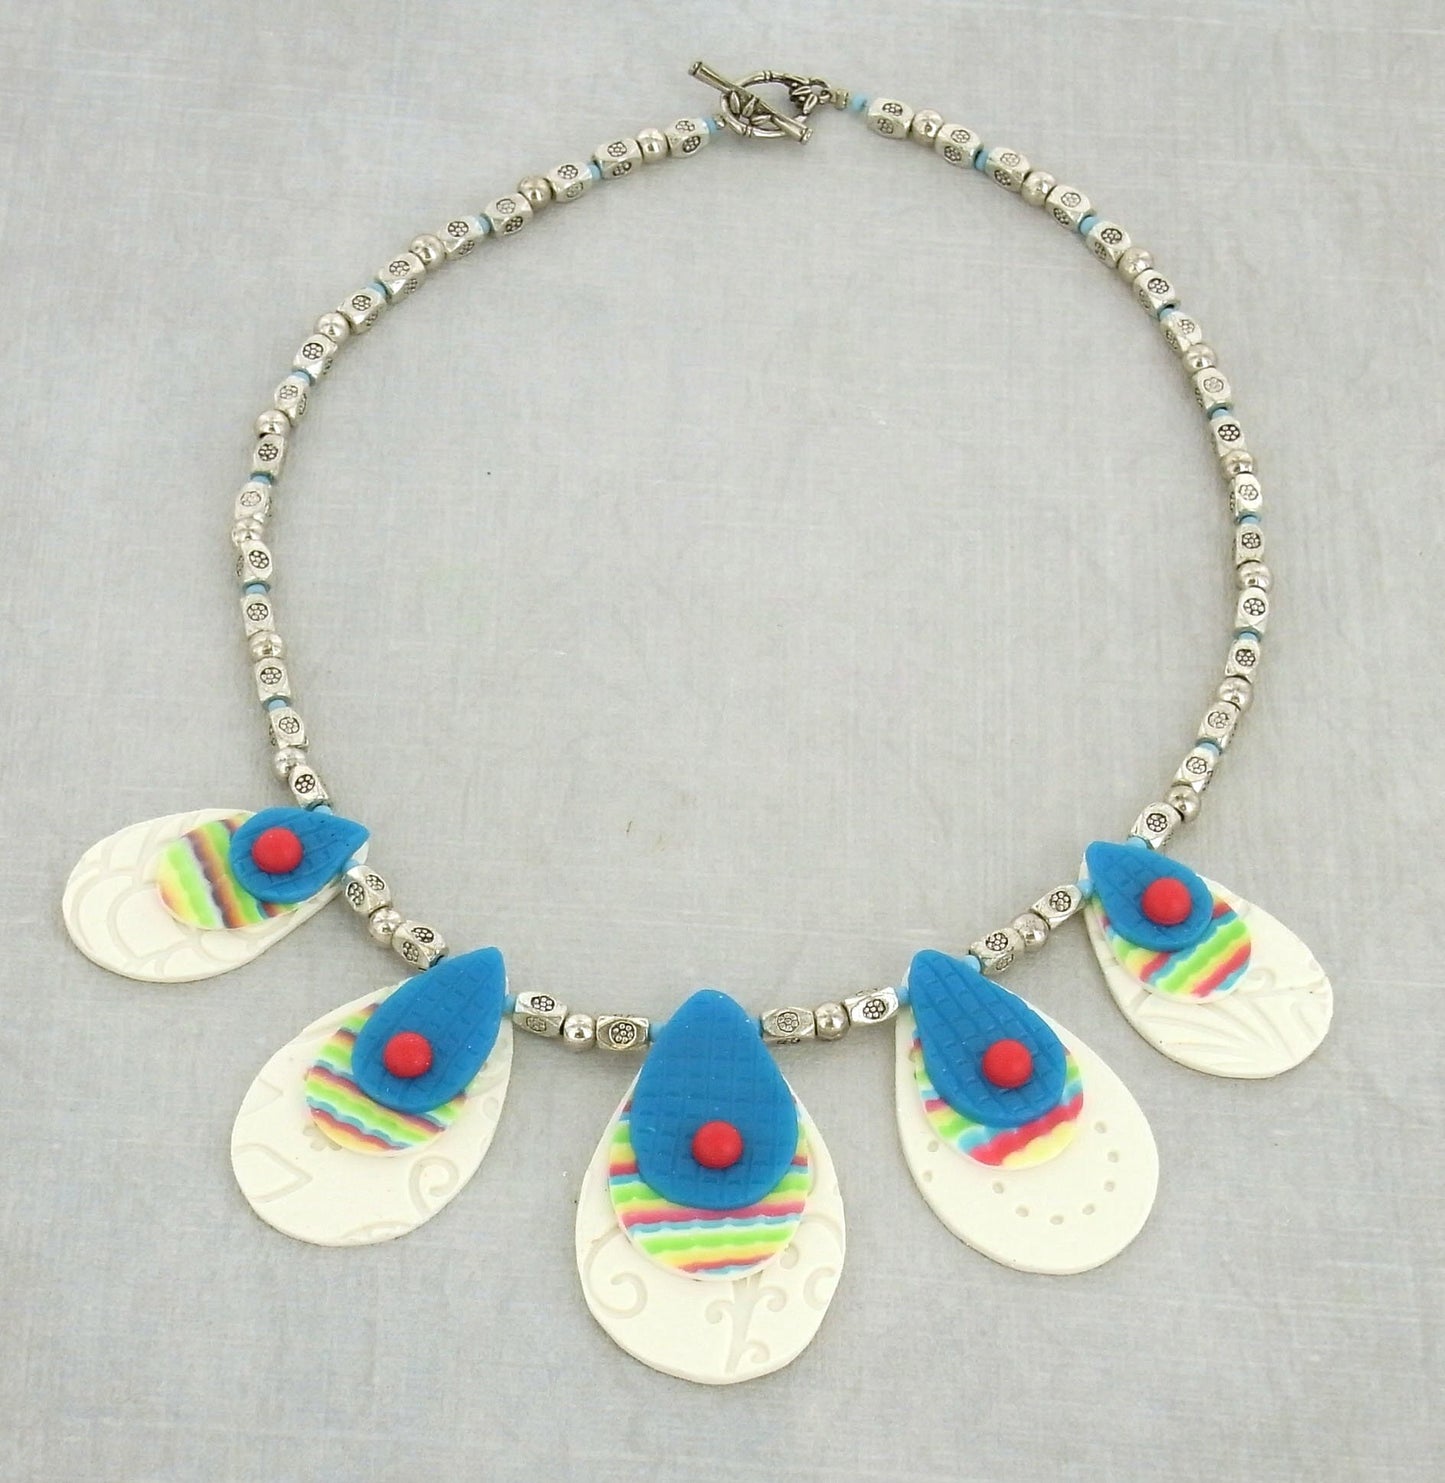
premo! Layered Tear Drop Necklace
premo! Layered Tear Drop Necklace
Read More
The new Tear Drop Cutters allow you to make beautiful layered looks!
Read Less
ADDITIONAL SUPPLIES
Water spritzer, paper towels, 20" bead stringing wire, 26 turquoise seed beads, 60 coordinating silver toned beads-we used 2 different shapes round and square ,silver necklace clasp, 2 crimp beads, jewelry pliers|Water spritzer, paper towels, 20" bead stringing wire, 26 turquoise seed beads, 60 coordinating silver toned beads-we used 2 different shapes round and square ,silver necklace clasp, 2 crimp beads, jewelry pliers

Project Instructions
Getting StartedPolymer clay may stain. CLAY MAY DAMAGE UNPROTECTED FURNITURE OR FINISHED SURFACES. DO NOT USE polymer clay on unprotected surfaces. We recommend working on the Sculpey clay mat, wax paper, metal baking sheet, or disposable foil. Start with clean hands and work surface area. Knead clay until soft and smooth. For best results, clean your hands in between colors. Shape clay, pressing pieces together firmly. Bake on oven-proof glass or metal surface at 275°F (130 °C) for 15 minutes per ¼" (6 mm) thickness. For best baking results, use an oven thermometer. DO NOT USE MICROWAVE OVEN. DO NOT EXCEED THE ABOVE TEMPERATURE OR RECOMMENDED BAKING TIME. Wash hands after use. Baking should be completed by an adult.Begin by preheating oven to 275 °F (130 °C). Test temperature with oven thermometer for perfectly cured clay. For best results, condition all clay by running it through the Clay Conditioning Machine for several passes on the widest setting. Fold the clay in half after each pass and insert the fold side into the rollers first.
For the White Textured Tear Drops Sheet Frost White Glitter through the clay conditioning machine to the #3 setting. Spritz lightly with water. Press the texture sheet into the wet clay with your fingertips. When it has bitten into the clay roll over it with the roller to make sure there is a deep even texture overall. Remove texture sheet. Lightly dab excess water away with a paper towel.

Cut out a 2" teardrop, two 1.75" teardrops, and two 1.5" teardrops from the textured white clay.

For the Striped Tear Drops Roll a 2" X .5" log of Frost White Glitter. Place skinny ropes of each of the translucent colors along the sides of the white log. Twist and roll the log so that all the stripes blend together. Press hard on each end of the log to fatten it.Slice the log in half lengthwise.

Press the log through the clay conditioning machine on the #1 setting and then again on the #2 setting to create a flat striped sheet.
Drag the dragging block tool across the striped clay sheet perpendicular to the stripes. Press the striped sheet through the clay conditioning machine on the #3 setting. Cut out a 1.5" teardrop and press it on top of the 2" White teardrop matching the tips. Cut out two 1.25" teardrops and press them on top of the 1.75" White teardrops matching the tips. Cut out two 1" teardrops and press them on top of the 1.25" White teardrops matching the tips.

For the Blue Grid Tear drops: Sheet Blue Translucent through the clay conditioning machine on the #3 setting.Using the dragging block tool comb across the Blue horizontally and then again vertically. Cut out five .75" teardrops from the Blue. Press a small blue teardrop to each of the striped teardrops matching the tips.

With the large Etch n Pearl tool, make a Red Translucent pearl in the bottom center of each of the blue tears.
Poke a hole horizontally through each of the tear sets going through the striped tear. Bake as directed above.
Assembly:Onto the 20" beading wire string the largest tear drop set. Followed by a Turquoise seed bead on either side, then a set of silver beads, then another seed bead. Add the next largest tear sets and repeat the beading. Add the smallest tear sets.Continue the seed bead and metal bead pattern to desired length. Add a crimp bead at the end of each wire. String each end of the wire through 1/2 of the neck clasp. String the end of the wire back through the crimp bead. Crimp the bead with pliers. Trim the ends.


