
Premo Dragon Head Sculpting
Premo Dragon Head Sculpting
Read More
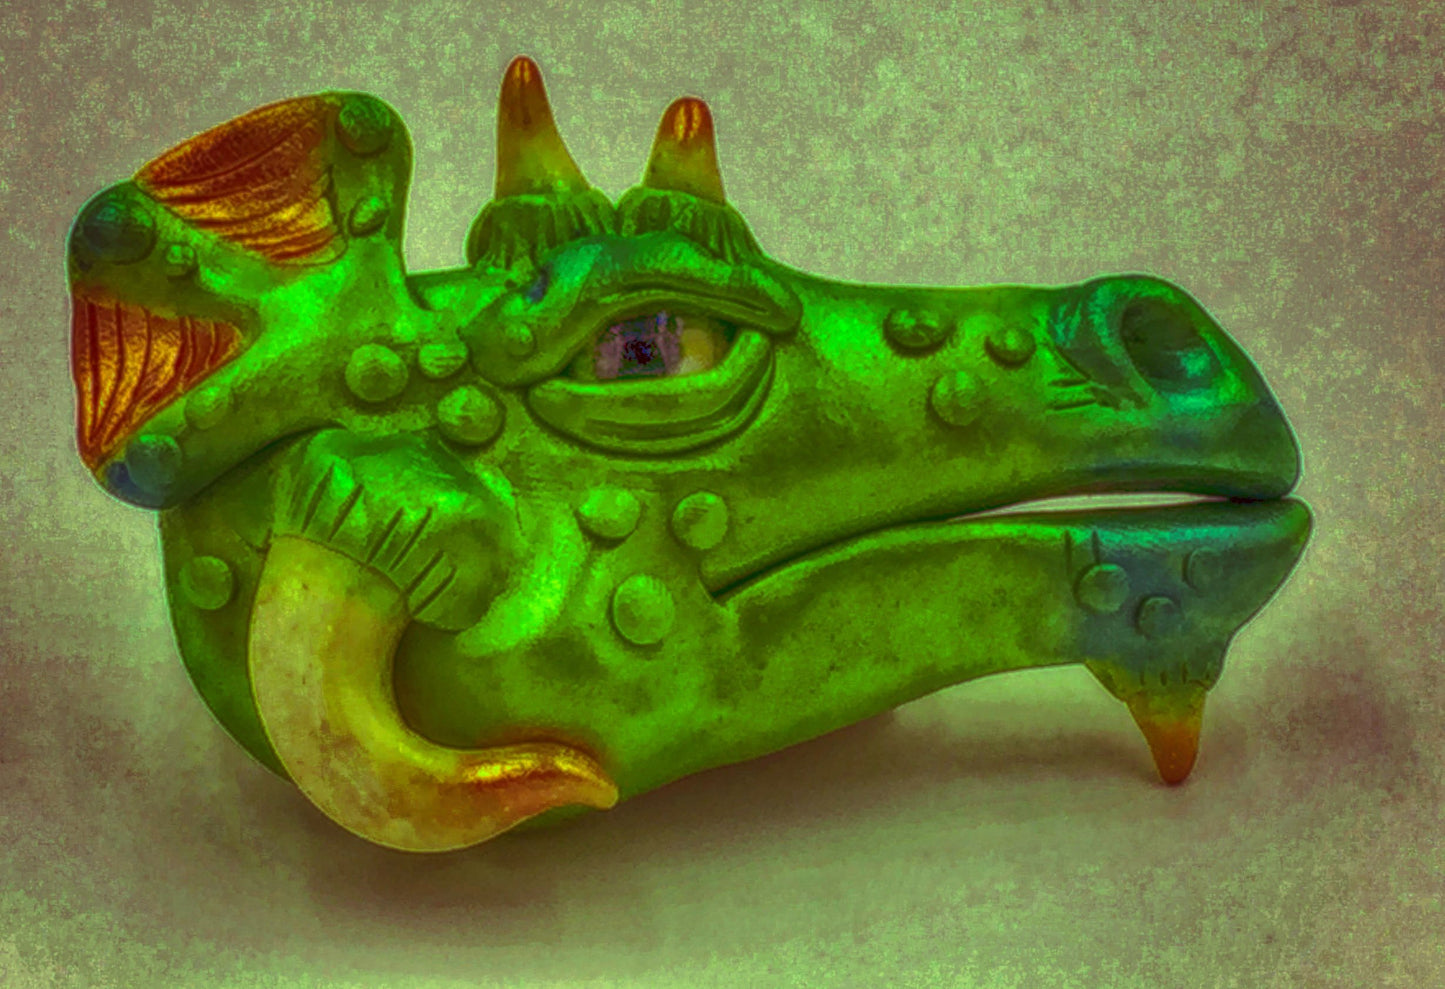
Sherman used these amazing dragon heads as his tokens for playing Left Right Center at the 2018 Clayathon retreat. Needless to say, they were highly coveted prizes!
Design by Sherman Oberson
Designer Note: Use a 2oz. Package of Premo or Soufflé clay in the main color of your choice. Then add small amounts of clay for details and accent color. Some good choices are Premo Accents White Frost Glitter, Translucent, Pearl and a complimentary color to your main color
Read Less
ADDITIONAL SUPPLIES
Glass eye (can be found at craft stores) or something to represent the eye, a large rhinestone or a clay eye; Mica powder (optional); Strong magnets or a pin back.
Project Instructions
- Getting Started:
Start with clean hands, unwrap and knead clay until soft and smooth, or condition by running clay though a Pasta Machine. We recommend using a designated machine for clay purposes only. When working with multiple colors, clean hands with soap and water or baby wipes (we have found that baby wipes work best) before switching colors. Shape clay, pressing pieces firmly together. Wash hands after use.
- Baking:
When I first started sculpting with polymer clay I was drawn to mythical creatures because unlike people and real animals no one knows exactly what a mythical creature is supposed to look like we just have ideas. That gave me a lot of freedom to make them look exactly the way I thought they should look. That being said a really good way to start sculpting is to look up reference material, look up images of dragons and decide how you think dragons should look. I’ve laid out step-by-step how I sculpt one of my dragons and I hope you’ll follow along but the next time I hope you’ll make your Dragon have some different features. You can see from my example photos that I tend to make them all look different.

choose the main color of your dragon, it can be any color even scrap clay if you plan on using mica powder. Some great colors for dragons are twinkle twinkle, purple, gold, bronze. Remember adding pearl clay or glitter clay to any color will give it sparkle. Condition the clay, you will need about half the package for the main part of the head and most of the rest for add ons. Roll half the package into a ball and then using the palms of your hand roll it into a cone shape to begin to form the nose of the dragon. Your cone should be between 2 and 3 inches long.

Once you have a cone shape flatten the back of the dragons head. Begin to define the upper jaw and nostril. The rubber end of a sculpey design and style tool is great for making the nostril. Press it in at an angle to form the hole in the nostril and use the side of it to form the edge.

Make an indent for the eye. There are multiple options for the eye, preprinted glass eyes work well and are carried by Micheals and Hobby Lobby. You can use Swarovski or other crystals. Clay eyes can also look great, a wonderful eye can be made by taking a slice of a round cane and putting it on a domed piece of clay. I would pre bake any clay eyes to make sure they don’t get squashed while you work. Once you’ve picked out your eye place it in the indent and take a tiny half moon shaped piece of clay to form the bottom lid. Now take a thicker piece of clay to form the brow. Use a ball stylus to make three indents in the upper lid. The lids make sure the eye is held firmly in place.
- Choosing a selection results in a full page refresh.
- Opens in a new window.