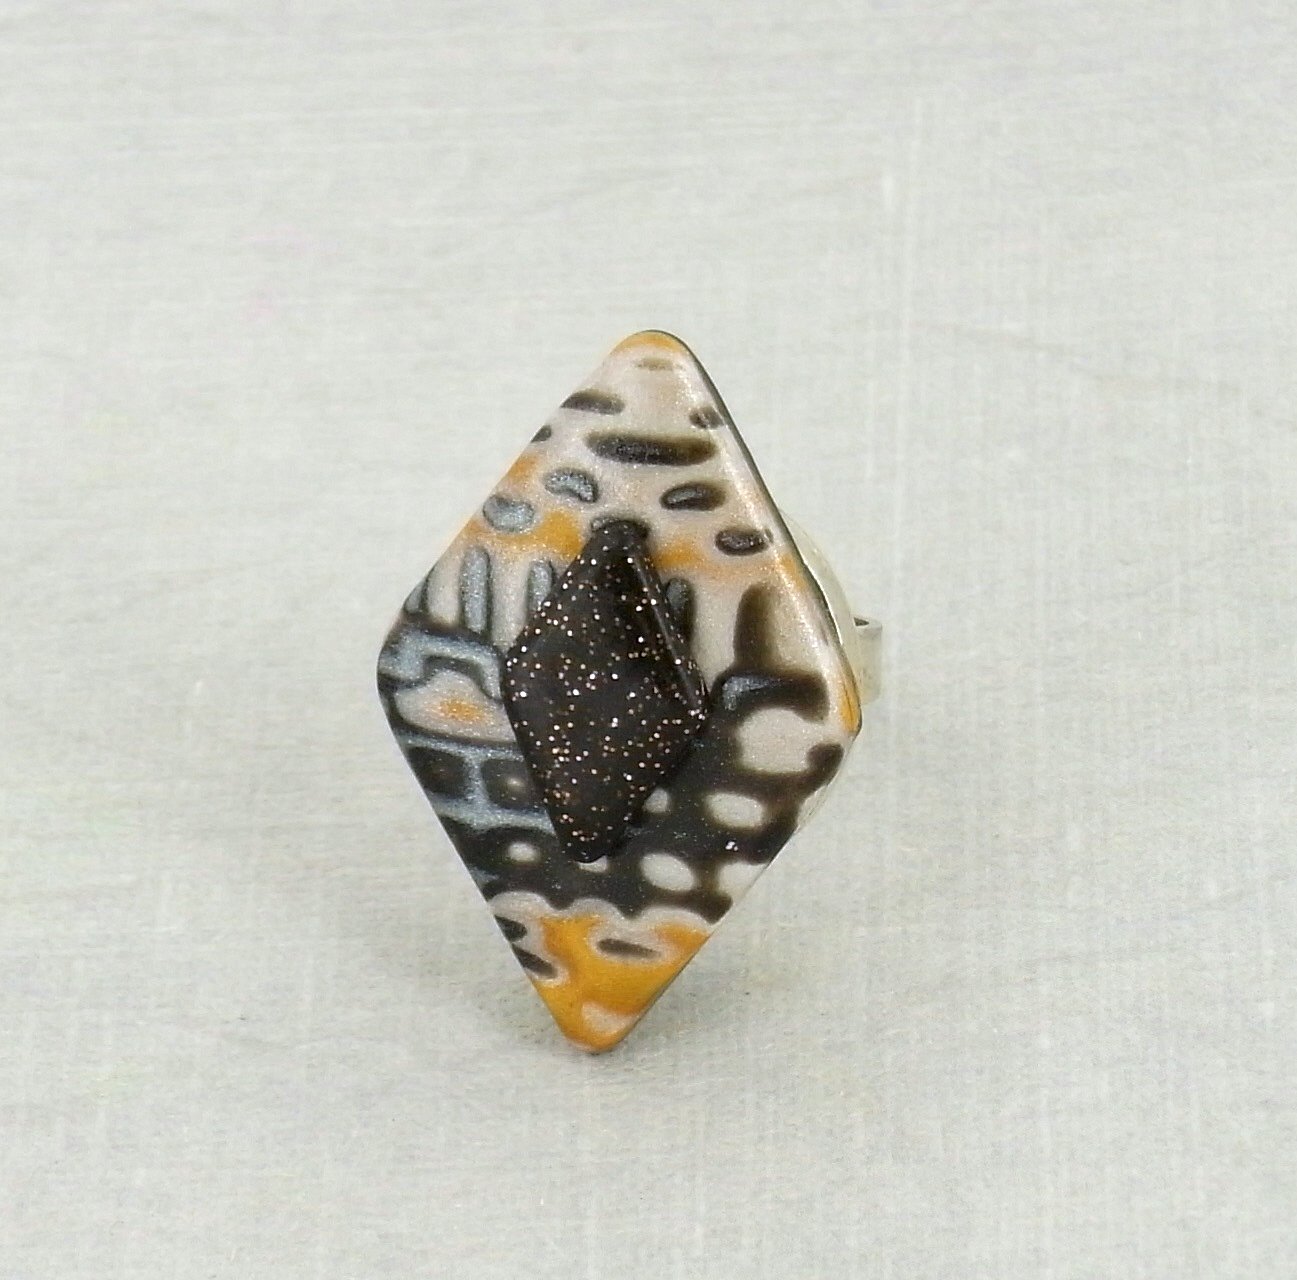
premo! Diamond Mokume Gane Layered Ring
premo! Diamond Mokume Gane Layered Ring
Read More
This diamond ring is a much less expensive alternative to the "real" thing! Follow these simple steps to make your own beautiful creation.
Read Less
ADDITIONAL SUPPLIES
Ring finding , water bottle, paint brush, Clear fast drying glue, plastic wrap|Ring finding , water bottle, paint brush, Clear fast drying glue, plastic wrap

Project Instructions
Do not use unbaked clay on unprotected furniture or finished surfaces. Start with clean hands and work surface area. Good work surfaces include wax paper, metal baking sheet, or disposable foil. Knead clay until soft and smooth. For best results, clean your hands in between colors. Shape clay, pressing pieces together firmly. Bake on oven-proof metal surface at 275 °F (130 °C) for 30 minutes per ¼" (6 mm) thickness. For best baking results, use an oven thermometer. DO NOT USE MICROWAVE OVEN. DO NOT EXCEED THE ABOVE TEMPERATURE OR RECOMMENDED BAKING TIME. Wash hands after use. Baking should be completed by an adult. Begin by preheating oven to 275 °F (130 °C). Test temperature with oven thermometer for perfectly cured clay. For best results, condition all clay by running it through the clay dedicated pasta machine several passes on the widest setting. Fold the clay in half after each pass and insert the fold side into the rollers first.
With the Clay Conditioning Machine on the #2 setting, roll each color of clay (about ½ package each) into a sheet. Pair the colors up (usually a light and a dark works best) and run each pair of colors through the Clay Conditioning Machine on the #2 setting. Now put the two pairs together and run through the Clay Conditioning machine on the #2 setting.
Cut the long sheet and half and stack the two halves avoiding air bubbles by using the Acrylic roller to make sure the layers are stuck together well. Cut the stack in half again and restack avoiding air bubbles. This stack is referred to as the mokume gane stack.

Mist the Design Block pattern of your choice with water. Press the block into the stack using a firm pressure. Remove the block. Continue to pattern the clay with the same pattern or switch it up to create your own design.
With the Super Sculpey flexible blade remove thin sheets of the mokume gane stack.

Roll out the other half of Burnt Umber along with one full bar of Burnt Umber through the Clay Conditioning Machine. Once conditioned roll out a sheet about 1/8” thick. Depending on the size of your cork coasters, cut the clay to fit. The coaster pictured is about 4” x 4”. Use the circle cutter to cut a hole in the center of the clay. Lay the mokume gane slices on the clay base until the all of the Burnt Umber is covered. Lightly press the Edgy Texture Sheet into the clay randomly around the piece. Smooth any rough edges with your finger. To highlight the texture, lightly brush the Gold Mica Powder on the clay surface.

Bake the clay coasters according to the above directions. Allow the pieces to cool completely before you adhere them to the cork.

