

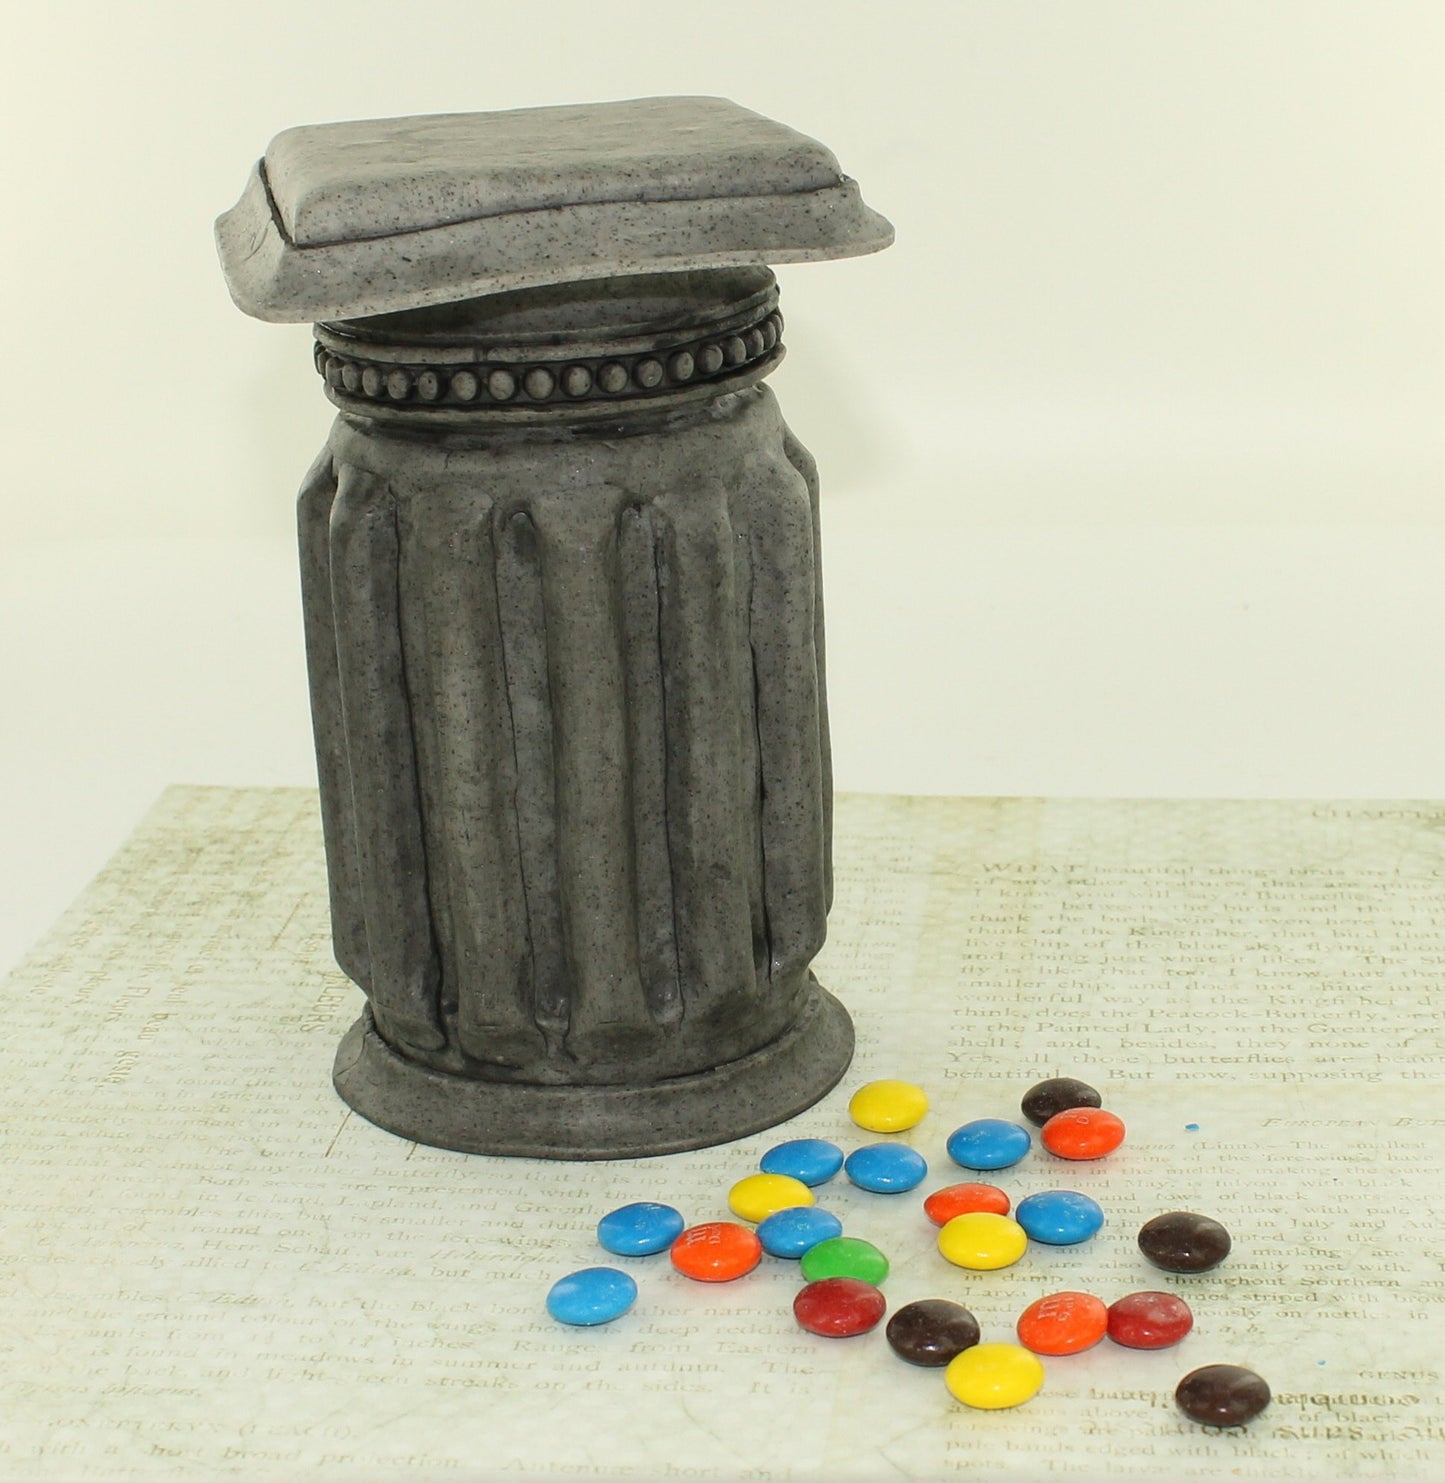
premo! Dandy Candy Hiding Column
premo! Dandy Candy Hiding Column
Read More
This creative candy jar will give you a chuckle.
Read Less
ADDITIONAL SUPPLIES
Black acrylic paint
Scissors
Double face tape
Glass jar –this one is 12oz jar - Look for one with flat panels
Cardboard for top|Black acrylic paint
Scissors
Double face tape
Glass jar –this one is 12oz jar - Look for one with flat panels
Cardboard for top
Project Instructions
Do not use unbaked clay on unprotected furniture or finished surfaces. Start with clean hands and work surface area. Good work surfaces include wax paper, metal baking sheet, or disposable foil. Knead clay until soft and smooth. For best results, clean your hands in between colors. Shape clay, pressing pieces together firmly. Bake on oven-proof glass or metal surface at 275°F (130°C) for 30 minutes per ¼" (6 mm) thickness. For best baking results, use an oven thermometer. DO NOT USE MICROWAVE OVEN. DO NOT EXCEED THE ABOVE TEMPERATURE OR RECOMMENDED BAKING TIME. Wash hands after use. Baking should be completed by an adult. Begin by preheating oven to 275°F (130 °C). Test temperature with oven thermometer for perfectly cured clay. For best results, condition all clay by running it through the clay dedicated pasta machine several passes on the widest setting. Fold the clay in half after each pass and insert the fold side into the rollers first.

Roll about 1/8 package of the 3 main colors of clay into a sheet about 1/8” or the thickest setting of Clay Conditioning Machine setting. Cut circles from each sheet and stack in an alternating pattern until you have a log about the length of the clay extruder barrel.

Compress the stack of clay lightly and insert into the barrel.

Extrude the clay in a continuous piece.

Roll by hand a 3” length of Copper clay about 1/8” diameter and form into a figure 8 for the eyes. With the extruded clay, begin to form the owl’s body beginning with a squiggle for the neck. Gently press the pieces together where the loops touch the eyes.

Add a large spiral for a belly. With the super slicer, carefully shave into the extruded length to expose the variegated color inside the strings of clay.

Add wings with loops and spirals. Repeat a reverse image on the other side.

Add a tail at the bottom and two reverse s curves for the top of the head.

With Black and White clays, add the details for the eyes and beak. Detail the eyes and beak with the Style and Detail tool.

Continue shaving lightly over each extruded element as it is added to expose more variegated color.

Bake the owl as directed above. When the owl is baked and still warm, carefully form the body into a light curve and hold it under cool running water until the clay cools and holds the contour shape. Add a decorative ribbon or hanger and enjoy on your tree.