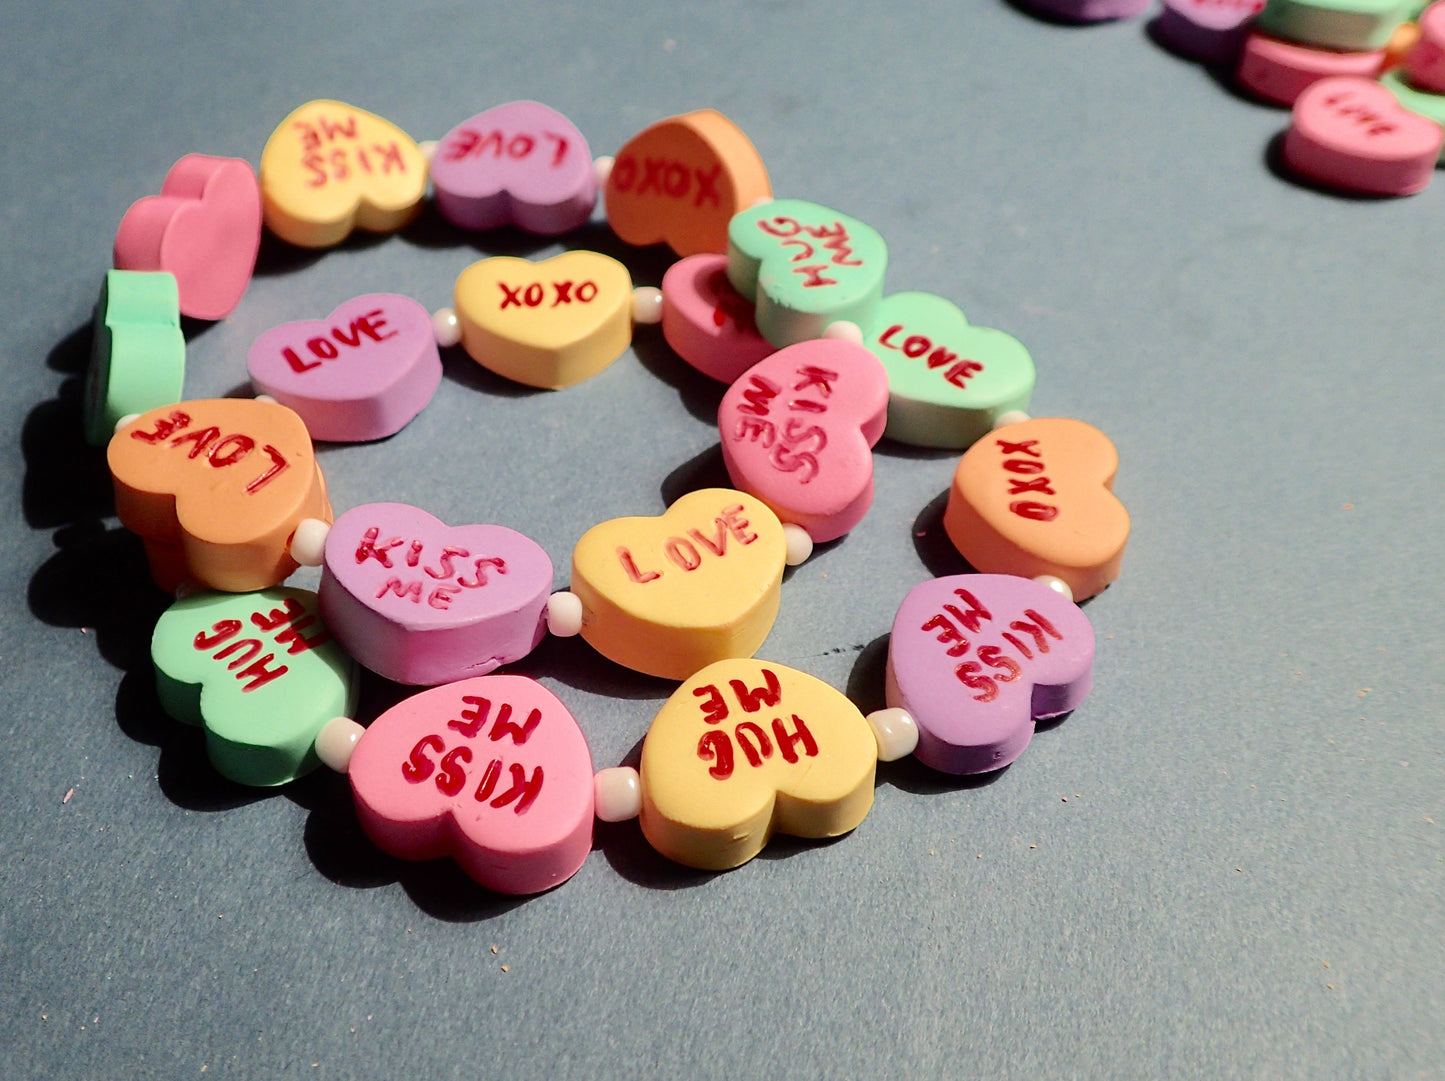
premo! Conversation Heart Bracelet
premo! Conversation Heart Bracelet
Read More
Your friends will swear they are really candy and everyone will want one! Quick and easy with the familiar colors of real candy hearts.
Read Less
ADDITIONAL SUPPLIES
3/4" Heart cutter
Stretch Magic cord or elastic cording
6/0 Seed beads
Fine tipped Red marker
Optional: small lettering stamp set
For earrings: 2 eye pins, 4 additional beads, clear fast-drying glue, 2 ear wires|3/4" Heart cutter
Stretch Magic cord or elastic cording
6/0 Seed beads
Fine tipped Red marker
Optional: small lettering stamp set
For earrings: 2 eye pins, 4 additional beads, clear fast-drying glue, 2 ear wires

Project Instructions
Getting Started: Polymer clay may stain. CLAY MAY DAMAGE UNPROTECTED FURNITURE OR FINISHED SURFACES. DO NOT USE polymer clay on unprotected surfaces. We recommend working on the Sculpey® Clay Mat, wax paper, metal baking sheet, or disposable foil. Start with clean hands and work surface area. Knead clay until soft and smooth. For best results, clean your hands in between colors. Shape clay, pressing pieces together firmly. Bake on oven-proof glass or metal surface at 275°F (130 °C) for 30 minutes per ¼" (6 mm) thickness. For best baking results, use an oven thermometer. DO NOT USE MICROWAVE OVEN. DO NOT EXCEED THE ABOVE TEMPERATURE OR RECOMMENDED BAKING TIME. Wash hands after use. Baking should be completed by an adult. Begin by preheating oven to 275 °F (130 °C). Test temperature with oven thermometer for perfectly cured clay. For best results, condition all clay by running it through the Clay Conditioning Machine for several passes on the widest setting. Fold the clay in half after each pass and insert the fold side into the rollers first.
Mix candy colors as follows:1 part Yellow / 2 parts White1 part Green / 3 parts White 1 part Orange / 3 parts White1 part Purple / 5 parts White1 part Hot Pink / 3 parts White

Roll out each color on thickest setting. Stack 3 layers; gently roll with acrylic rod to adhere together. Stack will be approximately 1/4" thick. Cut out hearts.

Use needle tool or stamps to write message. Use tradition messages or make up your own.Pierce hearts from side to side using the needle tool from the Clay Tool Starter Set. Hearts can be pierced from top to bottom (not all the way through) to make earrings. See directions below.

Bake as directed above. Allow hearts to thoroughly cool.
Use fine tipped red maker to emphasize message.

Use stretch magic or elastic cord to string hearts alternately with seed beads. Tie knot. Pull knot into heart and trim ends.

For earrings trim eye pins with jewelry cutters. Add a drop of clear fast drying glue in top hole. Add 2 beads to each eye pin and then push into glued hole. Add your favorite ear wires and enjoy.


