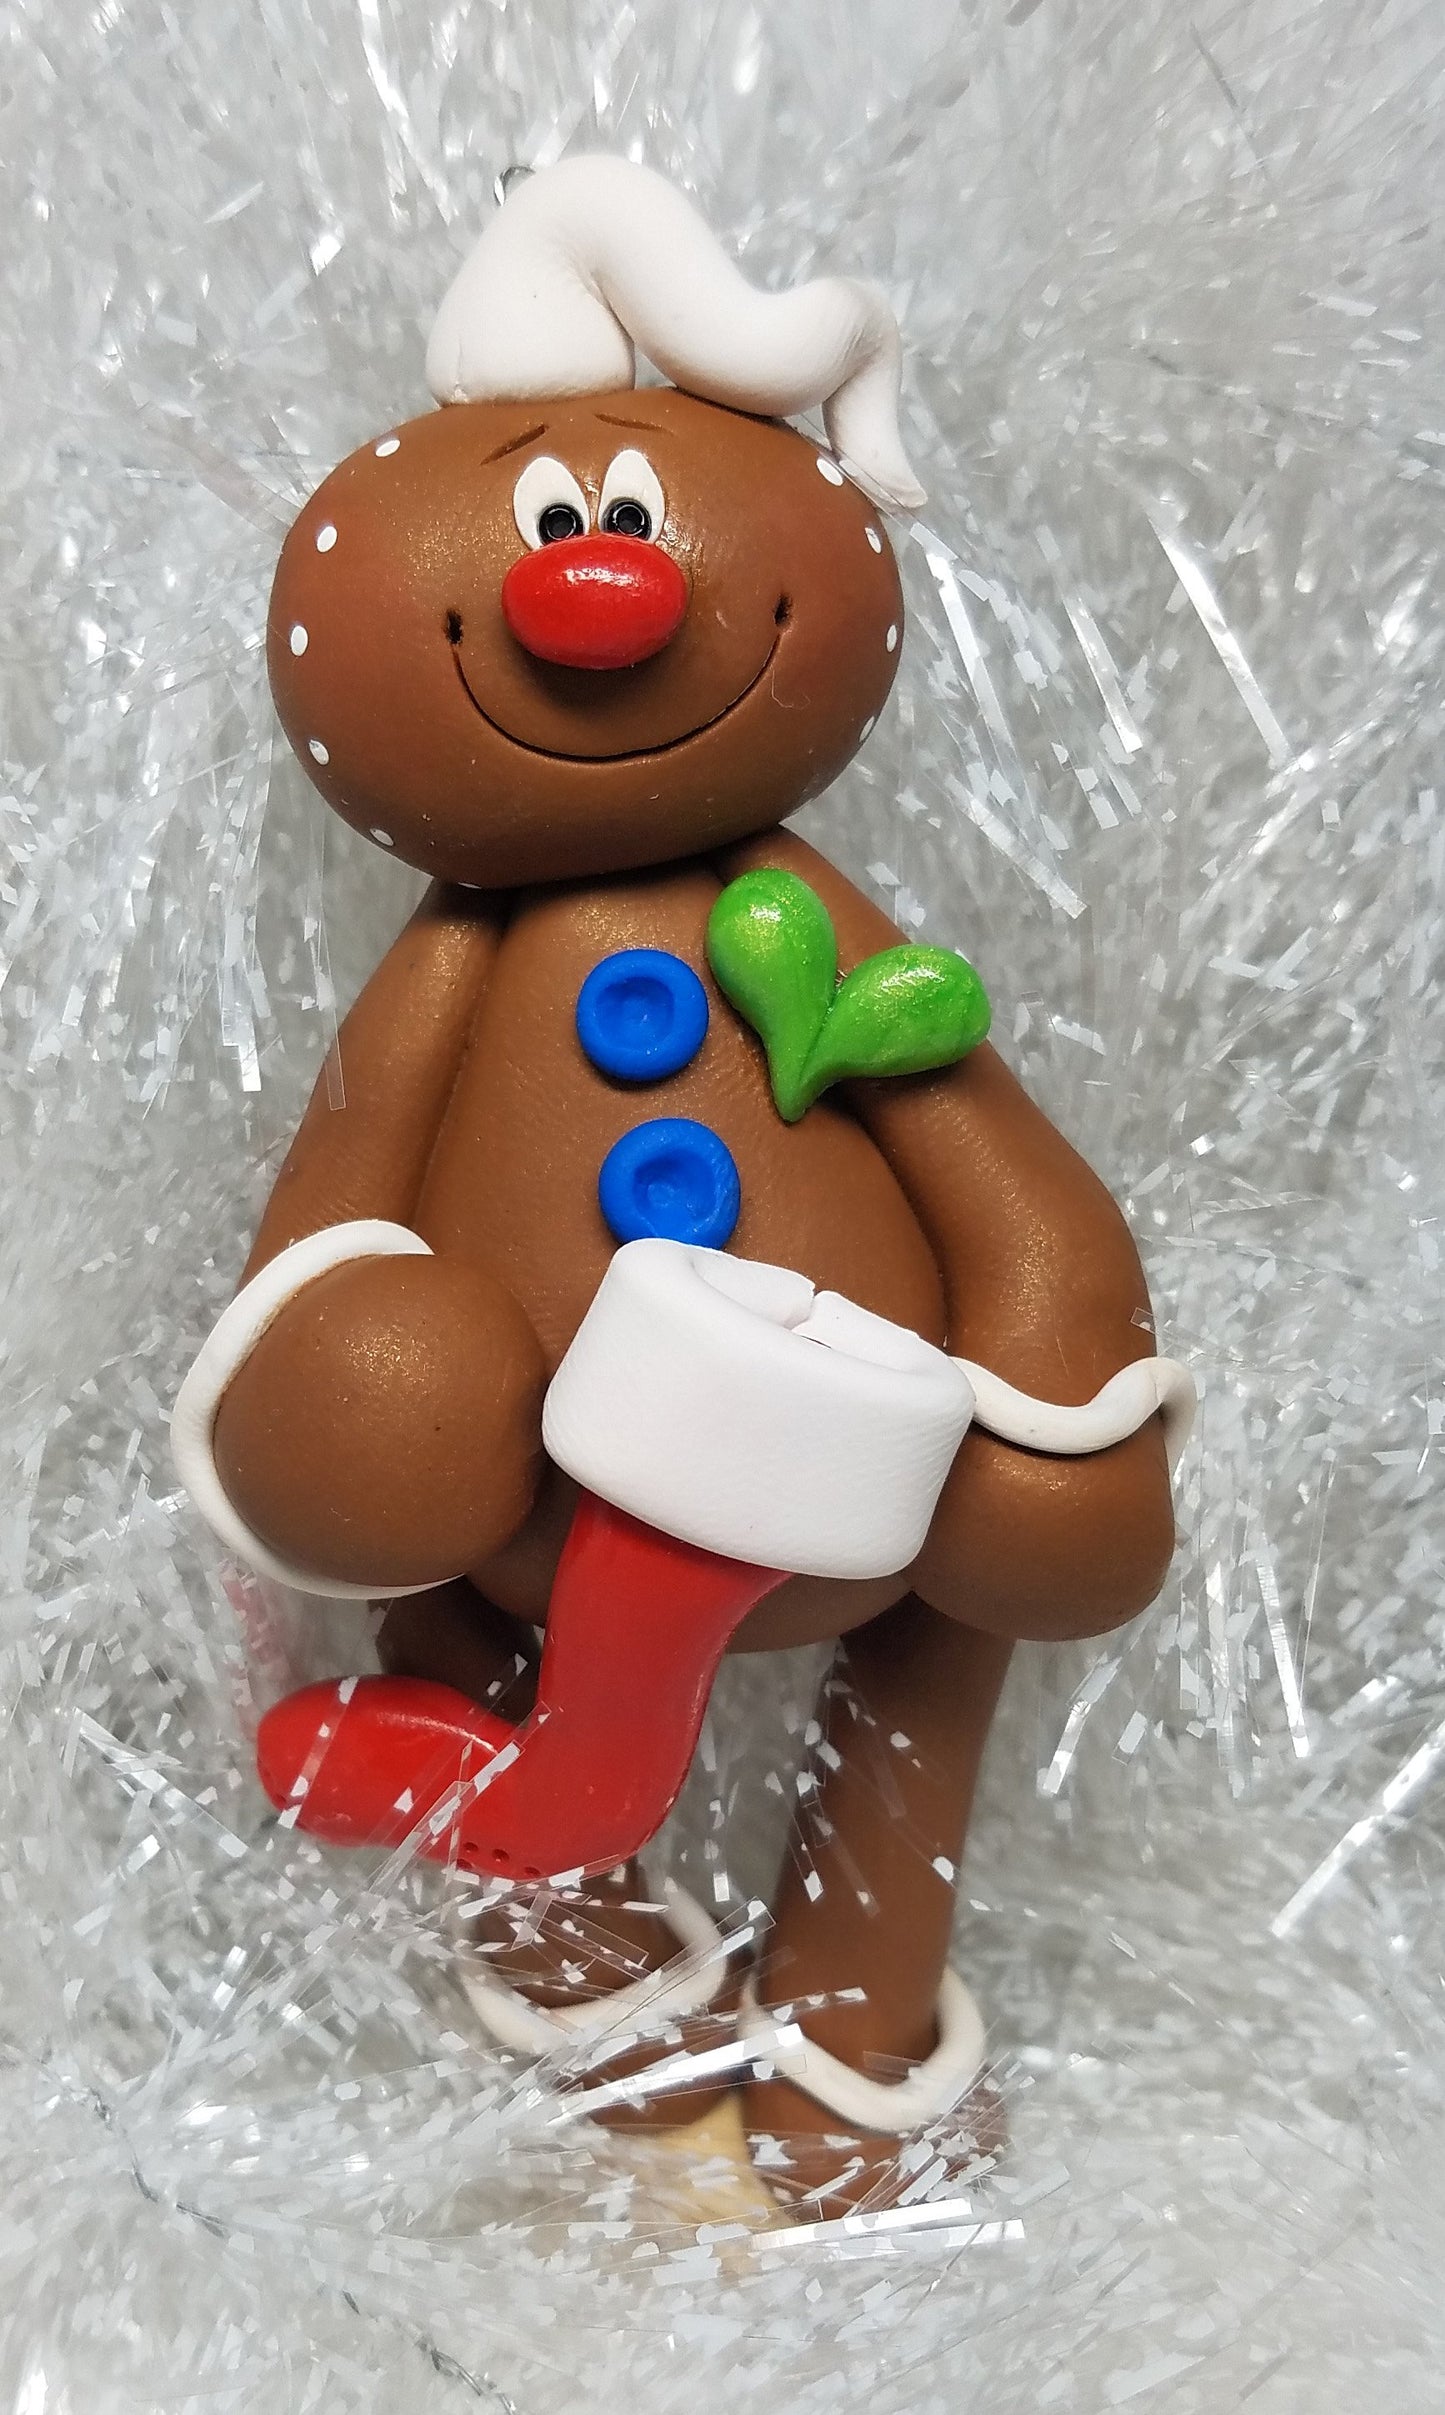
Premo Christmas Gingerbread Man with Stocking
Premo Christmas Gingerbread Man with Stocking
Read More
Here is one gingerbread man that won't break your diet! This cute little guy makes a great ornament or tie it to a special package!
Design by Helen Dorn
Read Less
ADDITIONAL SUPPLIES
Needle Tool or Round Toothpick

Project Instructions
Your workspace:
Please make sure your work area is covered and you are not working on an unprotected surface. We recommend working on the Sculpey® Work ‘n Bake Clay Mat, wax paper, metal baking sheet, or disposable foil. Uncured clay may damage unprotected furniture or finished surfaces. Be sure to cover your crafting area appropriately.
Getting Started:
Start with clean hands, unwrap and knead clay until soft and smooth, or condition by running clay though a Pasta Machine. We recommend using a designated machine for clay purposes only. When working with multiple colors, clean hands with soap and water or baby wipes (we have found that baby wipes work best) before switching colors. Shape clay, pressing pieces firmly together. Wash hands after use.
Baking:
Begin by preheating oven to 275 °F (130 °C). After you are done creating; for best results bake clay on an oven-proof surface such metal, aluminum foil, an index card or the Sculpey® Clay Mat at 275°F (130 °C) for 30 minutes per ¼" (6 mm) thickness according to package directions. Oven safe glass or ceramic surfaces are also acceptable for baking; however please note that the baking times may take longer as the glass or ceramic surfaces take longer to heat up. For best baking results, use an oven thermometer. DO NOT USE MICROWAVE OVEN. DO NOT EXCEED THE ABOVE TEMPERATURE OR RECOMMENDED BAKING TIME.
Torso: Shape a 1 ¼” ball of raw sienna into a rounded triangle to make a torso and place on your work surface (this is your beginning piece to build from), add chalk to tummy area and poke hole for belly button. Insert a piece of toothpick into the triangle for head insertion later.

Legs: Roll a 1” ball of raw sienna and cut it in half to make two equal amounts of clay…make two tapered log shapes, pressing them into the torso and shape as desired.

Arms: Roll a 7/8” ball of raw sienna and cut it in half to make two equal amounts of clay…make two tapered arms, press against the torso and shape as desired.

Head: Roll a 1” ball of raw sienna into a rounded oval shape and place over the toothpick in the neck. For nose, add a tiny ball of red and place on face. Make a smile using a needle tool. Chalk cheeks.

White cream piping: Roll out white clay in a thin, long snake and place around both arms and both legs. Add a swirl of on top of his head and insert bent eye pin into the top of his head for hanging.Blue Buttons:Make two tiny balls with blue clay and indent with the end of a paint brush or ball stylus chest them on center of chest.

Heart: Make two small teardrops and pressing them into a heart shape, press into chest.

Red Stocking: Using a ½” of red clay, make a stocking shape and using a toothpick make stitch marks in the toe and heel areas. Make the band by flattening a small ball of white clay and placing over the top of the stocking. Super glue stocking for more stability.


BAKE AS DIRECTED – When cooled/cured, dot cheek highlights with white acrylic paint using a toothpick.Optional: Gloss the heart or the red stocking for added shine!

