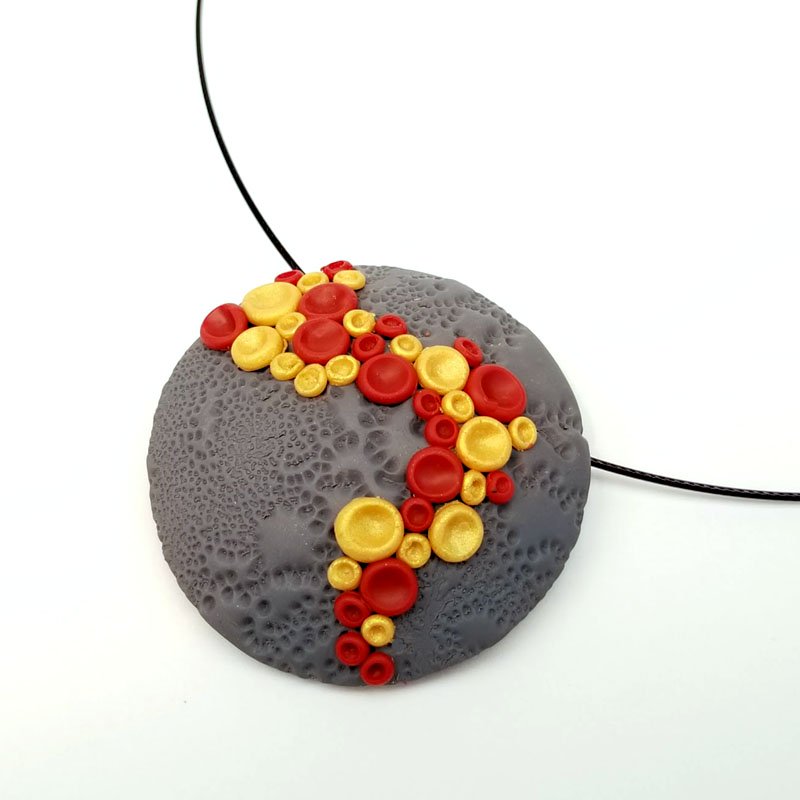
Premo Cayenne Bubble Pendant
Premo Cayenne Bubble Pendant
Read More
This dramatic pendant is sure to be a conversation starter!
Design by syndee holt
Read Less
ADDITIONAL SUPPLIES
Texture stamp (mine is 2207J from Lindasartspot.com) Small damp sponge

Project Instructions
- Getting Started:
Start with clean hands, unwrap and knead clay until soft and smooth, or condition by running clay though a Pasta Machine. We recommend using a designated machine for clay purposes only. When working with multiple colors, clean hands with soap and water or baby wipes (we have found that baby wipes work best) before switching colors. Shape clay, pressing pieces firmly together. Wash hands after use.
- Baking:
Sheet out about ½ of the Slate clay on the second from widest setting. Lightly spray the stamp with water (to act as mold release) and emboss the clay with the stamp (I stand on the stamp!) Use the largest circle cutter to cut out the selected portion of the textured clay.

Gently press the clay circle onto the largest bump on the Hollow Bead Maker (NOTE: I warm my Hollow Bead Maker on top of my oven as it preheats. The warmth helps the clay to “lay down” on the bead maker without a lot of pressing into place.)

Sheet out about ¼ of the package of Cayenne on the second from widest setting on the Clay Conditioning Machine and place on a sheet of clean paper. Press the largest Etch n’ Pearl into the dampened sponge and press firmly into the sheet of clay. Remove the rest of the clay from the pearl.

Press the medium Style n’ Detail tool into the pearl to make a dent in it.

Use the edge of the Super Slicer to gently pick up the “bubble” and place it onto the Slate background. Repeat the 18k Gold clay and make several smaller versions using the smallest Etch n’ Pearl and the smallest Style n’ Detail tool. Once you have completed the design to your satisfaction, set aside.

Making the Jan Montarse Easy Back: Using the middle circle cutter, but out a circle of the remaining textured Slate clay. Use the teardrop cutter from the Mini Cutters Geometric set to cut two notches at the top of the circle

Add the JM Easy Back to the smallest bump on the Hollow Bead Maker and bake both pieces according to the directions above.

After the clay has baked and cooled, glue the JM Easy Back into place on the back of the pendant, aligning the top of the back (the little “T” piece) with the top of the design on the pendant. Thread the stringing material through the two notches and you are done!


