

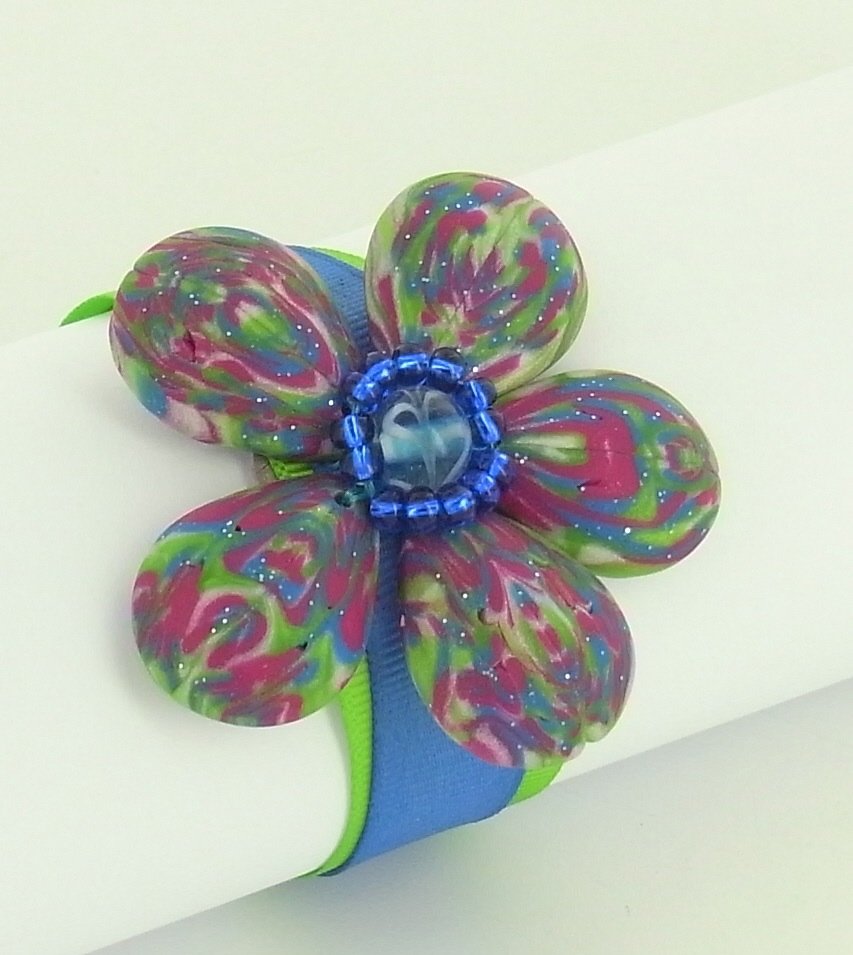
premo! Cabochon Flower Bracelet
premo! Cabochon Flower Bracelet
Read More
Just lovely! This colorful flower bracelet is a great addition to any jewelry collection.
Read Less
ADDITIONAL SUPPLIES
8" of ribbon in coordinating colors, scissors, coordinating thread, needle, Two silver ribbon crimps, Two 8mm silver jump rings, Silver lobster clasp, 1" of silver tail chain, Jewelry pliers, Coordinating 8-10mm glass bead, 14 Coordinating glass E beads|8" of ribbon in coordinating colors, scissors, coordinating thread, needle, Two silver ribbon crimps, Two 8mm silver jump rings, Silver lobster clasp, 1" of silver tail chain, Jewelry pliers, Coordinating 8-10mm glass bead, 14 Coordinating glass E beads
Project Instructions
Preheat oven to 275 °F. Test temperature with oven thermometer for perfectly cured clay. Condition all clay by kneading until it’s soft and smooth or running it through the Clay Conditioning Machine for several passes on the widest setting. Fold the clay in half after each pass and insert the fold side into the rollers first.
Condition your Black clay and roll out on the widest setting on your Clay Conditioning Machine. Use the circle cutter to cut out a dozen circles. Roll each circle into a ball; doing this will give you equally sized balls of clay. This also works with any of the other shape cutters in the set of mini cutters.
Condition and mix equal amounts of Green and Cadmium Yellow together. Add and mix in small bits of Black clay until you get a color that matches the Junkitz buttons.
Roll this green mixture of clay into a snake that is about 1/8” in diameter. Slice off small pieces of this coil and lay them on the black balls of clay to make the dots.

Cup your hands and around the ball of clay with the dots, and gently roll the ball in your palms. This will blend the dots of green into the black ball. Repeat for each ball and set aside.
Use your needle tool to make the holes in the beads. Put the tip of the needle tool into one side of the bead and use a gentle twisting motion to work the needle tool through to the other side. Remove the needle tool and put it back through the bead from the other side; doing this will give you a clean and evenly sized hole. Bake your beads for 30 minutes.
While your beads are baking you can make the wire loops for the buttons. Wrap the black artists wire around the dowel rod so that you have multiple loops. Use the wire cutters to cut individual loops from your coil of wire. When you cut the loops cut them so there is some overlap of the two ends of the wire; doing this will prevent the buttons from sliding off the loops.

Wait for your beads to cool completely before stringing them (adding them to the elastic while they are still warm will make the elastic cord shrink). Alternate the beads and buttons to spell out what you want. You might have to experiment with the number of beads to space between the buttons so you can get your words to fit and also to get the right length for the bracelet.
Preheat oven to 275 °F. Test temperature with oven thermometer for perfectly cured clay. Condition all clay by kneading until it’s soft and smooth or running it through the Clay Conditioning Machine for several passes on the widest setting. Fold the clay in half after each pass and insert the fold side into the rollers first.
Condition your Black clay and roll out on the widest setting on your Clay Conditioning Machine. Use the circle cutter to cut out a dozen circles. Roll each circle into a ball; doing this will give you equally sized balls of clay. This also works with any of the other shape cutters in the set of mini cutters.
Condition and mix equal amounts of Green and Cadmium Yellow together. Add and mix in small bits of Black clay until you get a color that matches the Junkitz buttons.
Roll this green mixture of clay into a snake that is about 1/8” in diameter. Slice off small pieces of this coil and lay them on the black balls of clay to make the dots.
Cup your hands and around the ball of clay with the dots, and gently roll the ball in your palms. This will blend the dots of green into the black ball. Repeat for each ball and set aside.
Use your needle tool to make the holes in the beads. Put the tip of the needle tool into one side of the bead and use a gentle twisting motion to work the needle tool through to the other side. Remove the needle tool and put it back through the bead from the other side; doing this will give you a clean and evenly sized hole. Bake your beads for 30 minutes.
While your beads are baking you can make the wire loops for the buttons. Wrap the black artists wire around the dowel rod so that you have multiple loops. Use the wire cutters to cut individual loops from your coil of wire. When you cut the loops cut them so there is some overlap of the two ends of the wire; doing this will prevent the buttons from sliding off the loops.
Wait for your beads to cool completely before stringing them (adding them to the elastic while they are still warm will make the elastic cord shrink). Alternate the beads and buttons to spell out what you want. You might have to experiment with the number of beads to space between the buttons so you can get your words to fit and also to get the right length for the bracelet.