

premo! Accents Opal Bubble Necklace
premo! Accents Opal Bubble Necklace
Read More
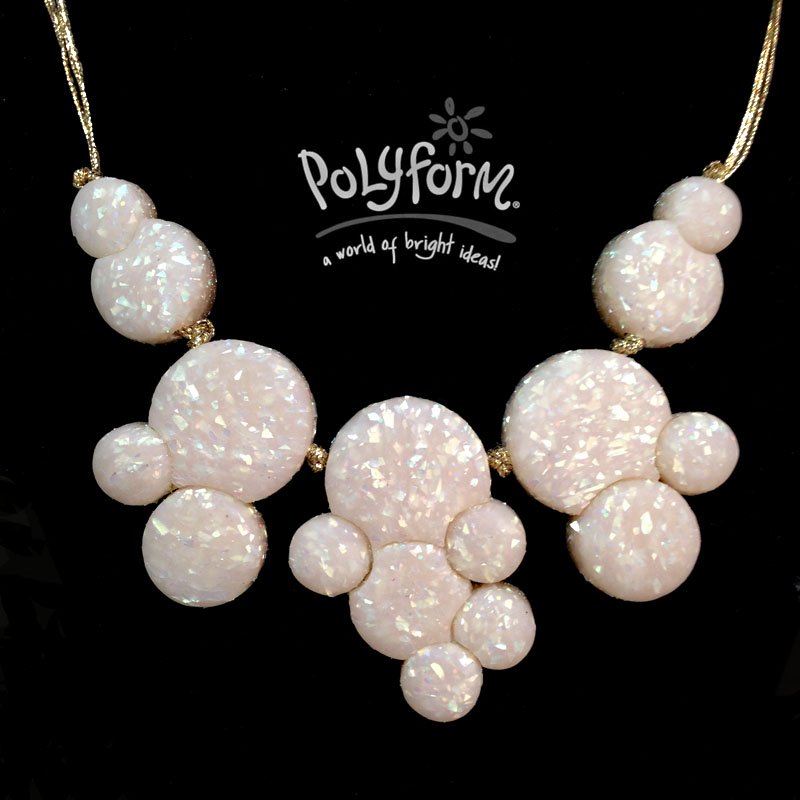
Clusters of opals are sure to get compliments every time you wear it!
In this project, we utilize two new 2015 colors, premo! Accents Yellow Gold Glitter and Opal!
Read Less
ADDITIONAL SUPPLIES
Clear kitchen stretch wrap, Gold beading cord (24”), Scissors, Gold ribbon crimps (2), Gold jump rings 8-10mm (2),Jewelry pliers, Super glue or silicone glue|Clear kitchen stretch wrap, Gold beading cord (24”), Scissors, Gold ribbon crimps (2), Gold jump rings 8-10mm (2),Jewelry pliers, Super glue or silicone glue
Project Instructions
Getting Started:Polymer clay may stain. CLAY MAY DAMAGE UNPROTECTED FURNITURE OR FINISHED SURFACES. DO NOT USE polymer clay on unprotected surfaces. We recommend working on the Sculpey® Work ‘n Bake Clay Mat, wax paper, metal baking sheet, or disposable foil. Start with clean hands and work surface area. Knead clay until soft and smooth. For best results, clean your hands in between colors. Shape clay, pressing pieces together firmly. Bake on oven-proof glass or metal surface at 275°F (130 °C) for 30 minutes per ¼" (6 mm) thickness. For best baking results, use an oven thermometer. DO NOT USE MICROWAVE OVEN. DO NOT EXCEED THE ABOVE TEMPERATURE OR RECOMMENDED BAKING TIME. Wash hands after use. Baking should be completed by an adult. Begin by preheating oven to 275 °F (130 °C). Test temperature with oven thermometer for perfectly cured clay. For best results, condition all clay by running it through the Clay Conditioning Machine for several passes on the widest setting. Fold the clay in half after each pass and insert the fold side into the rollers first.
Pancake and flatten the Opal to a 1/8” sheet. The mica in the Opal clay is very large we recommend you do this step by hand, using an acrylic roller. Sheet Yellow Gold through the Clay Conditioning Machine on the #1 setting

Layer the Opal over the Yellow Gold and seal together by rolling over them both with the acrylic clay roller.

Place a piece of stretch wrap over the top of the clays. The stretch wrap will help keep the clay from sticking inside your cutters and it will also make a nice beveled edge on the edges of the pieces. If you cut through the Opal without the stretch wrap, the large mica flakes will stick out all over the place along the cut edges. The stretch wrap helps keep the flakes organized around the cut edges.

Using the three smallest circle cutters, cut three large circles, five medium circles, and eight small circles.

Arrange the circles in groupings as shown in this photo or as in the finished photo. They are slightly different.

Use the skewers from the Bead Baking Rack Set to poke horizontal holes in each piece. If two pieces will be side by side with the cord going all the way through them, poke the same skewer through them both so they line up well. Remove the pieces from the skewer.


Where the pieces will nest together, use the same size cutter to cut away a portion of the bubble so they snug up to each other.

Put a tiny amount of Translucent Liquid Sculpey in the cut away area.

Nestle the pieces together with the holes lined up. Replace the skewer back through the holes and make sure they are fitted tightly to each other. Also make sure the holes are going to be large enough to accommodate your bead cord. If they are not you may need to make the holes larger with Etch ’N Pearl tools.

Bake all the pieces on the skewers according to above instructions. When the pieces are completely cool, begin by stringing the middle piece onto the center of the cord. (I used two strands of cord) Tie double knots on either side of the center piece. NOTE: You can use the Sculpey Wet Sanding Paper Kit to lightly smooth any rough edges before assembling.

String on the next piece to the left and tie a double knot to secure it

String the final piece onto the left side and secure with a double knot.

Repeat step 13 on the right side to match.

Trim the cord end(s) to be even. Glue the cord end(s) into a ribbon crimp bead. Allow the glue to dry.

Smash one side of the ribbon crimp with pliers. Smash the other side of the ribbon crimp. Repeat this process to add a ribbon crimp to the other end of the necklace cords.

Attach jump rings to each ribbon crimp. Attach a necklace clasp set to the jump rings and enjoy!
