Skip to product information
1 of 1

Original Sculpey® Painted Beetle

Original Sculpey® Painted Beetle

Designed by Amy Koranek
Read More
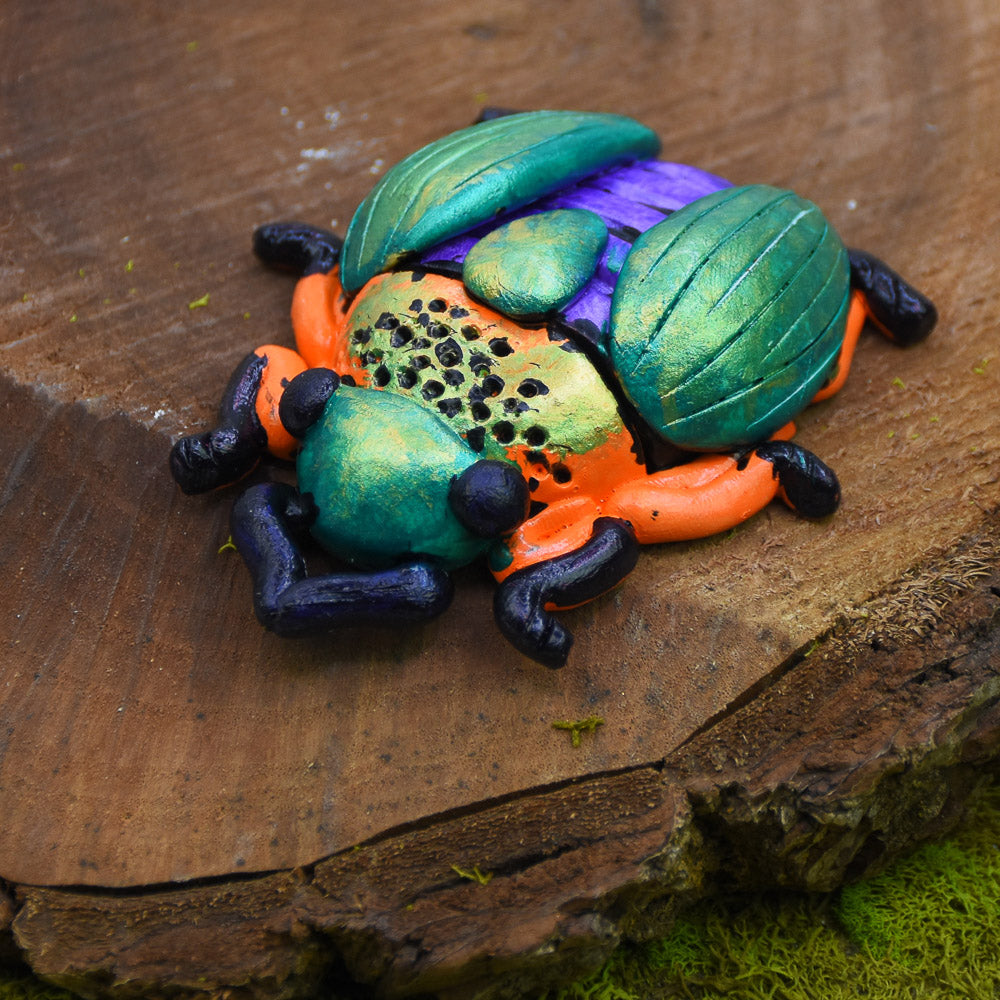
Conjure a gorgeous beetle for your desktop or terrarium in an afternoon. TIME TO COMPLETION: 90 Minutes to make, bake, and paint - extra time needed for paint to dry
Read Less
ADDITIONAL SUPPLIES
  • Acrylic paint in colors like these: Gloss Pumpkin Orange, Metallic Emerald, Metallic Purple, Metallic Gold, Gloss Dioxazine Purple, Gloss Black
  • Paintbrushes
  • Water cups for cleaning brushes
View full details
Project Instructions

Step 1

Getting Started:

Please make sure your work area is covered and you are not working on an unprotected surface. We recommend working on the Sculpey® Oven Safe Work Mat, wax paper, metal baking sheet, or disposable foil. Uncured clay may damage unprotected furniture or finished surfaces. Be sure to cover your crafting area appropriately.

Start with clean hands, unwrap and knead clay until soft and smooth, or condition by running clay though a Pasta Machine. We recommend using a designated machine for clay purposes only. When working with multiple colors, clean hands with soap and
water or baby wipes (we have found that baby wipes work best) before switching colors. Shape clay, pressing pieces firmly together.  Wash hands after use.

Baking:

Begin by preheating oven to 275 °F (130 °C). After you are done creating; for best results bake clay on an oven-proof surface such as metal, aluminum foil, an index card or the Sculpey® Oven Safe Work Mat at 275°F (130 °C) for 20 minutes per ¼" (6
mm) of thickness according to package directions. Oven safe glass or ceramic
surfaces are also acceptable for baking; however please note that the baking
times may take longer as the glass or ceramic surfaces take longer to heat up. For
best baking results, use an oven thermometer. DO NOT USE MICROWAVE OVEN. DO NOT EXCEED THE ABOVE TEMPERATURE OR RECOMMENDED BAKING TIME.

Step 2

Divide the 1 Pound bars of clay into 8 equal pieces. Each student will make 1 beetle
from 1/8 pound of clay.

To start, each student should divide their clay into a 1/2 piece (body), two 1/8
pieces (wings), one 1/16 piece (head). All the remainder of the clay will be
used for details.

Flatten the 1/2 piece into a domed oval for the body.

Shape the 1/16 piece into a ball for the head.

Step 3

Press the head to the body.

Step 4

Use a tool to score lines across the body.

Step 5

This diagram shows all the parts. The wings are domed teardrops made from 1/8 bar
each. The legs, antennas, shell detail, and eyes are made from all the remainder of the clay.

Step 6

Push all the elements together starting with the legs, antennas, shell detail, and
eyes.

Step 7

Add the wings on top.

Step 8

Use tools to create detail textures in the beetle shell and wings.

Bake following the baking instructions for Original Sculpey. Allow to cool
completely before handling.

Step 9

Once the beetle is baked and cooled, it’s time to paint. Start by painting the legs
and thorax orange. Paint the abdomen purple.

Step 10

Paint the head, wings, and scutellum green.

Step 11

While the green is wet, add some dabs of gold to help make a shimmering look.

1127-12

Add details to the eyes, antennas, and feet with a deeper purple or black.

Allow paint to dry before handling.