

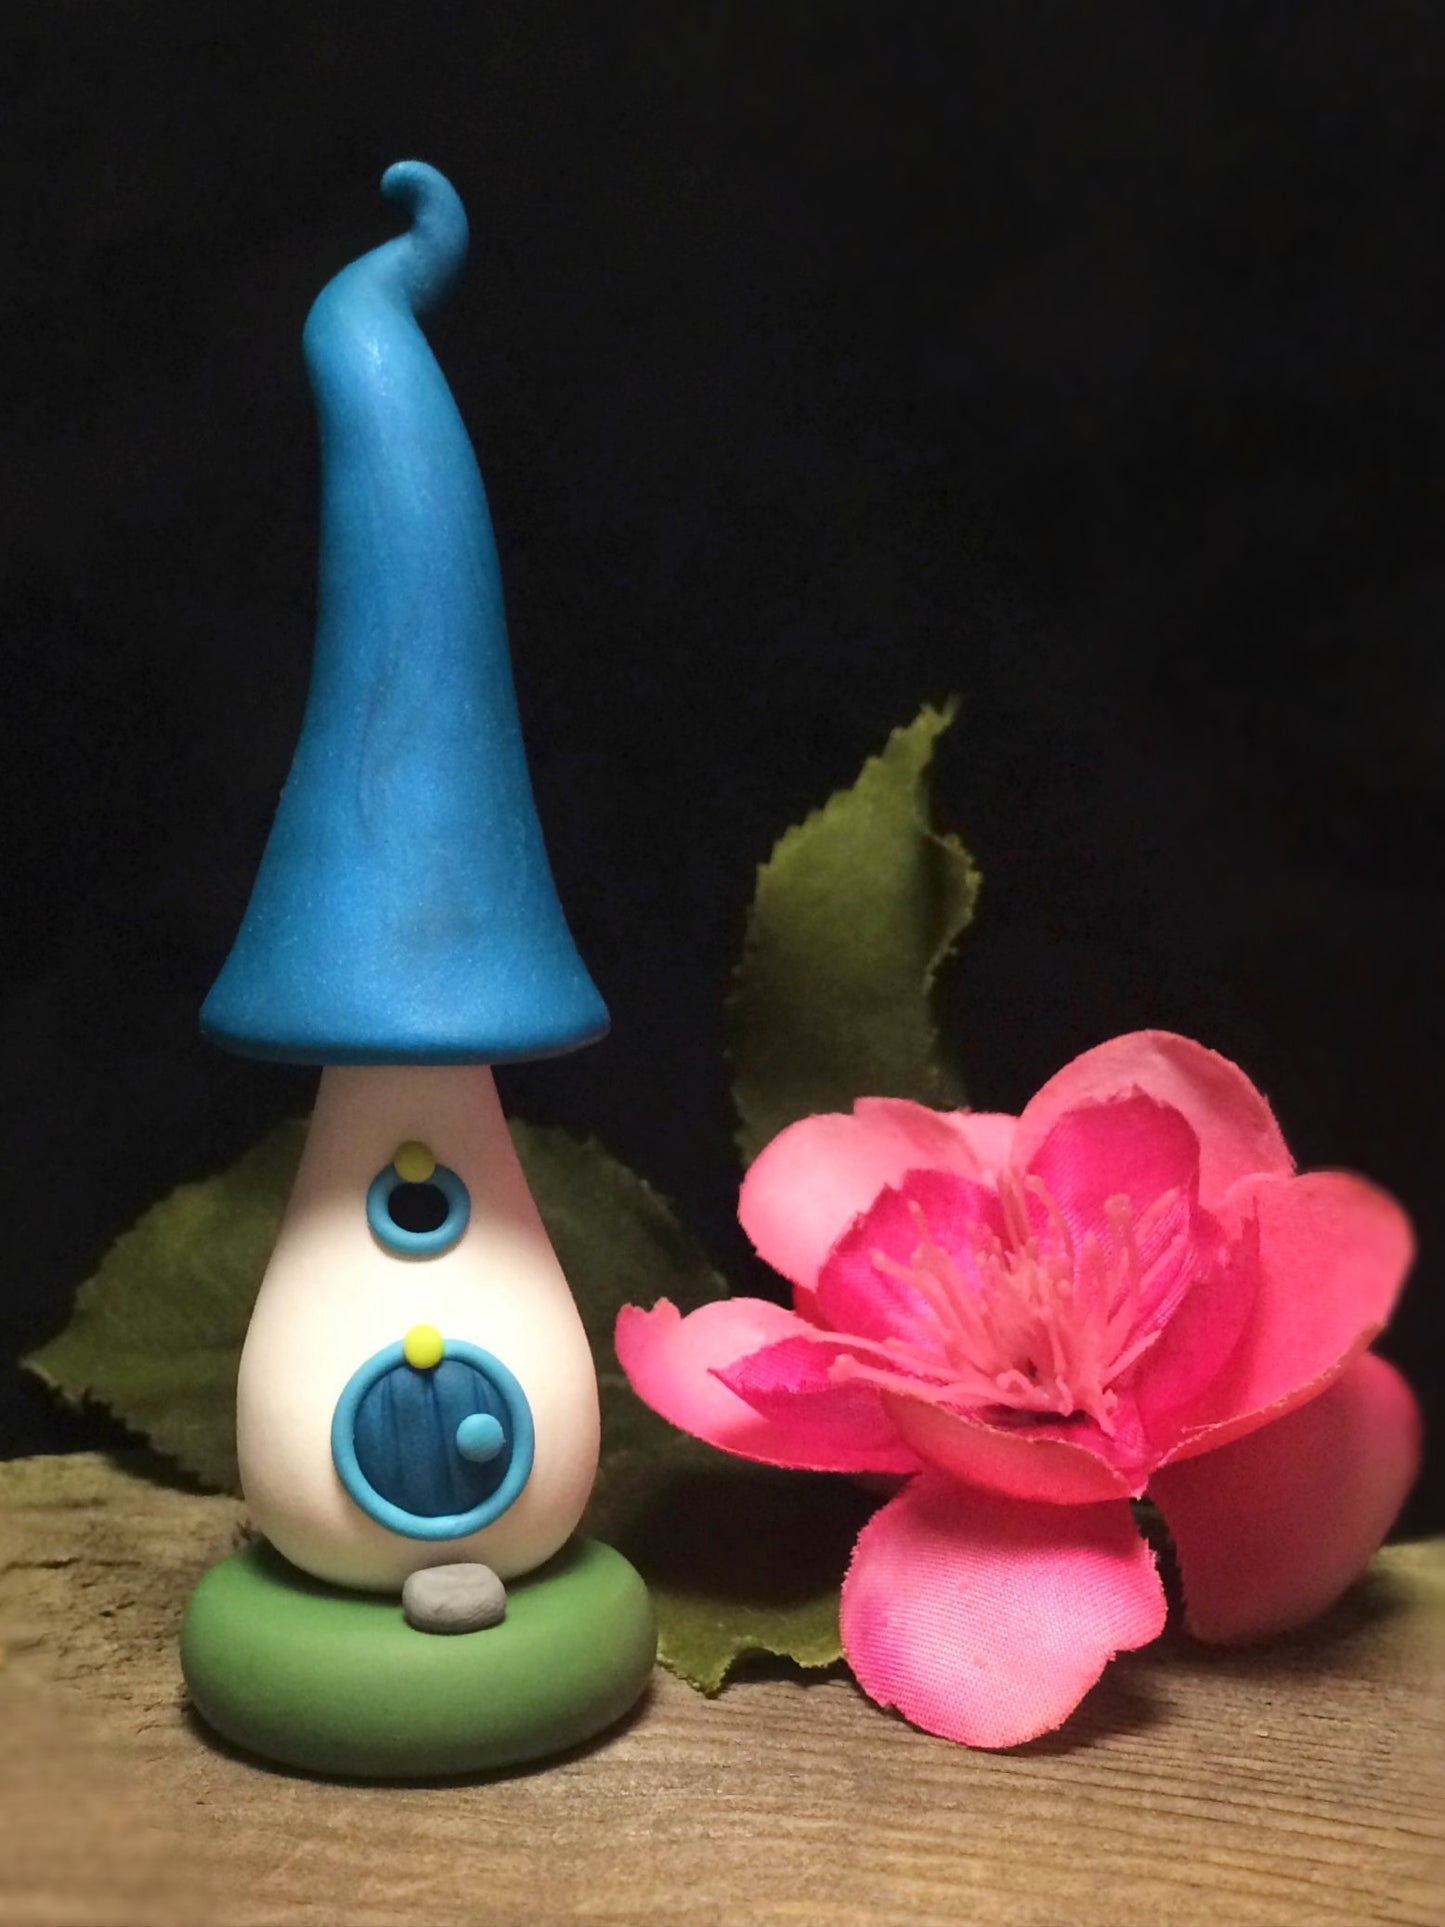
Mini Fairy House
Mini Fairy House
Read More
By: Jenny Sorensen
Wishing Well Workshop
Create a fanciful focal point with this delightful Fairy House! Place as an accent in a potted plant, terrarium, floral arrangement or fairy garden. Build an entire village for maximum magic and enchantment!
Read Less
ADDITIONAL SUPPLIES
Toothpicks
Xacto Knife
Project Instructions
Getting Started Polymer clay may stain. CLAY MAY DAMAGE UNPROTECTED FURNITURE OR FINISHED SURFACES. DO NOT USE polymer clay on unprotected surfaces. We recommend working on the Sculpey clay mat, wax paper, metal baking sheet, or disposable foil. Start with clean hands and work surface area. Knead clay until soft and smooth. For best results, clean your hands in between colors. Shape clay, pressing pieces together firmly. Bake on oven-proof glass or metal surface at 275°F (130 °C) for 30 minutes per ¼" (6 mm) thickness. For best baking results, use an oven thermometer. DO NOT USE MICROWAVE OVEN. DO NOT EXCEED THE ABOVE TEMPERATURE OR RECOMMENDED BAKING TIME. Wash hands after use. Baking should be completed by an adult. Begin by preheating oven to 275 °F (130 °C). Test temperature with oven thermometer for perfectly cured clay. For best results, condition all clay by running it through the Clay Conditioning Machine for several passes on the widest setting. Fold the clay in half after each pass and insert the fold side into the rollers first.

Use your Sculpey Super Slicer or craft blade (with adult supervision) to cut the 2 oz. blocks of clay into 12 manageable squares. For the main section of the house condition and roll 3 squares (¼ block) of white into a ball.

Roll the ball slightly into an oval, tapering the top to make a rounded teardrop shape with a flat bottom. Add a drop of Translucent Liquid Sculpey to the end of a toothpick and skewer straight down through the middle of the house (for extra support). There should be a small amount of toothpick showing at the top of the teardrop.

With the largest Sculpey ball end stylus make a circular impression into the house where the door will be. Roll a very, very, very small ball of black clay (smaller than you think! A speck!) and attach lightly where the little window will be. With the medium Sculpey ball end stylus make a circular impression right through the teeny, tiny black ball, pressing an indent into the house to form the window.

Pinch off a small amount of Peacock Pearl. You’ll need 3 squares (¼ block) total for the charming abode. Roll the pinch of peacock into a ball (smaller than a pencil eraser), flatten, and place inside the largest indent to create the door of the house. The door should sit in the indent you made. With the Sculpey Needle Stylus (found in the Sculpey Essential Tool Kitor use a toothpick) add some lines up and down to create a woodlike texture.

Roll less than a square of Turquoise into a thin snake. Trim to get a nice straight edge. Gently join one end of the snake to the top of the door, wrap around, and trim carefully with an Xacto knife (ask an adult for assistance). Attach the ends together to create a nice border around the door. Do the same for the trim around the window.

Roll two super tiny balls of Wasabi and one super tiny ball of Turquoise and place over the seam of where the borders meet at the top of the door and window. Add a little doorknob, too.

Take the rest of the 3 squares of Peacock Pearl, condition, and roll into a log shape. Taper one end to a point. Flatten the larger end making a cone, and create an indent in the bottom with the Large Sculpey ball tool (this groove will sit down on top of the house). Pinch and smooth the ends of the roof together, bending up slightly. The roofshould be about the same size as the house.

Start to slightly twist & curl the top of the roof, keeping the end pointed. Place a drop of Translucent Liquid Sculpey on the top of the house/toothpick.

Drop the roof straight down onto the house/toothpick. Make sure there is a good join between the two. Curlthe roof ends up slightly if desired.

For the grass mix one square of Wasabi and one square of Jungle together to create a lovely new shade of green. Roll it into a ball and flatten only slightly. ***TIP*** Wouldn’t the lawn look nice with some flowers, mushrooms, or critters? Make your lawn as big as you like to add extras - just use more clay!

Insert half a toothpick into the house. Insert it pretty far so only a bit is showing out of the bottom. Insert the homestead into the green base (add a drop of TLS if a stronger bond is necessary). Mix a teeny, tiny amount of black and white together to make a little stone for the doorstep, and place it right out front.

After making a colorful neighborhood of fairy houses, bake according to package instructions, cool completely, and enjoy! No sealers are needed, but a coat or two of Sculpey glaze will give the project a nice shine if you like.

These little pixie dwellings can brighten up any small space! Experiment with your ownone in every color! I can’t wait to see what wonderful villages you create! Be sure to share them with me on my facebook page at https://www.facebook.com/wishingwellworkshop/
- Choosing a selection results in a full page refresh.
- Opens in a new window.