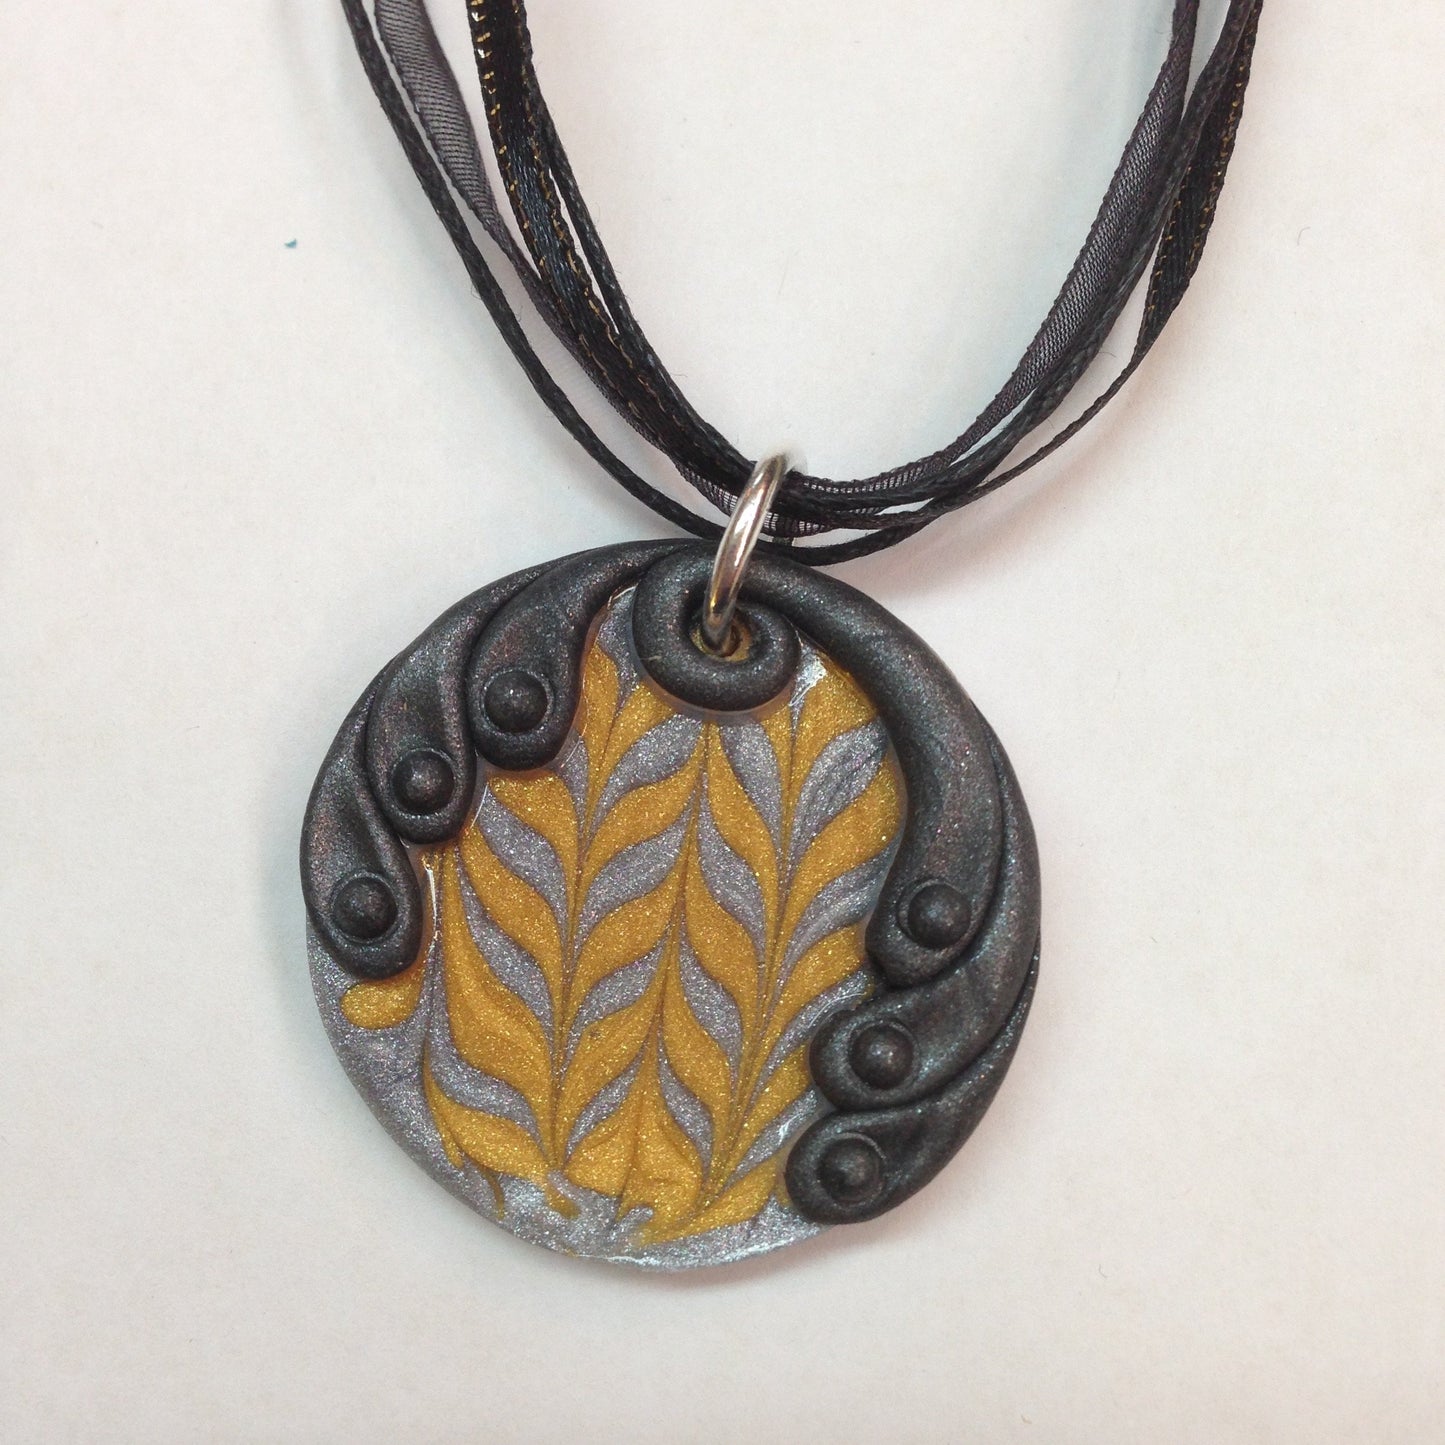
Metallic Liquid Sculpey Bezel Pendant
Metallic Liquid Sculpey Bezel Pendant
Read More
Pairing premo! with the new Gold and Silver metallic Liquid Sculpeys creates a breathtaking pendant!
Read Less
ADDITIONAL SUPPLIES
Dremel type drill or pin drill with 1/8” bit
Paint brush
Paper towel
12mm Silver tone jump ring
Pendant cord with clasp
Jewelry pliers|Dremel type drill or pin drill with 1/8” bit
Paint brush
Paper towel
12mm Silver tone jump ring
Pendant cord with clasp
Jewelry pliers

Project Instructions
Getting StartedDO NOT USE on unprotected surfaces. We recommend working on the Sculpey clay mat, wax paper, metal baking sheet, or disposable foil. Start with clean hands and work surface area. Bake on oven-proof glass or metal surface at 275 °F (150 °C) for 20 minutes For best baking results, use an oven thermometer. DO NOT USE MICROWAVE OVEN. DO NOT EXCEED THE ABOVE TEMPERATURE OR RECOMMENDED BAKING TIME. Wash hands after use. Baking should be completed by an adult. Begin by preheating oven to 300 °F (150 °C). Test temperature with oven thermometer for perfectly cured clay.
For this project we are going to fill the bezel mold with Liquid Sculpey and bake the design right into the mold. Preheat your oven to 275 °F (150 °C). Place the empty bezel mold in the preheated oven for 10 minutes. Carefully remove the mold from the oven. Squirt Silver Liquid Sculpey into the warm bezel of the largest circle size just filling the frame portion of the bezel. This is easiest if you squirt the liquid with one hand and slowly turn the mold with the other hand.

Start and finish filling the frame portion at the same spot. Gently tap the bezel mold a few times on your work surface to settle the liquid.

Starting on one edge of the circle, make stripes alternating the Gold and Silver Liquid Sculpey across the circle shape. Continue filling the area with stripes until it is completely full. Be careful not to overfill the bezel shape. The liquid should be flush with the top edge of the bezel.


Gently drag the tip of the small Etch ’N Pearl tool through the liquids perpendicular to the stripes. Start in the center of the stripes at one edge pulling toward yourself.

Wipe excess liquid from the tip of the tool. Drag the tool along both sides of the first dragged line going the opposite direction at a spacing of 1/8” between lines. Always wipe excess liquid from the tip of the tool between drags. Continue dragging lines in opposite directions all the way to the outside edges. Bake the liquid in the bezel as directed above.

Remove the bezel mold from the oven and allow to cool completely. When the mold is cool, gently pop the baked piece out of the mold by flexing the mold.

From Graphite Pearl make a 1.25” tapered snake. Coil the tapered end. Position the coil at what will be the top of the pendant and drape the end of the snake around the side as shown.

Make shorter tapered snakes and snug them in around the outside of the first long one following the shape of the circle.

Make shorter tapered snakes and position them along the edge of the other side of the circle. Press all snakes down so they grab onto the bezel.

With the 6 mm ball tool, roll divots into the thick end of each of the snakes.

Use the small Etch ’N Pearl tool to add Graphite Pearl beads into each divot. Bake the entire piece again according to direction above and allow to cool completely.

When the piece is cool, drill a hole inside the coil at the top. Paint a layer of glossy glaze over the bezel part. Allow to dry completely.

Attach a jump ring to the hole in the pendant. Attach the jump ring to the pendant cord and close the jump ring. Enjoy!

