

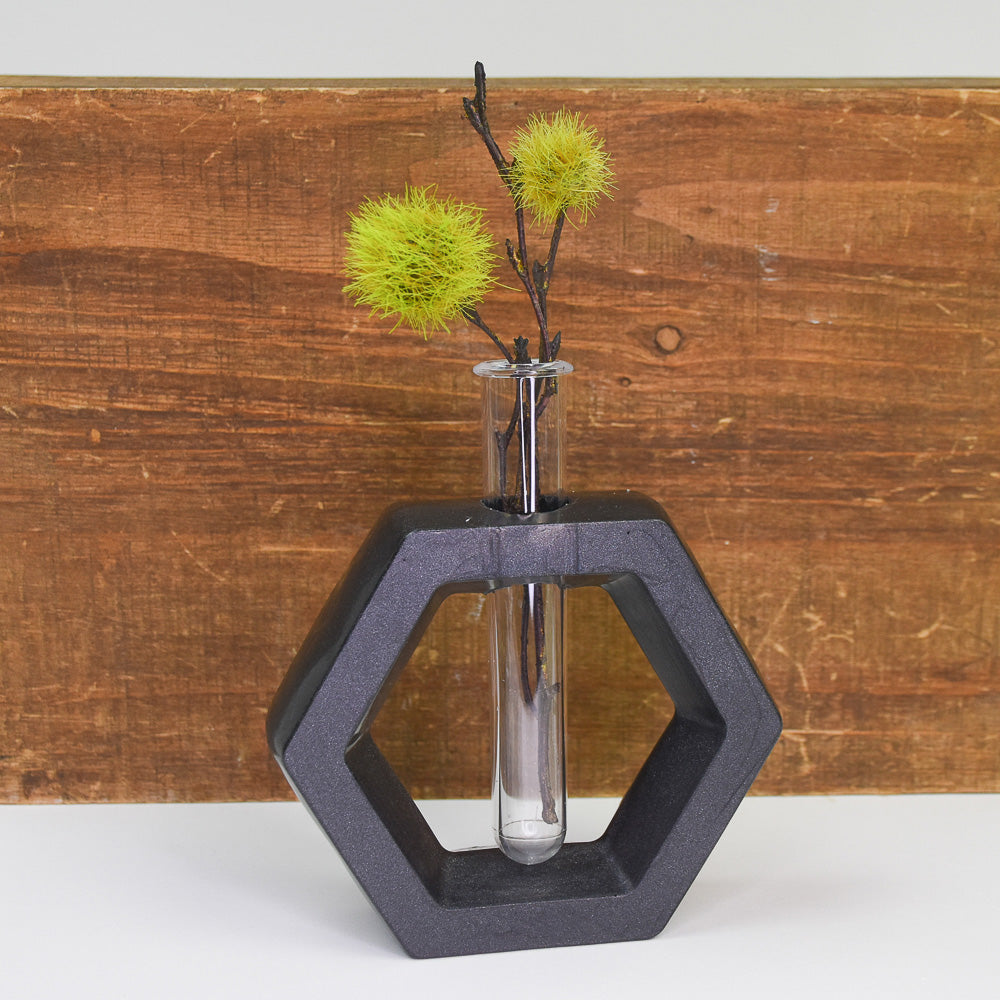
Liquid Sculpey® Modern Hexagon Vase
Liquid Sculpey® Modern Hexagon Vase
Read More
Dynamic structure and color are the highlights of this incredible vase you create with Liquid Sculpey® in just a couple of hours. What an incredible handmade gift for a friend/loved one as well.
TIME TO COMPLETE:
2 Hours to make and bake (for 90 minutes)
Read Less
ADDITIONAL SUPPLIES
- Paper towel
- Silicone Hexagon shaped vase with hole plug for included plastic test tubes
- Wire rack for baking over a baking pan
- 4 x 6 Index cards or cardstock (2)
- Small sharp scissors
Project Instructions
Step 1
Step 2

Step 3

Step 4

Step 5

Step 6

Step 7

Step 8

Step 9

Step 10

Step 11

Step 12

Step 13

Step 14

Step 15
