Skip to product information
1 of 1

Liquid Sculpey® Minimalist Vase

Liquid Sculpey® Minimalist Vase

Designed by Amy Koranek
Read More
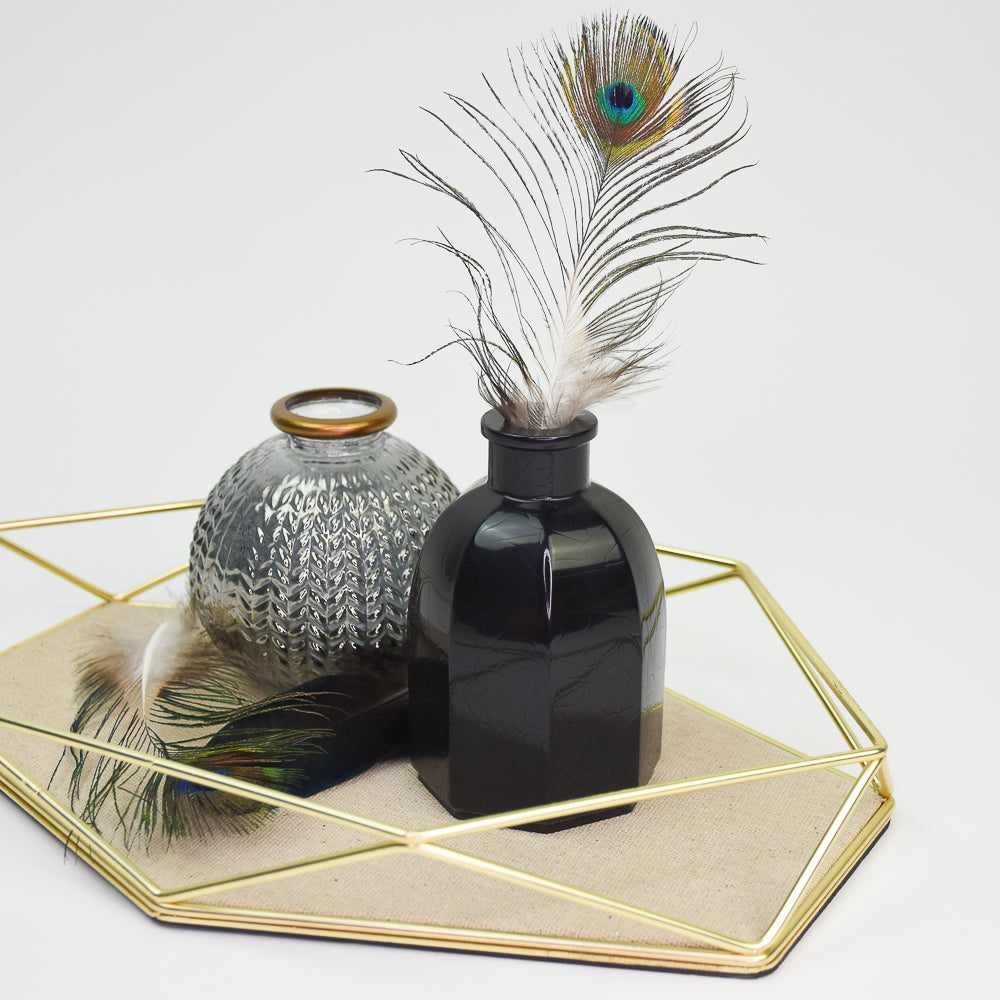
Check it out! A minimalist vase that will create a maximum of WOWS from your friends and family when they see it! TIME TO COMPLETE: 2 Hours to make and bake for 90 minutes
Read Less
ADDITIONAL SUPPLIES
  • Paper towel
  • Silicone mold for faceted vase approximately 4” tall
  • Ceramic mug for supporting the filled mold in the oven
View full details
Project Instructions

Step 1

Liquid Bakeable Medium:

Please make sure your work area is covered and you are not working on an unprotected surface. We recommend working on the Sculpey® Oven Safe Work Mat, wax paper, metal baking sheet, or disposable foil. Uncured Liquid Bakable Medium may damage unprotected
furniture or finished surfaces.
Be sure to cover your crafting area
appropriately.

Getting Started:

- Gently stir the bottle of liquid bakeable medium. Thin with Sculpey® Liquid Clay Softener as needed.

- Wash hands after use (we have found that baby wipes work best).

Baking (also called Curing):

-It is important to use an oven thermometer when you bake the liquids so that you can ensure your oven is at the correct temperature.

-Do not microwave the liquids. They must be baked in a preheated oven at 275 ºF (149 ºC) for liquid colors and 300 ºF (163 ºC) for Clear. Do not exceed baking temperatures.

-If you are using the liquids as a glaze or in thin pieces less than ¼”, bake for 15 minutes.   For thicker pieces that are ¼” or above, bake for 30 minutes. 

-If you are baking on a ceramic tile, then you will also need to bake at 30 minutes since it will take longer for the tile to heat up. This will ensure the proper fusing of the liquid material.

-When baking these liquids you may experience some vapors or a slight odor. This is not harmful and will not affect your creation.

-If your liquid project has become yellowed or discolored in the oven, when you remake it, tent it by placing either folding an index card in half and placing your project under it; or by using aluminum foil over your project.

Step 2

Here’s a look at the vase mold I am using from the open side down. The neck of the vase is at the bottom.

Step 3

Here’s a look at the vase mold I am using from the side.

Step 4

Start by just adding Black Liquid Sculpey® (LS) into the neck of the vase.

Step 5

It is very important to help the LS settle well into the base of the mold where the neck is. One of the techniques that I use for helping burb air bubbles out is to squeeze the mold when it is only partially filled. In this photo I am squeezing the mold until it touches itself and squeezes LS upwards. This helps coat the mold with a thin layer of LS and also pushes trapped air up from the bottom.

Step 6

Here I have just released the squeeze. You can see the thin coating of LS on the sides and also see a large air bubble coming up from the bottom.

Step 7

Keep adding Black LS to the mold but stop and squeeze the mold and also hit the sides of the mold with the 12 mm Ball Tool to help release air.

Step 8

Fill the mold to level. Hold it in place on the work surface while you hit the sides with the 12 mm Ball Tool. This will really help the bubbles to rise.

Step 9

Place the mold inside of a ceramic mug during baking. This will help make sure the mold does not fall over in the oven. Bake the mold for at least 90 minutes and allow to cool completely before handling.

Step 10

To release the baked piece from the mold, start rolling the mold down from the open end.

Step 11

Keep carefully rolling the mold down.


Step 12

The mold will finally be turned completely inside out to release it from the baked piece.

Step 13

Here’s a look at our finished mold.

Step 14

Add flowers or feathers as you desire.

The mold can be cleaned with rubbing alcohol on a paper towel. Allow the mold to dry completely before using again with Liquid Sculpey®. The mold should be stored in its right side up position.