

Liquid Sculpey® Kitten Face Window Cling
Liquid Sculpey® Kitten Face Window Cling
Designed by Amy Koranek
Read More
Anything you can trace can become a window cling with Liquid Sculpey®.
TIME TO COMPLETION: 40 minutes including baking
Read Less
ADDITIONAL SUPPLIES
- Glass plate
- Drawing or printed image of the kitten face
- Paper cupcake liner
- Cupcake baking pan

Project Instructions
- Getting Started with Liquid Sculpey®:
- Baking:
- It is important to use oven thermometer when you bake the liquids so that you can ensure your oven is at the correct temperature.
- Do not microwave the liquids. They must be baked in a Preheated oven at 275 ºF (130 ºC) for liquid colors and 300 ºF (149 ºC) for Clear – Do not exceed baking temperatures.
- If your piece is less than 1/4” bake for 15 minutes. For thicker pieces that are 1/4” or above bake for 30 minutes.
- If your liquid project has become yellowed or discolored in the oven, when you remake it, tent it by placing either – folding an index card in half and placing your project under it or by using aluminum foil over your project.
I am using the White Liquid Sculpey® (LS) as the outline for my kitten face since usually the White is very thick. Test the White LS by squirting a line of it onto the glass. If the White stays where you put it and does not spread out quickly, it will be thick enough If, for some reason, the White LS you have is not thick enough to make a line, try this idea for getting it thicker: Dump the entire bottle of White LS into a paper baking cup that is seated in a cupcake pan. Allow the White LS to sit in the liner for a few hours to leach some of the thin plasticizer out of it. Test it by stirring it every hour to see if it’s getting thicker. Once it’s thick enough to draw a line with, carefully pour it back into the bottle.
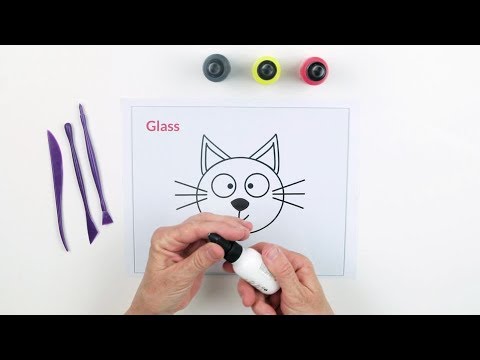
Place the kitten face image under a glass plate. It’s important to note that if you intend to use your finished piece for a window cling, it must be made on something that is completely non-porous in order for it to stick to a window.
Draw the outline and all the details of the face with the White LS. Bake to set the White lines so they will create wells for the other colors. The baked lines will keep the other colors from running into each other.

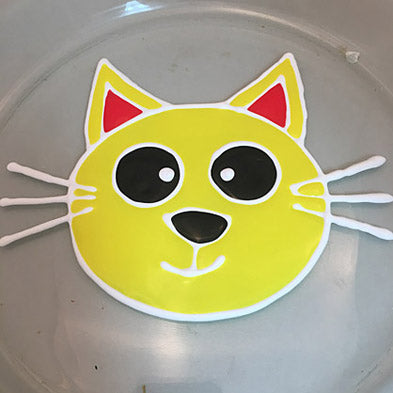
Fill the eyes and the nose in with Black LS

Fill the face area and the ears with Yellow LS. Do not overfill the areas. If you fill a small amount at a time, you will see the liquids spread and you probably won’t need as much liquid as you might think.

Add Red LS to the ears. If there are any air bubbles that are not popping on their own, pop them carefully with the pointed tool. Bake the kitten face on the glass plate following the baking instructions for LS. When the piece is completely cool, carefully peel it from the glass and apply it to a clean window.

- Choosing a selection results in a full page refresh.
- Opens in a new window.