Liquid Sculpey® Easy & Elegant Mandala Earrings
Liquid Sculpey® Easy & Elegant Mandala Earrings
Designed by Teresa Pandora Salgado
Read More
Read Less
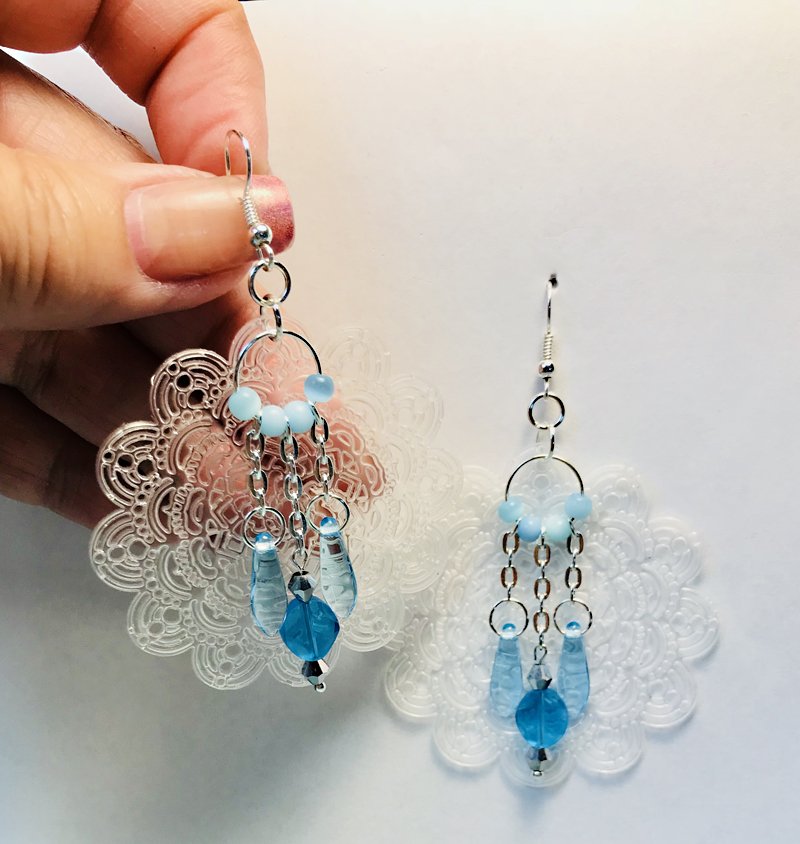
I love the lacy look of liquid clay in these gorgeous Sculpey Mandala Molds and liquid clay earrings are so light and comfortable to wear.
ADDITIONAL SUPPLIES
- Jewelry pliers
- 2 Fish hook earrings
- Accent beads
- Jump Rings

Project Instructions
- Getting Started:
- Baking:
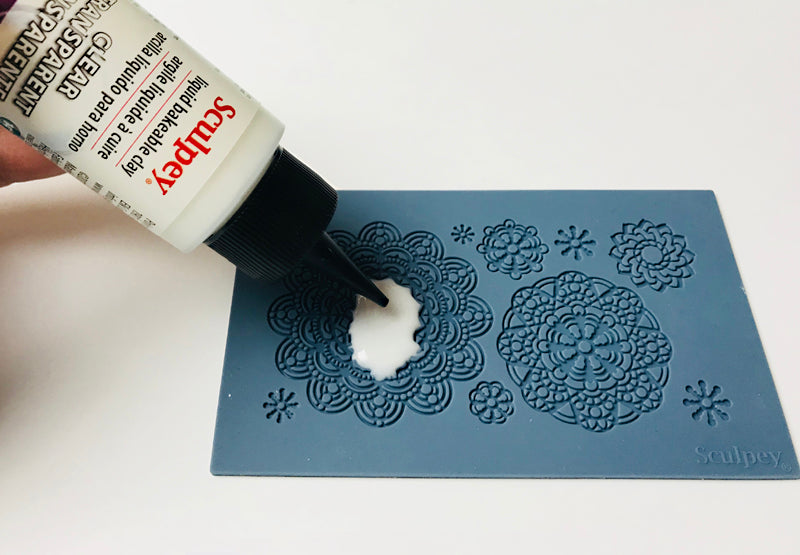
Squeeze a small amount of Sculpey Liquid Clay into the molds. I usually fill all of the spaces, since I can use the other size mandalas later and it takes so little Liquid Clay. Use the squeegee provided to scrape off excess liquid clay. Pause for a second and let the liquid settle. If there are any little bubbles, add a dot of liquid clay on them and scrape once more. Remove as much as you can. Bake for 15 minutes.

When the pieces are completely cool, loosen the edges of each mandala and remove from the mold. If there are any shaggy edges, clip them off with nail nippers or nail scissors.


Create your charms. I have “deconstructed†my charms in the photo to show you how they go together; but feel free to make them your way, using the pretties from your stash. The process is self explanatory but I do have some suggestions: A) Make sure your jump rings meet evenly and have no gaps. B) Check to see that your chains allow your beads to hang in the proper direction. C) Make sure the gauge of your jump rings is thin enough to go through your top-pierced dangles.


Try on your gorgeous Mandala Earrings. Now that you're experienced, you can go make a bunch more for your friends and family who are sure to be terribly jellie!