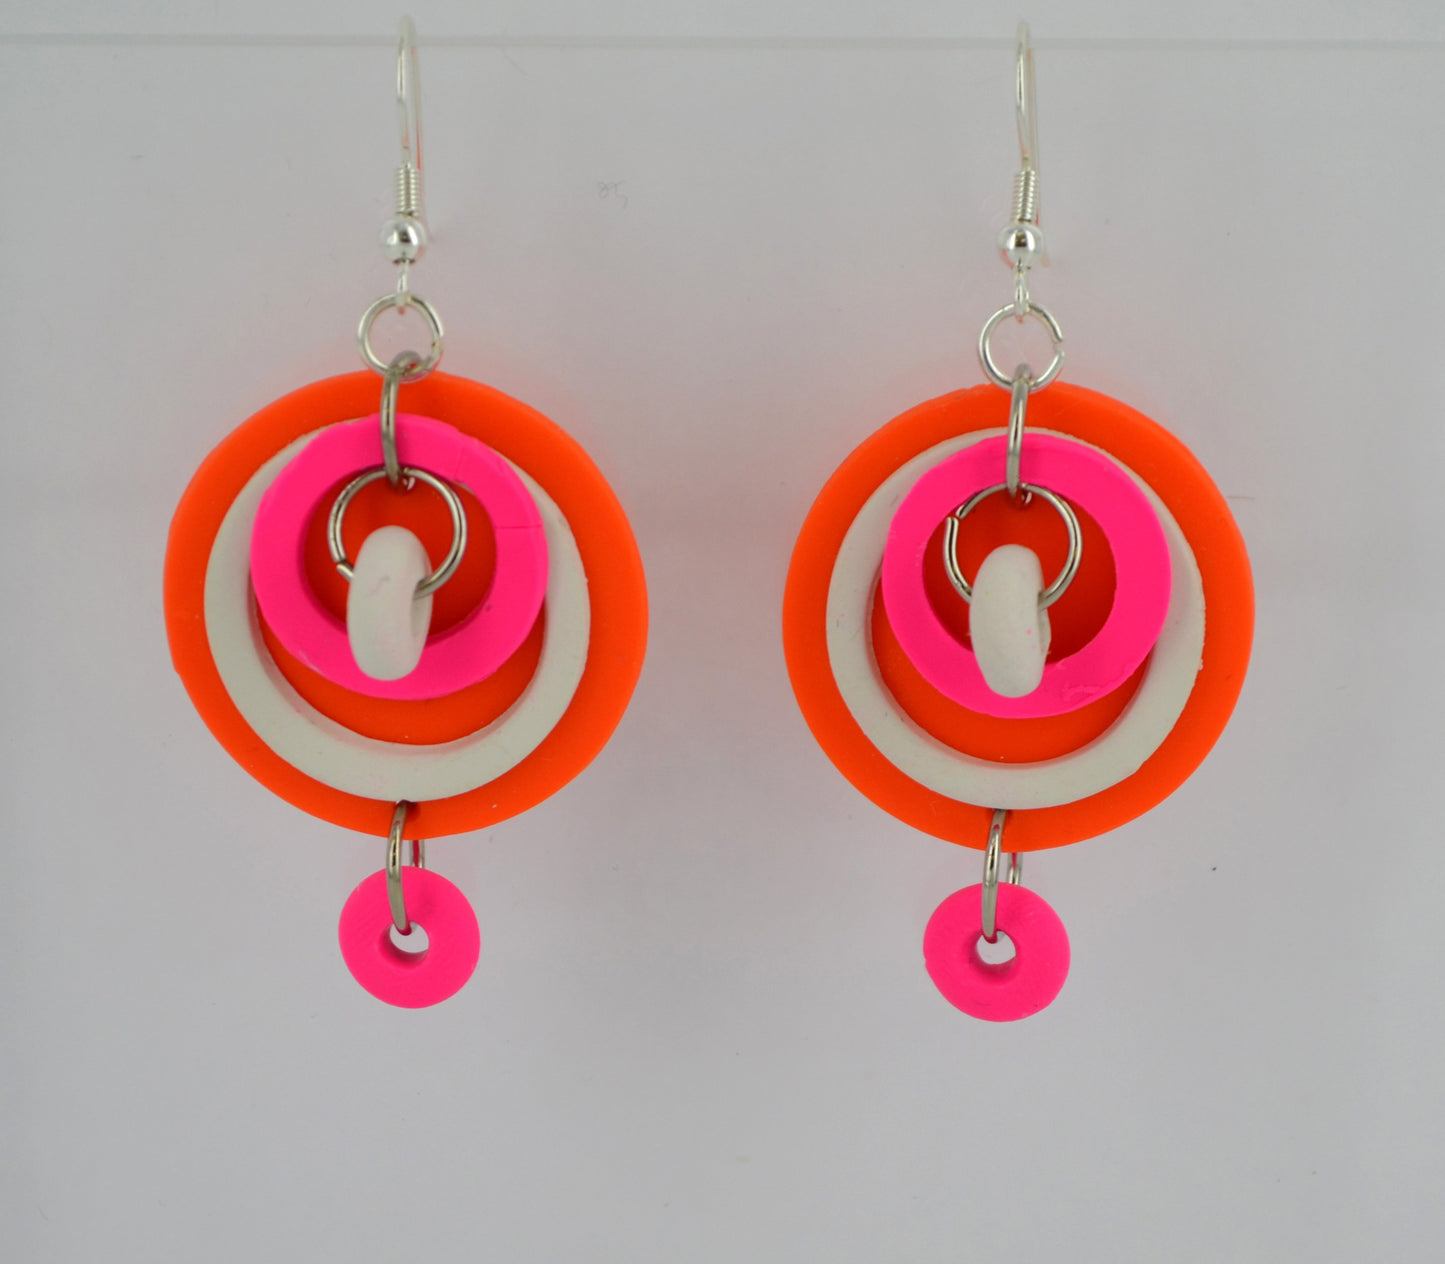
Sculpey® III Circle in Circle Earrings
Sculpey® III Circle in Circle Earrings
Read More
These earrings are perfect for the bright summer days we have ahead of us!
Read Less
ADDITIONAL SUPPLIES
• Ear Wires-Silver (2)
• 12 mm Jump Rings-Silver (6)
• 6 mm" Jump Rings-Silver (2)
• Jewelry Pliers

Project Instructions
Do not use unbaked clay on unprotected furniture or finished surfaces. Start with clean hands and work surface area. Good work surfaces include wax paper, metal baking sheet, or disposable foil. Knead clay until soft and smooth. For best results, clean your hands in between colors. Shape clay, pressing pieces together firmly. Bake on oven-proof glass or metal surface at 275°F (130°C) for 30 minutes per ¼" (6 mm) thickness. For best baking results, use an oven thermometer. DO NOT USE MICROWAVE OVEN. DO NOT EXCEED THE ABOVE TEMPERATURE OR RECOMMENDED BAKING TIME. Wash hands after use. Baking should be completed by an adult. Begin by preheating oven to 275°F (130 °C). Test temperature with oven thermometer for perfectly cured clay. For best results, condition all clay by running it through the Clay Conditioning Machine several passes on the widest setting. Fold the clay in half after each pass and insert the fold side into the rollers first.

Tint Translucent clay with 3 different colors. Tint one ounce of Translucent with a 1/4" ball of Purple, another one ounce of translucent with 1/4" ball of Gold, and one ounce of Translucent with 1/4" ball of Peacock Pearl. Roll out each color out on a medium setting of the Clay Conditioning Machine. Roll two more sheets of Translucent on a thin setting of the Clay Conditioning Machine. Cover each thin sheet with a layer of imitation Gold leaf.

Use these 5 sheets of Translucent clay to make a mokume gane stack. Stack: Tinted Translucent, Gold leaf covered Translucent, Tinted Translucent, Gold leaf covered Translucent, ending with the last tinted Translucent sheet.

Roll this Translucent clay stack through the Clay Conditioning Machine on the thickest setting. Cut into 3 sections.

Stack these 3 sections into a new stack.

Roll Black clay out on medium setting on the Clay Conditioning Machine. Roll out White clay on a medium setting. Stack the Black on top of the White and roll out on the thickest setting of the Clay Conditioning Machine.

Place your Black/White sheet combination on top of the Translucent stack, ending with Black on top.

Impress the complete mokume gane stack with a credit/gift card, dragging the Black clay down to the bottom of the stack. Compress the mokume gane stack back together. Let the distressed mokume gane stack rest.

Turn the mokume gane stack upside down placing the Black clay on the bottom. Using the Super Slicer blade, carefully cut across the mokume gane stack parallel with the table.

Place translucent pieces on a sheet of White clay rolled out on a medium to thin setting, covering the white sheet completely. Burnish.

Roll through the Clay Conditioning Machine first at a thick setting and moving down in thickness until you reach your desired thickness. This sheet will be your veneer.

Cover the handles of your silverware with White clay rolled out on a medium setting. Bake as directed above for 10 minutes. Cool.

Apply a thin layer of Bake & Bond or Sculpey Translucent Liquid clay to the clay covered silverware handle. Cover the White sheet with your veneer, carefully mend seams.

Extrude or roll a 1/4" diameter rope from Black clay. Wrap around top edge of silverware, mending the seam where it meets.

Bake as directed above. Immediately after removing the silverware from the oven, plunge into a bowl of ice water. Wet sand the silverware handle with 400 grit wet dry sandpaper. Progress to 600 grit sandpaper, finish with 800 grit sandpaper. Buff lightly on a polishing wheel to a high shine.


