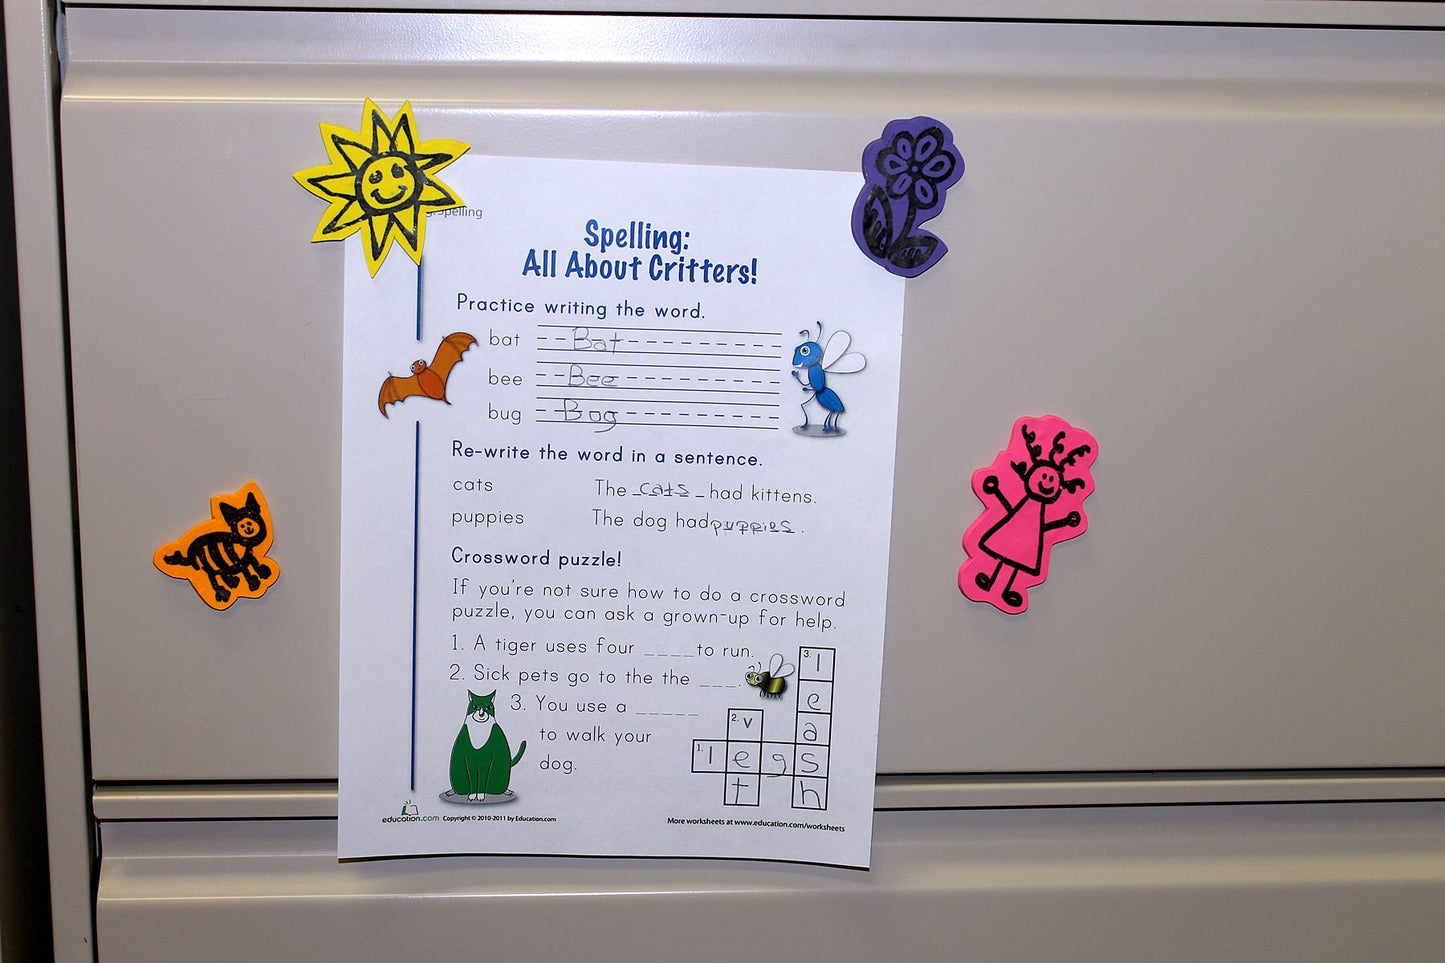
Sculpey® Bake Shop Transfer Magnets
Sculpey® Bake Shop Transfer Magnets
Read More
Turn your students artwork into permanent magnets using Sculpey® Bake Shop Clay. Transfer the images from the paper to the clay in a simple step, cut them out, bake, add a magnet and you can create a magnetic art gallery!
Read Less
ADDITIONAL SUPPLIES
• Regular Computer Paper
• Access to a Scanner and Laser Printer
• Rubbing alcohol (72%)
• Cotton balls
• Plain white paper or index cards
• Magnets
• White glue
• Scissors|• Regular Computer Paper
• Access to a Scanner and Laser Printer
• Rubbing alcohol (72%)
• Cotton balls
• Plain white paper or index cards
• Magnets
• White glue
• Scissors

Project Instructions
Do not use unbaked clay on unprotected furniture or finished surfaces. Start with clean hands and work surface area. Good work surfaces include wax paper, metal baking sheet, or disposable foil. Knead clay until soft and smooth. For best results, clean your hands in between colors. Shape clay, pressing pieces together firmly. Bake on oven-proof glass or metal surface at 275 °F (130 °C) for 15 minutes per ¼" (6 mm) thickness. For best baking results, use an oven thermometer. DO NOT USE MICROWAVE OVEN. DO NOT EXCEED THE ABOVE TEMPERATURE OR RECOMMENDED BAKING TIME. Wash hands after use. Baking should be completed by an adult. Begin by preheating oven to 275 °F (130 °C). Test temperature with oven thermometer for perfectly cured clay. For best results, condition all clay by running it through the clay dedicated pasta machine several passes on the widest setting. Fold the clay in half after each pass and insert the fold side into the rollers first.
Scan in some black and white drawings from your students and print them out on a toner based printer (like a laser printer, NOT an ink jet printer). Alternately, you can take the drawings to a print shop like Kinkos or Staples and ask them to copy them on a toner based copier. The paper should just be plain computer paper. If you have words on your transfer, they will need to be flipped horizontally so that they are backwards.
Pinch off a small section of the selected clay color and knead in your hands for a moment until the clay is soft and somewhat flexible. Flatten this ball of clay and place on a sheet of paper and use the acrylic roller to smooth and flatten it to ¼ -1/8” thickness. Place on a sheet of paper.
Cut out around your transfer, leaving a small amount of paper around the image. Place the transfer FACE DOWN on the sheet of clay and lightly press into place. Dampen a cotton ball with the rubbing alcohol and sweep the alcohol across the entire sheet of paper of the transfer as quickly as you can. Make sure that you cover the entire paper or it will wrinkle. The paper should be dampened so that you can see the image through the paper and there are no air bubbles. Don't get the paper too wet though or the paper will float on a layer of alcohol and won't touch the clay.
Allow the alcohol to evaporate for a couple of minutes until the paper looks almost dry again. Resoak the paper with the alcohol. Once the paper is almost dry again, swipe it with the cotton ball again and gently peel the paper up slowly. If you see a spot that didn't transfer, just lay the paper down and rub it gently with your finger in that area.
Once the paper is removed completely, admire your transfer! Once in a while, small amounts of the paper will stick to the transferred ink on the clay. Gently rub this area with a dampened cotton ball using a small circular motion to remove the paper before baking. Use the Sculpey Knife Tool from the 5 in 1 Tool Set to cut out around the transfer.
Repeat steps 2-6 for all of the transfers you are making.
Place the completed transfers on a sheet of clean paper and place the paper on the baking sheet. Do not let the pieces of clay touch each other. Bake according to the directions above.
Once the clay is baked and cooled, glue the magnets to the back of each finished piece.

