
Sculpey Premo Abstract Caned Bracelet
Sculpey Premo Abstract Caned Bracelet
Designed by: Patricia Kimle
Read More
Read Less
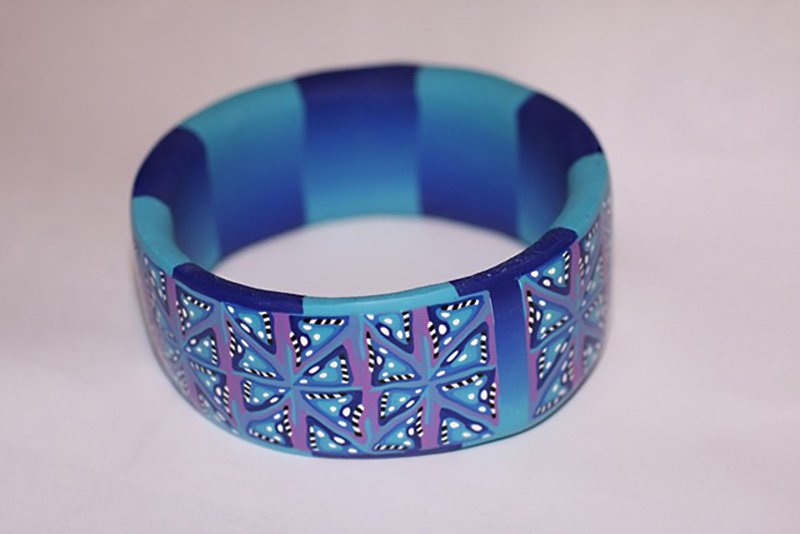
The Premo clay colors create a cool, yet vibrant feel to this abstract bracelet.
ADDITIONAL SUPPLIES
- Medium grit sanding sponge
- Round form, such as round cutter or straight sided glass or jar
- Waxed paper
- Thin acrylic rod

Project Instructions
- Getting Started:
Start with clean hands, unwrap and knead clay until soft and smooth, or condition by running clay though a Pasta Machine. We recommend using a designated machine for clay purposes only. When working with multiple colors, clean hands with soap and water or baby wipes (we have found that baby wipes work best) before switching colors. Shape clay, pressing pieces firmly together. Wash hands after use.
- Baking:
Wrap a strip of waxed paper around the glass, jar or cutter which is the desired diameter for the core. Using white or scrap clay, Cut and stack two strips of clay 1-1/4” wide and wrap around the form. Cut the ends to just meet in a butt seam. Blend the seam. Bake the form according to the instructions of step 1.

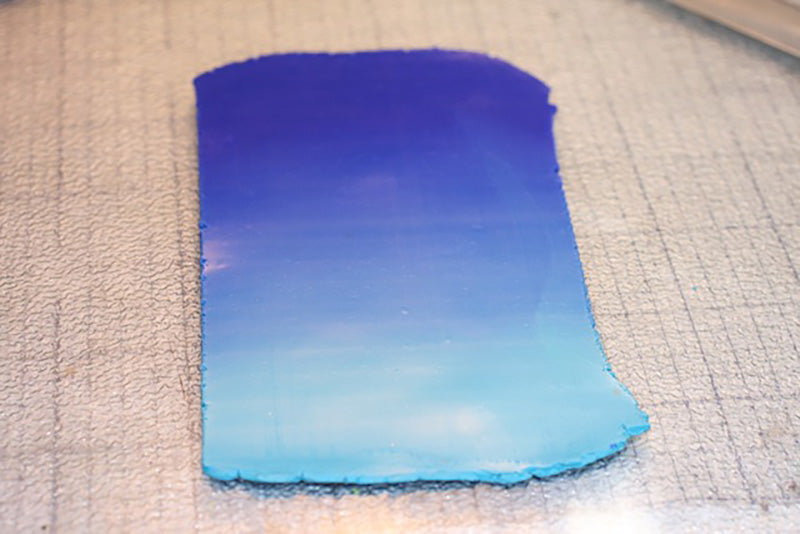
Using 1/4 package of Ultramarine Blue and 1/4 package of Turquoise, create a skinner blend. Repeat with Turquoise and wisteria. Cut the Blue/turquoise blend in half and set one piece aside. Roll the other piece into a blend approximately 3” square and a medium thickness.
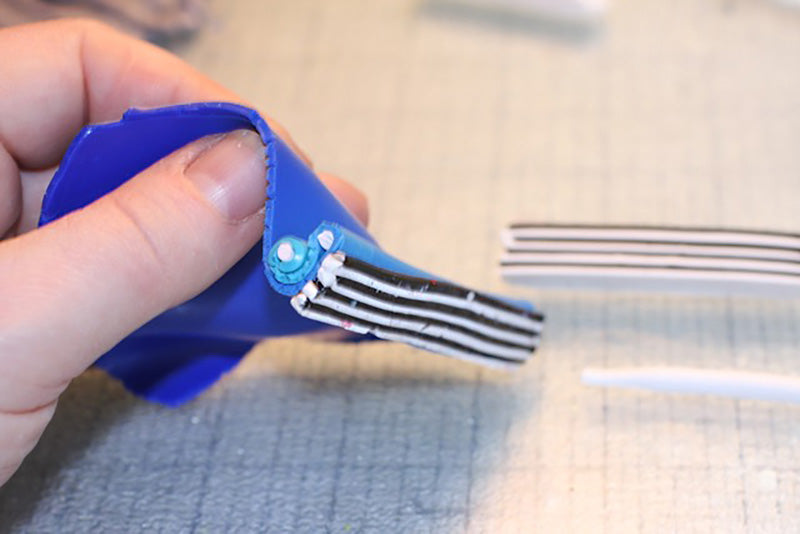
Roll 1/8 package each black and white on a medium thickness and stack. Cut the slab into equal strips to form a stacked loaf of stripe. Use a slice across the stripe loaf and some thin snakes of white to begin a forming a cane by rolling and folding the blended sheet back and forth into a triangle shape. Add the turquoise/wisteria blend as well.


Square up the cane as necessary to make all sides equal.
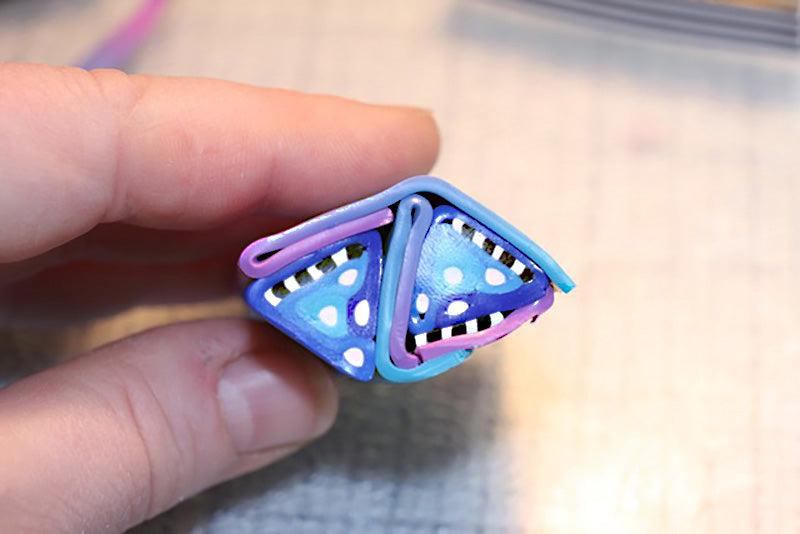

Trim any distorted ends from the cane and divide in half. Stack the two pieces as desired.

Repeat step 6 to create a square with four pattern units. Compress and reduce this cane as needed to match the dimensions with the width of the bangle form.

Cut thin slices from the cane and press them to the bangle. Complete the circle and if any spaces are left, add a bit of the blend to fill the space without having a cut or incomplete pattern. Blend all the seams. A thin acrylic rod rolled against the seams is very effective. Bake.


Using the reserved blend from step 3, roll the blend into a long strip just slightly wider than the bangle core. Cut this strip into 1” sections.


With a craft knife, cut a bevel into the interior edge of the bangle, smoothing the angle for the inside clay to cover. Arrange the strips on the inside surface, alternating the color pattern.

Press the seams together and trim the outer edge smooth. With a sanding sponge, texture the interior layer. Bake.

Sand the outer surface with 400 and 600 grit wet/dry sandpaper. Polish with a soft cloth or a jeweler’s buffing wheel.
