
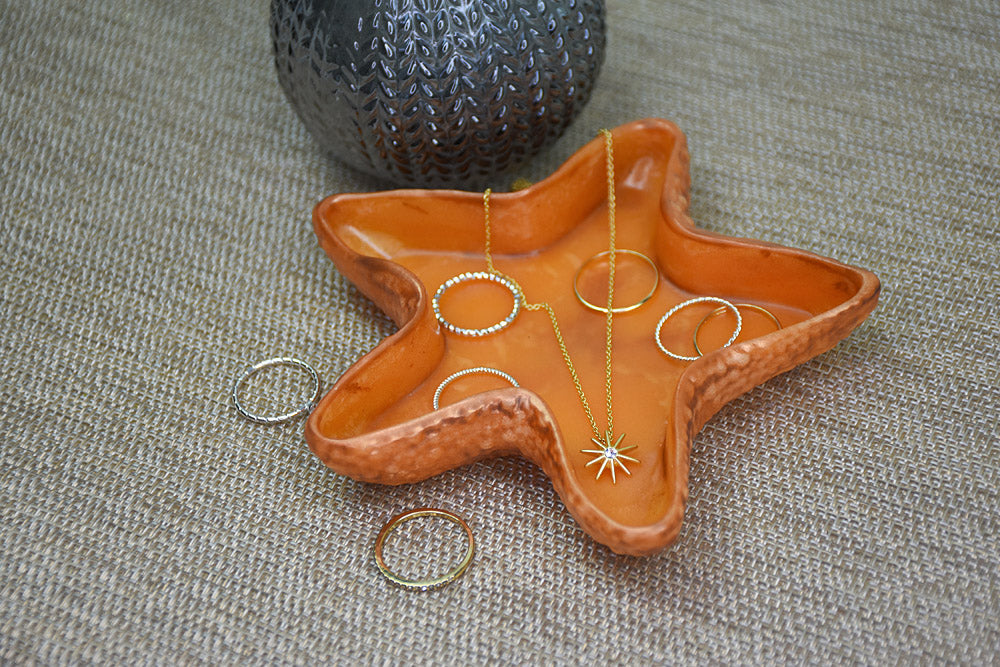
Liquid Sculpey® Starfish Trinket Dish
Liquid Sculpey® Starfish Trinket Dish
Read More
Stunning! Your friends and family won’t believe that you created this absolutely stunning shimmering starfish trinket dish in less that two hours.
TIME TO COMPLETE:
95 Minutes to make and bake twice
Read Less
ADDITIONAL SUPPLIES
- Paper towel
- Silicone starfish trinket dish mold
- Antique Bronze Mica Powder
- Cotton swab
- Baking rack
- Small sharp scissors or craft knife
Project Instructions
Step 1
Step 2

Step 3

Step 4

Step 5

Step 6

Step 7

Step 8

Step 9

Step 10

Step 11

Step 12

Step 13

Step 14
