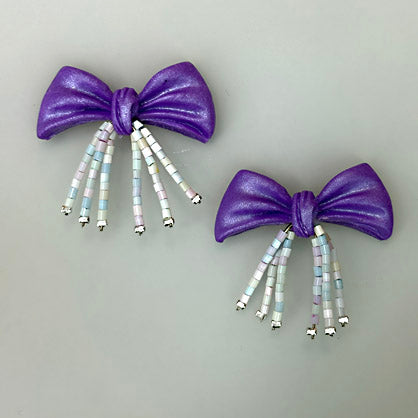
Liquid Sculpey® Bows and Beads Earrings
Liquid Sculpey® Bows and Beads Earrings
Read More
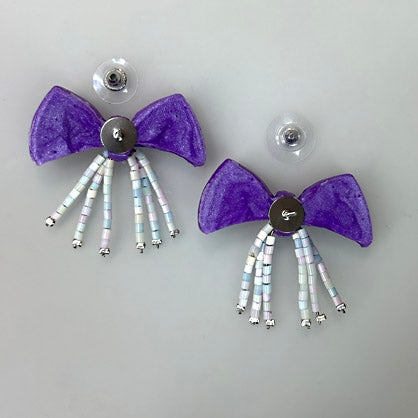
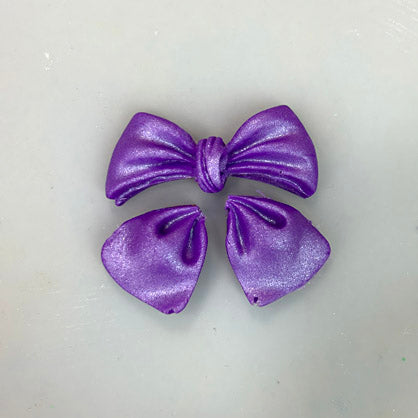
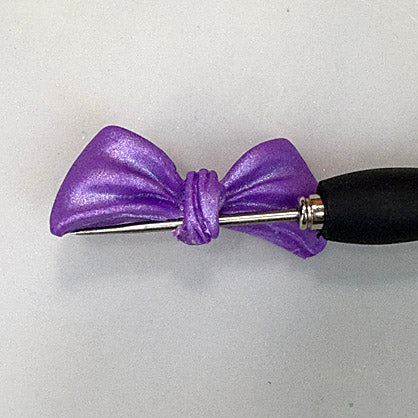
Jump into the current fashion fave trend for bows with these delightful bow earrings in a sparkling lush Purple tone.
TIME TO COMPLETE:
90 Minutes to make, bake (twice), and assemble. Some time needed for glue to dry.
Read Less
ADDITIONAL SUPPLIES
- Paper towel
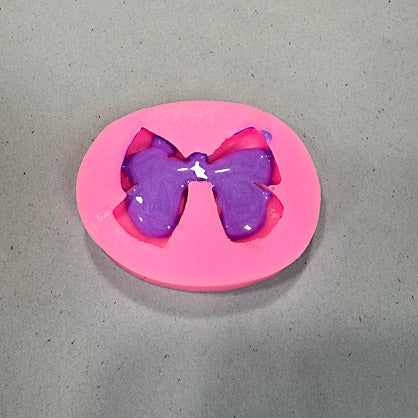
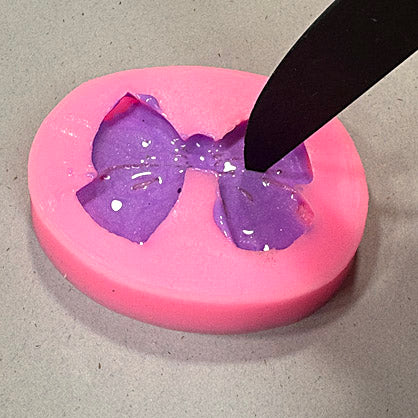
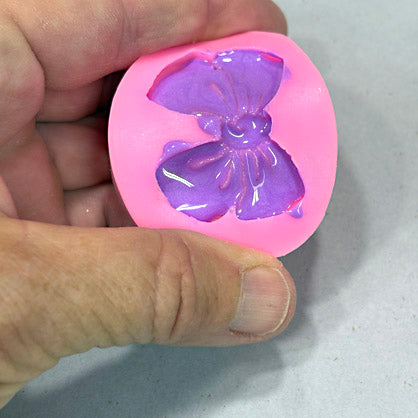
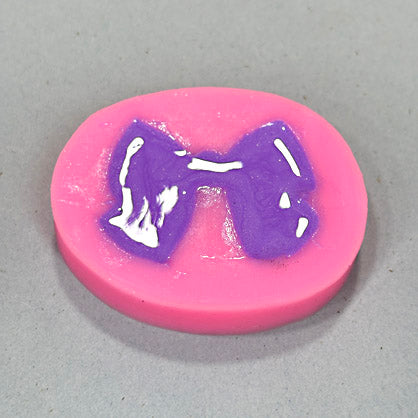
- Silicone Bow shaped mold
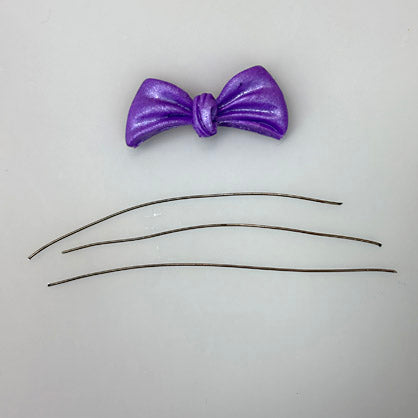
- 4” Craft wire (6)
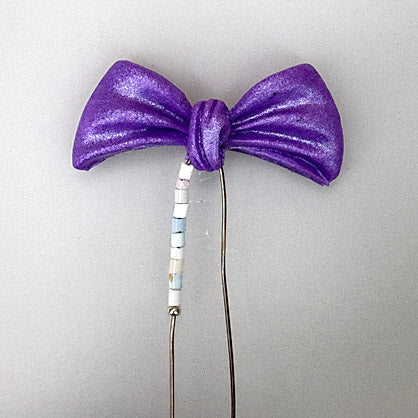
- Silver tone crimp beads (12)
- Coordinating seed beads
- Ear posts and backs (2 set)
- Silicone glue or instant drying glue
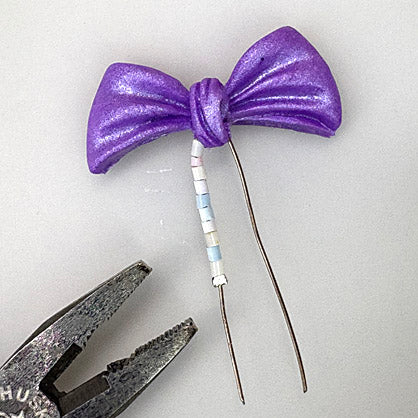
- Flat nose pliers
- Wire cutters

Project Instructions
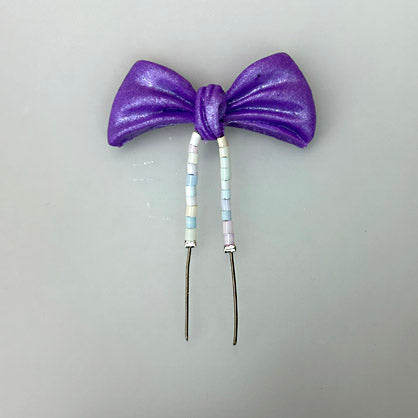
Step 1
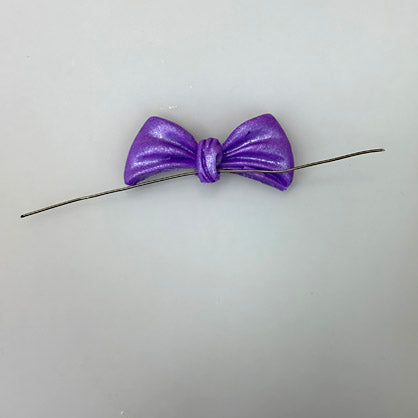
Step 2
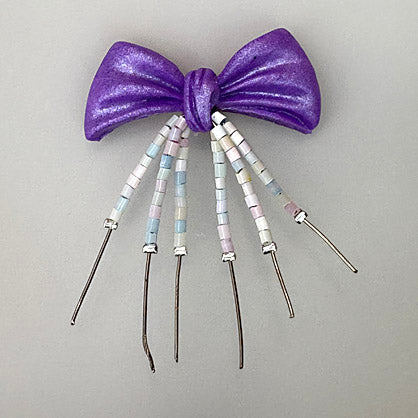
Step 3
Step 4
Step 5
Step 6
Step 7
Step 8
Step 9
Step 10
Step 11
Step 12
Step 13
Step 14
Step 15
Step 16