

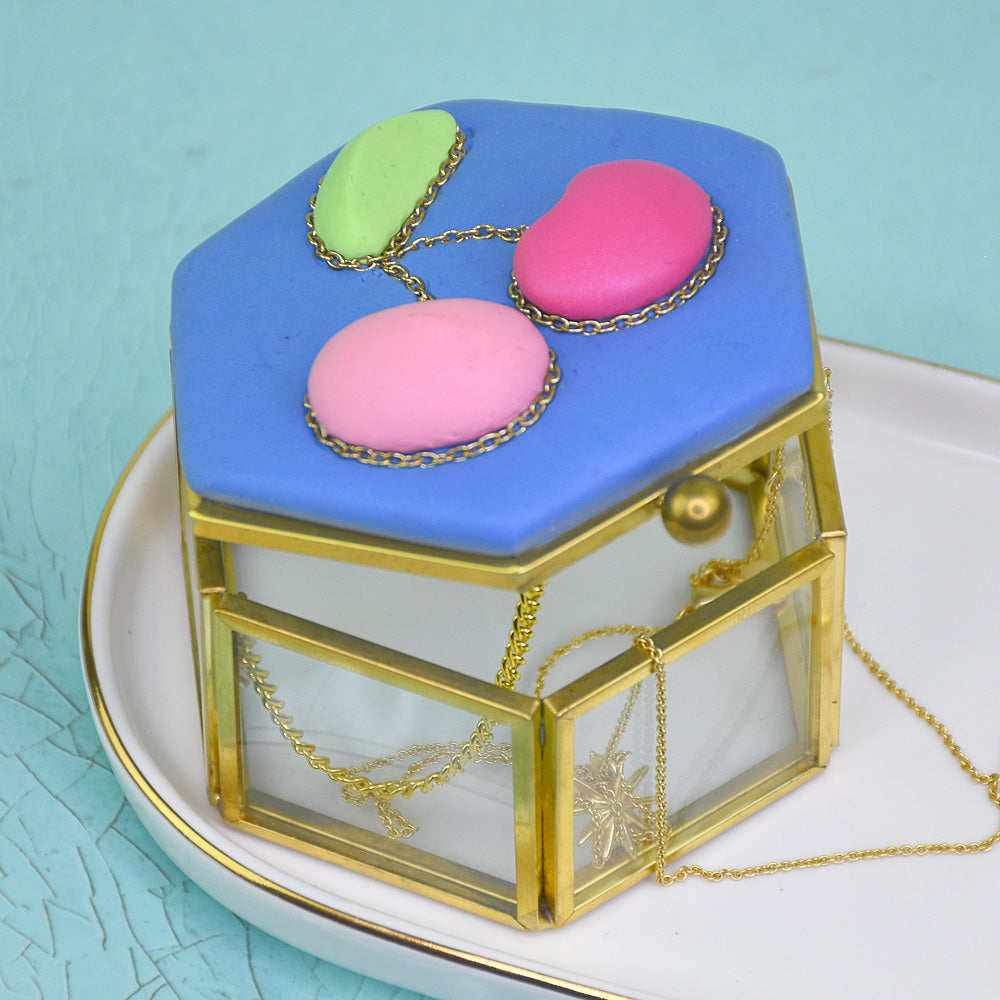
Sculpey UltraLight® Cherry Topped Box
Sculpey UltraLight® Cherry Topped Box
Read More
Wow your family and friends with this unique trinket box topper that is quick to make and doesn’t add a lot of weight to the box top.
COMPLETION TIME: 90 Minutes to make and bake
Read Less
ADDITIONAL SUPPLIES
- Mica powders in deep pink, light pink, and light green
- 1/4 Teaspoon measure
- Small glass and metal box
- 12” Gold tone fine chain
- Wire cutters
- Optional - silicone glue
Project Instructions
Step 1
Step 2

Step 3

Step 4

Step 5

Step 6

Step 7

Step 8

Step 9

Step 10

Step 11

Step 12

Step 13
