

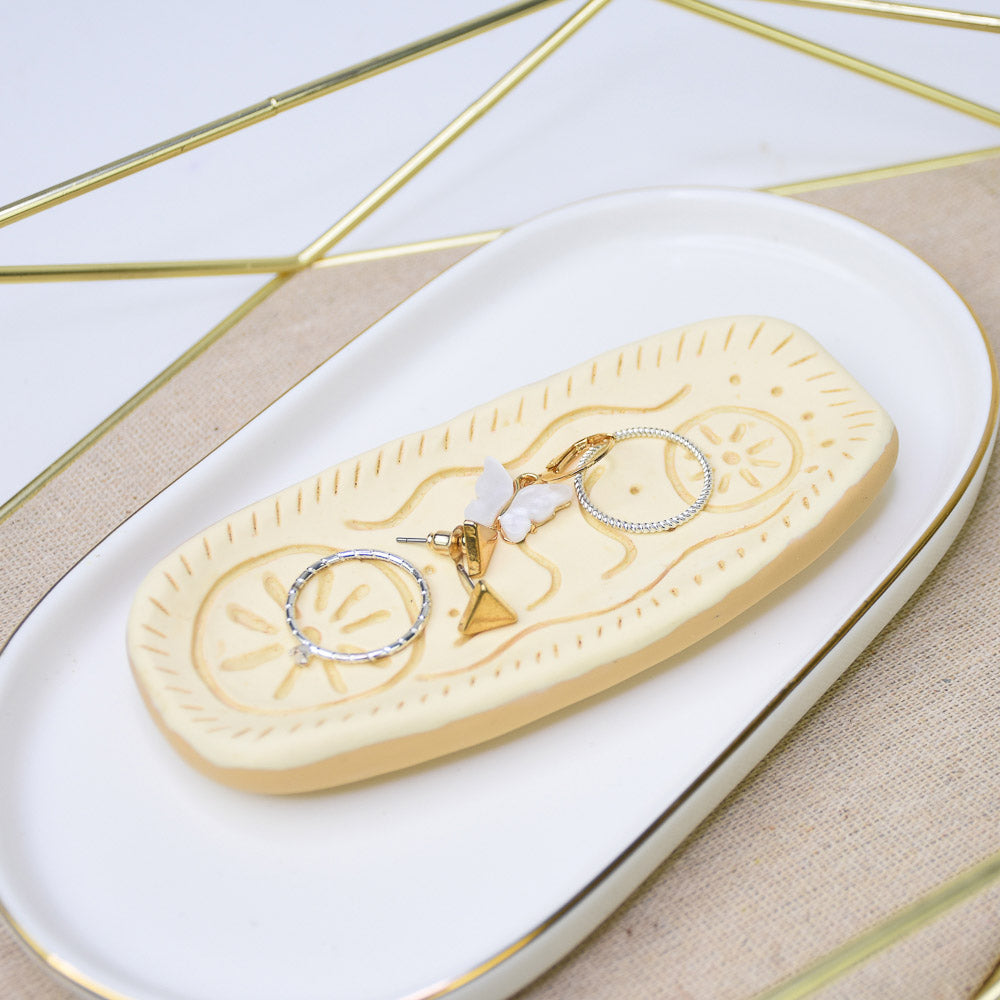
Sculpey Premo™ Butter Yellow Carved Boat Shaped Trinket Dish
Sculpey Premo™ Butter Yellow Carved Boat Shaped Trinket Dish
Read More
This carved boat trinket is a simple yet elegant project that brings out the beauty of layered clay and hand-engraved details. It’s perfect for beginners who want to practice
shaping, carving, and adding painted accents, while still looking polished enough for display or gifting!
TIME TO COMPLETION: About 1 hour, not including drying time for paint.
Read Less
ADDITIONAL SUPPLIES
• Paint brush
• Cotton pads
• Tan acrylic paint
• Rubbing Alcohol
• Small dotting tool
Project Instructions
Step 1
Step 2

Step 3

Step 4


Step 5

Step 6


Step 7

Step 8
