

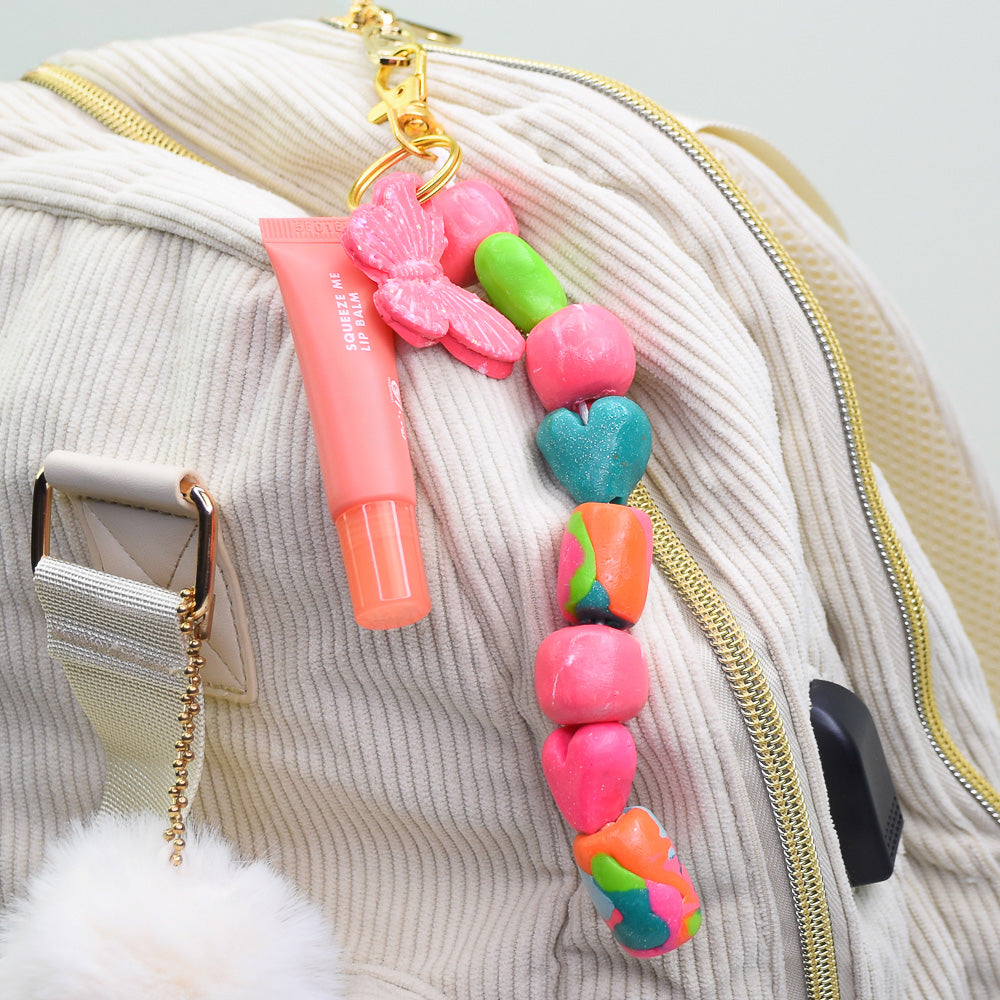
Sculpey III® Hibiscus Colorful Charm Keyring
Sculpey III® Hibiscus Colorful Charm Keyring
Read More
I feel like this is perfect not only for lip gloss but as an accessory on bags, purses, and bookbags! Artists could customize their own accessories or even switch the colors out to match their blinged out Stanley Cups!
Read Less
ADDITIONAL SUPPLIES
- Cord/ Jewelry Wire, Keychain parts
- Butterfly mold
- White Glitter
- Pointed tool and scissors.
Project Instructions
Step 1
Step 2

Step 3

Step 4

Step 5

Step 6

Step 7

Step 8

Step 9

Step 10

Step 11

Step 12

Step 13

Step 14

Step 15

Step 16
